Introduction to Roof Restoration
Every homeowner needs a good grip on roof work, and understanding roof restoration is a must for keeping your home safe and attractive. A sturdy roof not only boosts your property’s curb appeal but also acts as a vital shield against rain, wind, and sun. Whether you face a few broken shingles or need a complete overhaul, learning the proper steps of roof restoration can help you save both time and money. This detailed guide walks you through each stage, ensuring that your roof remains strong, looks good, and stands up to whatever nature throws its way.
Identifying the Problem
Signs of Shingle Damage and roof restoration
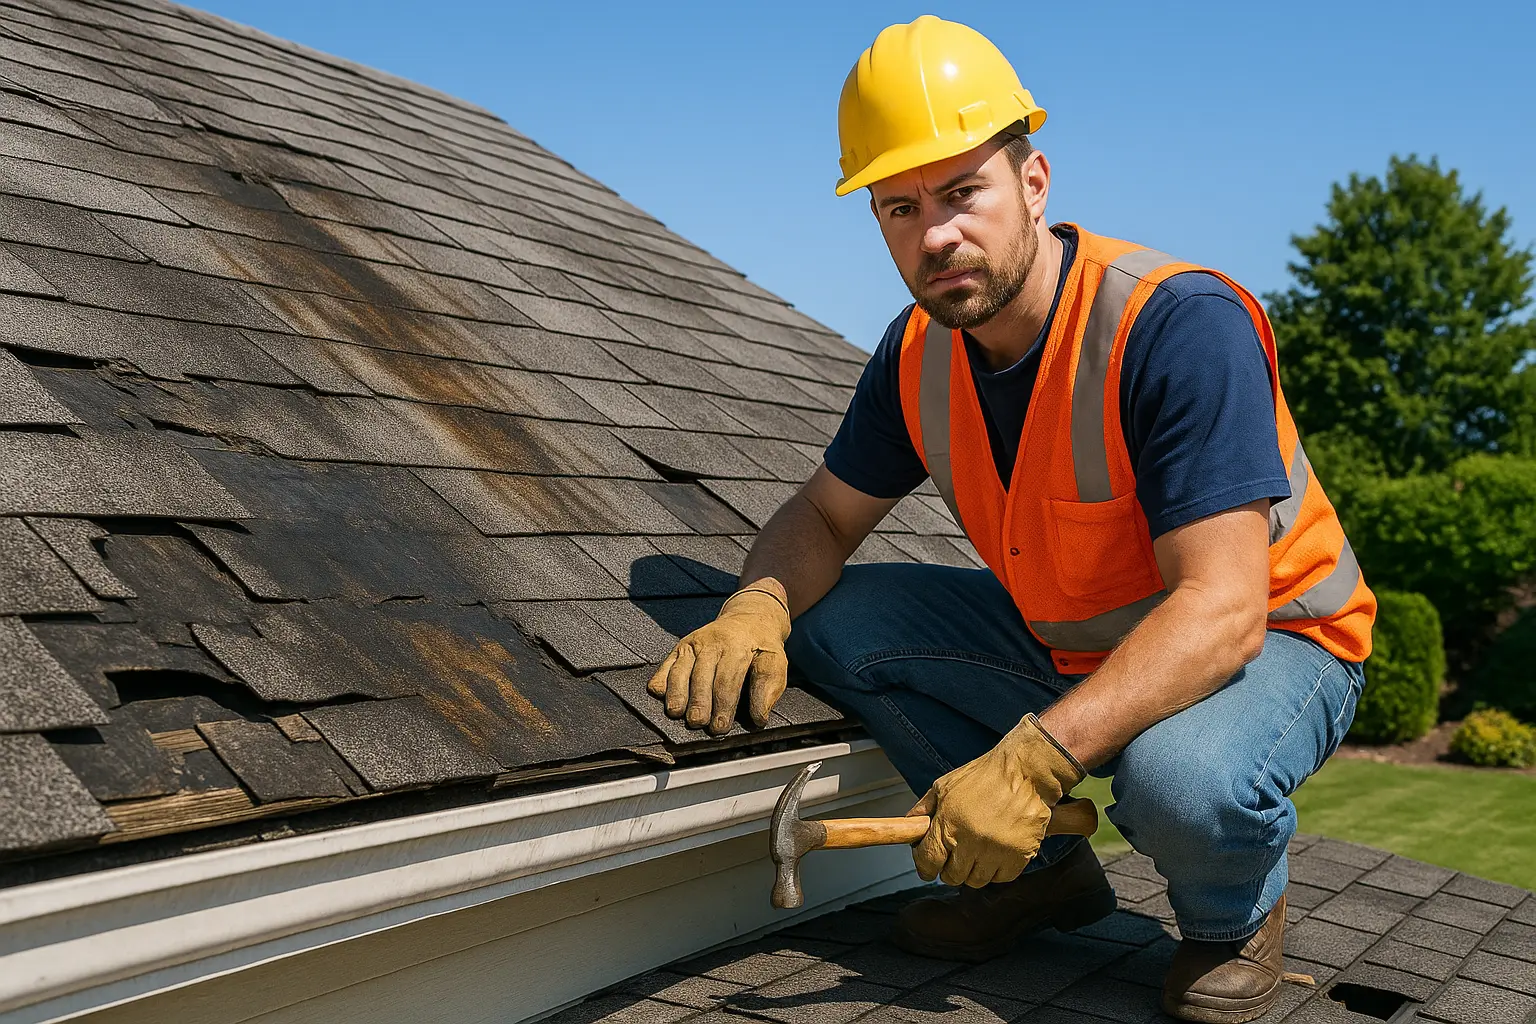
Before jumping into any repairs, check your roof thoroughly for signs of disrepair. Common red flags include visibly cracked, curled, or missing shingles. When you see these issues, it’s a clear call to explore roof restoration. If you also spot bits of granules in your gutter, it might be time to think about more than just a quick fix – a proper roof restoration can help secure the asphalt by reinforcing its protective layers. After awfully stormy weather, even a short inspection can uncover minor damages that, if neglected, could develop into bigger problems.
Regular inspections, especially following heavy rains or strong winds, are crucial. They allow you to catch issues before they evolve into major, expensive repairs. Early detection prevents water from seeping under your roof, where it might lead to mold or decay. Over time, timely roof restoration can provide peace of mind by keeping your home’s critical barrier in top condition.
Assessing the Extent of Damage
When you identify damaged shingles, it’s important to figure out if the wear is limited to a few spots or spans a larger part of your roof. Sometimes, a couple of flawed shingles may just need a quick touch-up, but extensive damage might indicate deeper issues and require comprehensive roof restoration. If you find that damage stretches across several rows or clusters in one section, you could be looking at more than a simple repair.
Documenting the affected areas with photos can provide a clearer insight into the overall condition of your roof and support any decision to pursue a full roof restoration. This extra step not only saves future headaches but also safeguards the entire roofing structure from progressive deterioration.
Gathering the Tools for Replace Shingles and Roof Restoration
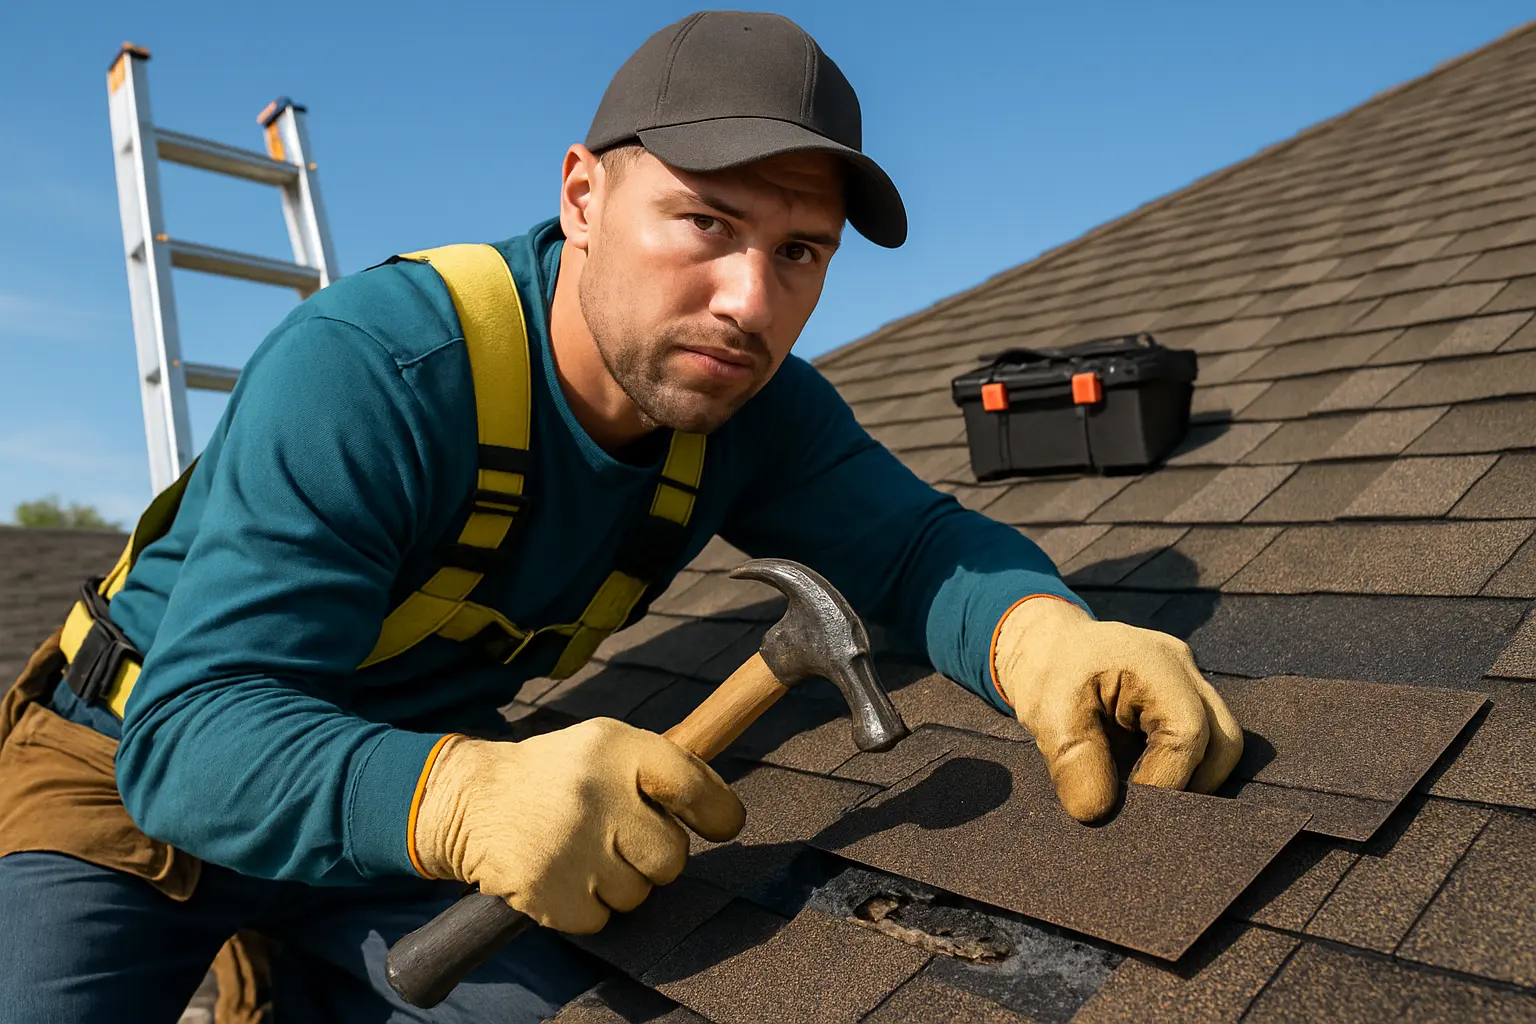
Before starting any repair work, it’s smart to collect all the proper tools. A tidy work space with everything at hand ensures that your project will move smoothly and safely. Essential items include a hammer, ladder, utility knife, crowbar, roofing nails, and of course, replacement shingles that match your existing ones. Don’t forget safety gear like gloves, non-slip shoes, and maybe a safety harness if you’re dealing with a steep roof.
Having all these tools ready cuts down on delays and keeps your work area safe. It also helps to plan out your steps in advance. If you’re new to dealing with roofing tools or techniques, watching a few tutorial videos or reading extra guides can boost your confidence. With the right preparation, roof restoration becomes a project that is both doable and rewarding.
Preparing for Replacement
Ensuring Safety During Roof Restoration
Your safety is the top priority when planning any roof project. Before climbing up, make sure your ladder is set on a stable, level surface so you can work without risk. Choosing a dry day is essential to prevent slip-ups caused by wet conditions, which can lead to serious injuries.
Clear the area around your roof of any debris or obstacles that might trip you up. Securely stow away your tools to avoid accidents during the climb. A secure safety harness may be a good idea for tackling steep sloped roofs. Notifying a friend or neighbor that you’ll be working at height ensures someone is aware of your efforts in case of an emergency. Taking these precautions lays the groundwork for effective roof restoration that prioritizes your well-being.
Removing the Damaged Shingles
Once you’re geared up and safe, it’s time to remove the damaged shingles. Begin by gently prying up the shingles with a crowbar, starting at the outer edge of the affected area. This careful process not only helps you avoid additional damage but sets the stage for a neat repair. As you lift the shingles, use a hammer to extract the nails. Removing all remnants, including nails and small bits of old shingles, is key because leftover materials can lead to an uneven roof surface.
This phase isn’t just about clearing old materials; it’s also a great chance to observe how your roof is built. Understanding the original layout and construction will help guide the subsequent steps in your roof restoration process.
Inspecting the Underlayment
With the damaged shingles off, the next step in roof restoration is checking the underlayment – that vital layer between the roof deck and shingles. This barrier protects your home from water damage and adds a layer of insulation. Look closely for any damp spots, signs of rot, or water entry. Even minor damage here can threaten the roof’s overall performance.
If you spot any problems in the underlayment, address them right away. Repairing or even replacing parts of this layer provides a clean slate for new shingles to adhere properly. Though it might add extra time to your project, ensuring a well-prepared base is essential for a successful roof restoration.
Installing New Shingles
Placing the New Shingles for Roof Restoration
With your work area ready, it’s time to install the new shingles. Start by aligning the bottom row with your existing pattern to maintain even spacing and a clean look. Accurate alignment is critical because shifting even slightly can disrupt how water naturally sheds off your roof, leading to pooling or leaks. This methodical approach is a core element of roof restoration, as it ensures each shingle is placed exactly where it needs to be.
A handy tip is to use a chalk line to mark your starting point. This little trick guarantees straight rows and uniform gaps, especially on larger roofs where even small mistakes can be noticeable. By carefully laying each row, you’re not just replacing shingles – you’re completing a robust roof restoration that will stand the test of time.
Nailing Down the Shingles
After lining up the shingles, the next step in your roof restoration project is to secure them properly. Fastening them with roofing nails in the designated nailing zones is important for wind protection and long-term stability. Nails should ideally be placed about an inch from the edge and a few inches above any pre-marked points, ensuring the shingle holds firmly without risk of damage from over-driving.
Take your time with nail placement. Consistent pressure, whether you’re using a hammer or a pneumatic tool, helps set each nail at a uniform depth, contributing to a neat and tight repair. For those who are new to this, testing your technique on a small area beforehand can prevent mistakes in your roof restoration process. Following manufacturer guidelines for your specific shingles will further assure the job is done right.
Sealing the Shingles
The final step in installing your new shingles is sealing them. Applying roofing adhesive or sealant along the edges creates a watertight layer that resists wind uplift and water seepage. This sealing step is integral to roof restoration since it extends the lifespan of your new installation by reducing the risk of leaks.
Make sure to evenly spread the sealant over all exposed areas, especially on sections prone to strong winds. A high-quality adhesive is a small investment that pays off by keeping your shingles securely in place throughout harsh weather seasons. With the right sealant, even a well-done roof restoration is given an extra layer of defense, ensuring your installation holds firm as temperatures and conditions change.
Conclusion
Working on your roof doesn’t just fix a problem – it’s a valuable step towards a complete home upgrade. By following this guide for roof restoration, you can tackle shingle replacement confidently and reduce the chance of more expensive repairs down the line. Every careful step you take not only enhances your home’s beauty but also reinforces its ability to protect you against the elements.
For those who love hands-on projects, roof restoration can be a rewarding way to add value to your home. At the same time, know your limits; if a repair feels too risky or complicated, consider calling in a professional. Experts come with the right tools and safety training to ensure that your roof gets the best possible care.
Modern weather patterns can be unpredictable, making regular maintenance crucial. Staying on top of repairs through timely roof restoration prevents minor issues from growing into major concerns. Besides improving structural integrity, a well-kept roof also boosts energy efficiency by keeping the interior comfortable year-round.
No matter if you decide to handle the job solo or opt for professional help, the key is to start sooner rather than later. Regular checks and repairs are the backbone of roof restoration, and they keep your home secure and efficient for years. With proper planning, the right tools, and a bit of determination, you can achieve a roof that not only protects your home but also enhances its overall appeal.
In summary, merging careful inspection with diligent work creates a lasting impact on your roof’s health. Whether you choose to replace shingles or embark on a full roof restoration, the dedication you invest today builds a sturdier, safer home tomorrow.