Roof Tile Restoration with clay, slate, ceramic, installation
Your home’s roof works hard to protect you from the weather, but even a solid roof can face problems when tiles become cracked or damaged. Not only do broken tiles take away from your home’s appeal, they can also open the door to leaks, mold, and even structural issues. When you decide to replace roof tiles, it’s important to understand each step—from spotting early damage to safely installing a replacement. With careful planning and a steady hand, you can keep your roof in top shape while avoiding expensive repairs down the line.
Spotting and Assessing Damage
Essential Steps for clay, slate, ceramic, installation
Before you roll up your sleeves, start by examining your roof carefully. Look for signs of trouble like visible cracks, chipped areas, or tiles that seem loose. After heavy winds, rains, or storms, take extra care when inspecting. Early detection could be the difference between a simple fix and a costly overhaul.
For example, if you notice water stains or damp spots on your ceilings, or persistent drips during rain, it may signal that your roof’s barrier has been compromised. Keep in mind that wear may be more pronounced in spots exposed to harsh sun or in coastal regions where salt and wind can accelerate deterioration. Regular checks not only help you replace roof tiles in a timely manner but also protect your entire home’s structure.
Once you have identified problem areas, it’s time to gauge the full extent of the damage. Check if the issues are isolated or more widespread. If many tiles near skylights or valleys have failed, it could mean extra stress in those areas. Documenting the number and location of damaged tiles can prove useful if you later decide to call a professional for advice.
Prioritizing Safety in Roof Maintenance
Securing a Safe clay, slate, ceramic, installation Process
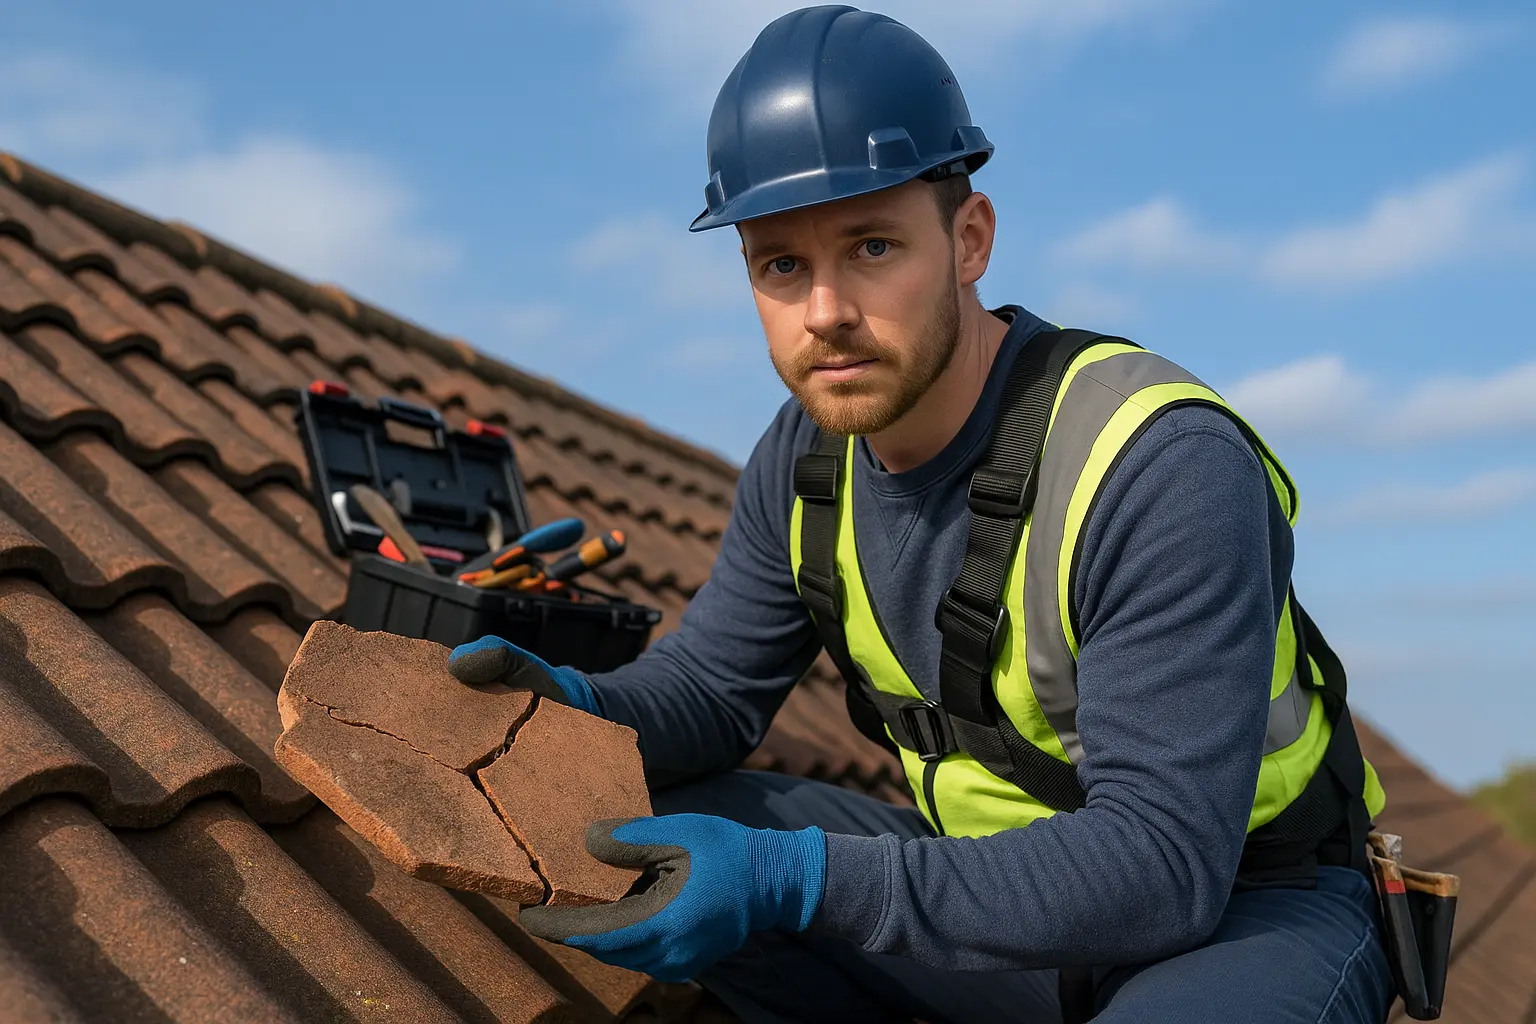
Working on your roof is not a task to take lightly. Safety always comes first. Make sure you have a robust, stable ladder and set it up on a flat surface. Avoid any chance of slips by working slowly and methodically, especially when the roof is wet or uneven.
Investing in a safety harness can pay off if you plan to be on your roof for an extended period. Non-slip footwear is a must, and heavy-duty gloves can shield you from sharp objects or rough edges on broken tiles. It might also help to have a friend nearby who can lend a hand if you encounter any trouble. Even if local building rules don’t force you to use protective gear, it’s smart to do so. When you commit to proper safety measures, you protect both yourself and your investment.
Getting Ready to Replace Damaged Tiles
Gathering Your Tools for clay, slate, ceramic, installation Success
Before climbing up to replace any tiles, preparation is key. Begin by collecting the necessary tools and materials. Typical essentials include a pry bar to carefully lift out damaged tiles, a reliable hammer, quality roofing nails, and replacement tiles that match your current roof’s look. Equally important is a sturdy ladder to safely access the roof.
Inspect your tools; a worn-out pry bar or a dull hammer might do more harm than good. Local stores often recommend additional items like roofing sealant or adhesive, particularly if your repair needs some extra waterproofing. If you’re dealing with a large repair, having a few extra already-matched tiles can stop interruptions during the project.
For homeowners invested in long-lasting solutions, remember that choosing quality materials now will help you avoid repeated expenses later. A brief investment in a complete kit for your clay, slate, ceramic, installation project sets the scene for a smoother, more reliable repair.
Removing and Preparing Old Roof Tiles
How to clay, slate, ceramic, installation the Damaged Sections
With your safety measures in place and tools at hand, begin the removal process. Start by climbing to the problematic area and gently using your pry bar to slip beneath the damaged tile’s edge. The goal is to ease the tile free without putting nearby pieces at risk.
Even if nails are visibly holding the tile down, a careful, measured tap with a hammer can help release them without further cracking the tile. Patience is crucial here—rushing the removal might lead to additional repairs. If you’re new to this kind of work, watching a demonstration video or getting a tip from an experienced friend can go a long way.
Once you’ve removed a tile, take a close look at the exposed surface of your roof. The underlying structure, be it wood, felt, or a waterproof membrane, should be intact and free from decay. Any signs of rot or damage in this layer could mean you need to perform a few extra fixes before installing a replacement tile. Just like a weak wall won’t hold new wallpaper well, a compromised base won’t support new tiles for long.
Installing the New Tile
Achieving a Flawless clay, slate, ceramic, installation
After preparing the area, it’s time to fit your new tile. Place the replacement tile carefully into the gap, ensuring it aligns perfectly with its neighbors. The layout and overlapping design of your roof are integral to both its look and its ability to keep rain at bay.
If your new tile doesn’t quite match the size or shape of the existing ones, a tile cutter might be necessary to trim it to fit perfectly. The goal is to achieve a uniform, seamless appearance that will both look good and act as an effective barrier against moisture. Even the smallest gap can pave the way for water infiltrations that might eventually cause serious damage.
Once positioned, fasten the tile securely using roofing nails. Many modern tiles come with pre-drilled holes, which simplify this process, but following the manufacturer’s guidelines for nail angle and pressure is crucial. Hammer in the nails until the tile sits snugly, but be cautious not to drive them too far, a mistake that could lead to cracks in the tile.
For an added layer of security and waterproofing, a dab of roofing sealant around each nail head might be a wise step. This helps to fend off leaks during heavy downpours and strengthens the positioning of the new tile in place. Taking a little extra time here can save you hassle in the future, ensuring that every tile is securely and beautifully placed.
Final Checks and Long-Term Maintenance
Reviewing Your New clay, slate, ceramic, installation
After all the work is done, step back and take a thorough look at the repaired area. Compare the new tile with surrounding ones to ensure the color, size, and fit are consistent. Continued alignment between the tiles is not just for aesthetics—it’s a vital component in keeping water out and reducing the risk of leaks.
Pay attention to nails that may have been overdriven or any minor misalignments. Sometimes, you might notice a stray gap where moisture could slowly seep in. If any inconsistencies appear, address them immediately by reapplying sealant or repositioning a tile. For repairs spanning multiple tiles, recheck your work after a few days; temperature changes or settling might shift tiles, and small adjustments can prevent bigger issues later.
Regular inspections are key. Keep an eye out for early signs of deterioration, like cracks or small leaks, to ensure that your investment in a sturdy roof continues to pay off year after year. Routine maintenance means you’re less likely to face urgent repairs under extreme conditions, and a healthy roof means a safe home.
Conclusion
Repairing a roof by replacing cracked or damaged tiles might seem difficult initially, but with the right steps, it’s quite manageable. Start by carefully diagnosing the problem areas, and then move steadily through safe removal and precise installation. Whether you work on a single tile or many, every improvement safeguards your home against water damage and structural decay.
Following the detailed guide for replace roof tiles helps ensure a durable and attractive finish to your roofing system. Investing in quality materials and never compromising on safety pays off in the long run. Remember, proper care—especially with the careful methods of clay, slate, ceramic, installation—is the secret to preserving your roof’s longevity.
If the task feels too overwhelming or if the damage is extensive, it’s perfectly fine to call in a roofing expert. Professionals bring the experience and tools needed to handle tougher repairs, providing that extra sense of confidence and security. At the end of the day, your safety and the continued protection of your home are what matter most.
Whether you’re a seasoned DIY enthusiast or just starting to explore roof repair, a solid understanding of the process—from careful inspection to secure installation—empowers you to protect your home better. Remember, choosing the right method for clay, slate, ceramic, installation can extend your roof’s life and keep your home safe for many years to come.
So, gather your tools, review the steps carefully, and get started on your roof repair journey. With persistence and attention to detail, you’ll soon see the rewards of a well-maintained roof, giving you peace of mind no matter what weather comes your way.
In conclusion, by taking care of small issues now, you prevent larger complications in the future. Make sure to regularly inspect, maintain, and if needed, update your roof using proper techniques and quality materials. Remember, a solid roof is the first line of defense for your home, and every repair counts. Enjoy the confidence that comes with knowing you’ve taken the right steps to guard your home from the elements.
Whether it’s your passion for roofing or simply keeping your home secure, taking the time for meticulous repairs can really pay off. Embrace the methods of clay, slate, ceramic, installation as a smart investment in your property’s future.