Essential Leaks, Mold, Restoration Insights
Early Warning Signs: Leaks, Mold, Restoration
Spotting water trouble early is key for every homeowner. The first hints of problems often come in the form of unsightly water stains on ceilings or walls. These marks not only lower the look of your space but could signal that small breaches are starting to cause larger issues. When you see peeling paint or even tiny patches of unwanted growth, it might be that your roof is allowing dangerous leaks, mold, restoration concerns to develop. In some cases, a slight dampness beneath the roof can be the first sign that moisture is settling where it shouldn’t. Over time, these small issues could demand major attention through proper water damage roof repair and overall maintenance.
If you notice any unexpected discoloration or softened spots on your ceiling, don’t dismiss it. These subtle cues might be warning signals that water is slowly making its way past the surface. Homeowners should be alert to any changes in texture. Even minor bubbling or blistering on the roof’s exterior could indicate that persistent moisture has led to more significant concerns related to leaks, mold, restoration challenges.
Root Causes of Roof Problems
Understanding why water might pass through your roof is the first step in preventing bigger issues later. Often, broken or missing shingles are the culprits. Whether it’s from violent weather, falling debris, or natural aging, these imperfections create vulnerable spots for water to seep in. Before a small repair becomes a large-scale project, it’s wise to inspect your roof regularly and quickly replace any shingles that show signs of damage.
Poor insulation can also play a role. Without proper insulation, temperature differences inside and out can lead to condensation, which in turn weakens roofing materials. Additionally, problems around flashing—those metal strips placed near chimneys, vents, and skylights—can speed up water-related trouble. If flashing is worn out or misaligned, persistent leaks, mold, restoration issues may emerge. Being proactive in spotting these signs can help you avoid the need for intensive water damage roof repair down the line.
Sometimes adverse weather can worsen minor flaws. A brief storm could accelerate the deterioration of loose shingles or failing flashing, allowing water that causes leaks, mold, restoration worries to advance quickly. Hence, regularly checking for these symptoms helps ensure timely repairs before a small problem becomes overwhelming.
Checking the Extent of the Damage
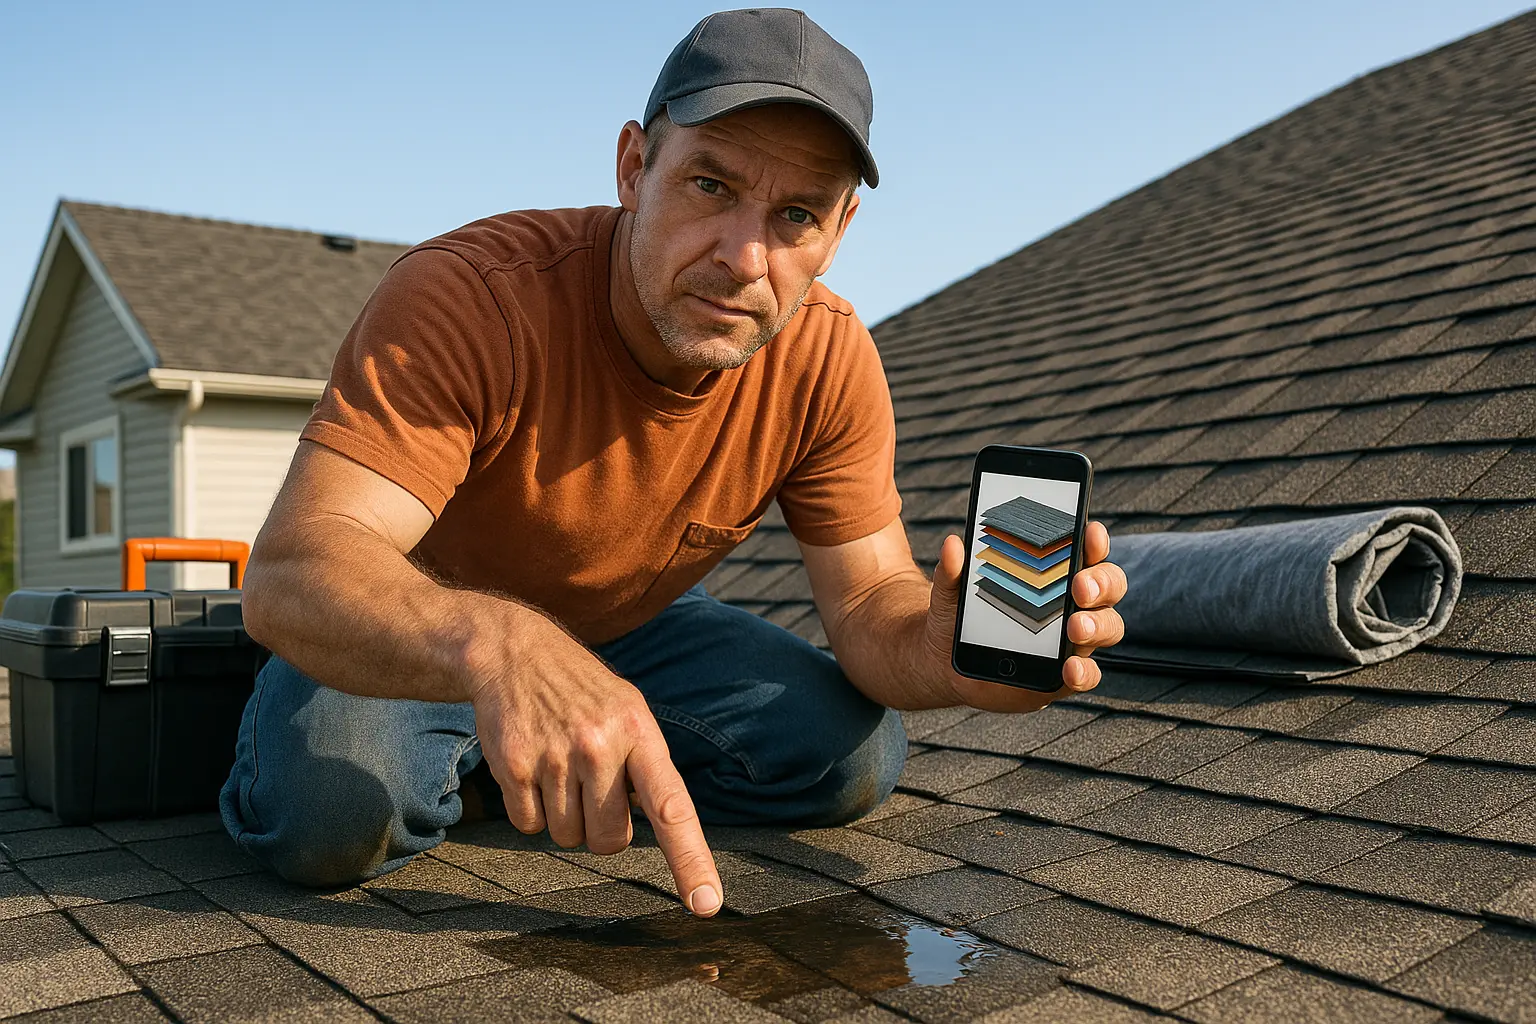
Before diving into repairs, make sure to inspect both inside and outside your roof carefully. Run your hand over the roof’s surface to feel for any soft or uneven areas, which could hint at deeper issues. The depth and spread of water marks on your ceiling can tell you whether you’re facing a minor leak or a serious structural problem.
Using modern tools like thermal imaging cameras is another smart approach. These devices detect cooler areas that may suggest moisture buildup. When you combine this information with knowledge of your roof’s age and history, you get a clearer picture of what kind of water damage roof repair might be required. Taking detailed notes during your inspection can guide you in planning a measured repair strategy.
Sometimes what seems like a simple stain might be masking larger issues. Even a small spot can turn into critical leaks, mold, restoration challenges if not addressed immediately. Seeking advice from a professional roofing contractor can also help confirm the best repair plan and avoid unnecessary expenses.
Getting Ready to Fix Roof Issues
Gathering Your Tools
Now that you’re aware of the issues, the next step is to gather the right equipment. A careful preparation process can help make repairs safer and swifter. Essential items include a hammer, a good utility knife, a solid ladder, and a pry bar to remove and adjust damaged sections. Using the right safety gear — gloves, goggles, and hard hats — is a must, as roof repair work can be risky.
Set aside roofing cement, sealants, and quality roofing nails in your toolbox. Specialized tools like a roofing shovel can also prove useful when you need to quickly clear damaged shingles and debris. When the repair project demands careful handling, having all materials and tools ready helps minimize mistakes that could worsen those leaks, mold, restoration problems.
A well-prepared checklist can save you time later. Write down everything from ladders to safety harnesses and measuring tapes. This thorough organization lets you focus on solving the water damage roof repair challenges without scrambling for forgotten supplies.
Observing Safety Measures
Your safety should be the top priority whenever you climb up to work on your roof. Start by making sure the ladder is solid and securely positioned. Always choose ladders designed for outdoor use that feature non-slip feet. Working on a wet or icy roof can quickly turn dangerous, so avoid tackling repairs when conditions are poor.
Using a safety harness is also highly recommended, especially on steep or high sections. For anyone not familiar with roof repairs, having a friend nearby can provide essential support in case you stumble. Keeping safety in mind can also help prevent extra issues, such as further damage from a fall or accidental injury while trying to fix leaks, mold, restoration complications.
Plan your work on clear days with calm weather because dry conditions help roofing materials like sealant and cement set properly. Monitoring weather forecasts and scheduling repairs accordingly will both protect you and improve the end results.
Clearing Away Debris
Before starting the repair job, make sure your roof is free of debris. Leaves, twigs, and old, loose shingles can hide serious damage and prevent you from seeing the full effect of water issues. A clean surface allows for a more accurate assessment, thus guiding you when tackling those leaks, mold, restoration concerns.
Clear off any loose material by sweeping or using a powerful blower. In some instances, a gentle wash might be required to remove stubborn residue that could prevent new materials from sticking. Once your roof is debris-free, you can inspect it in detail and better plan effective water damage roof repair methods.
Regular cleaning not only makes repairs easier but also helps keep your roof in good condition. A roof that is clear of unwanted debris minimizes these persistent challenges and promotes a healthier overall structure.
Repairing and Restoring Your Roof
Fixing Damaged Shingles
When it comes to roof repairs, fixing shingles is usually the starting point. Carefully lift any shingle that appears damaged with a pry bar. It is important to proceed slowly to stop one crack from spreading to adjacent shingles. After gently prying the shingle, pull out the nails—using the proper tools—to avoid extra harm. Check if the shingle can be saved with a little roofing cement or if it needs replacing. Leaving a tiny issue unattended might lead to further leaks, mold, restoration struggles later on.
If you see only minor wear, you could reapply cement to smooth out curled edges or small fissures. Yet, significant damage means you should replace the shingles entirely. It’s always wise to match new shingles with the old ones to keep a uniform look and effective barrier against water damage roof repair challenges.
There are many types of shingles available. Asphalt shingles are often preferred for their cost and ease of installation, while some homeowners choose architectural shingles for added durability and a richer appearance. Following manufacturer instructions ensures that every replacement, from each nail to every layer of sealant, helps reduce the risk of future leaks, mold, restoration complications.
Sealing Out the Water
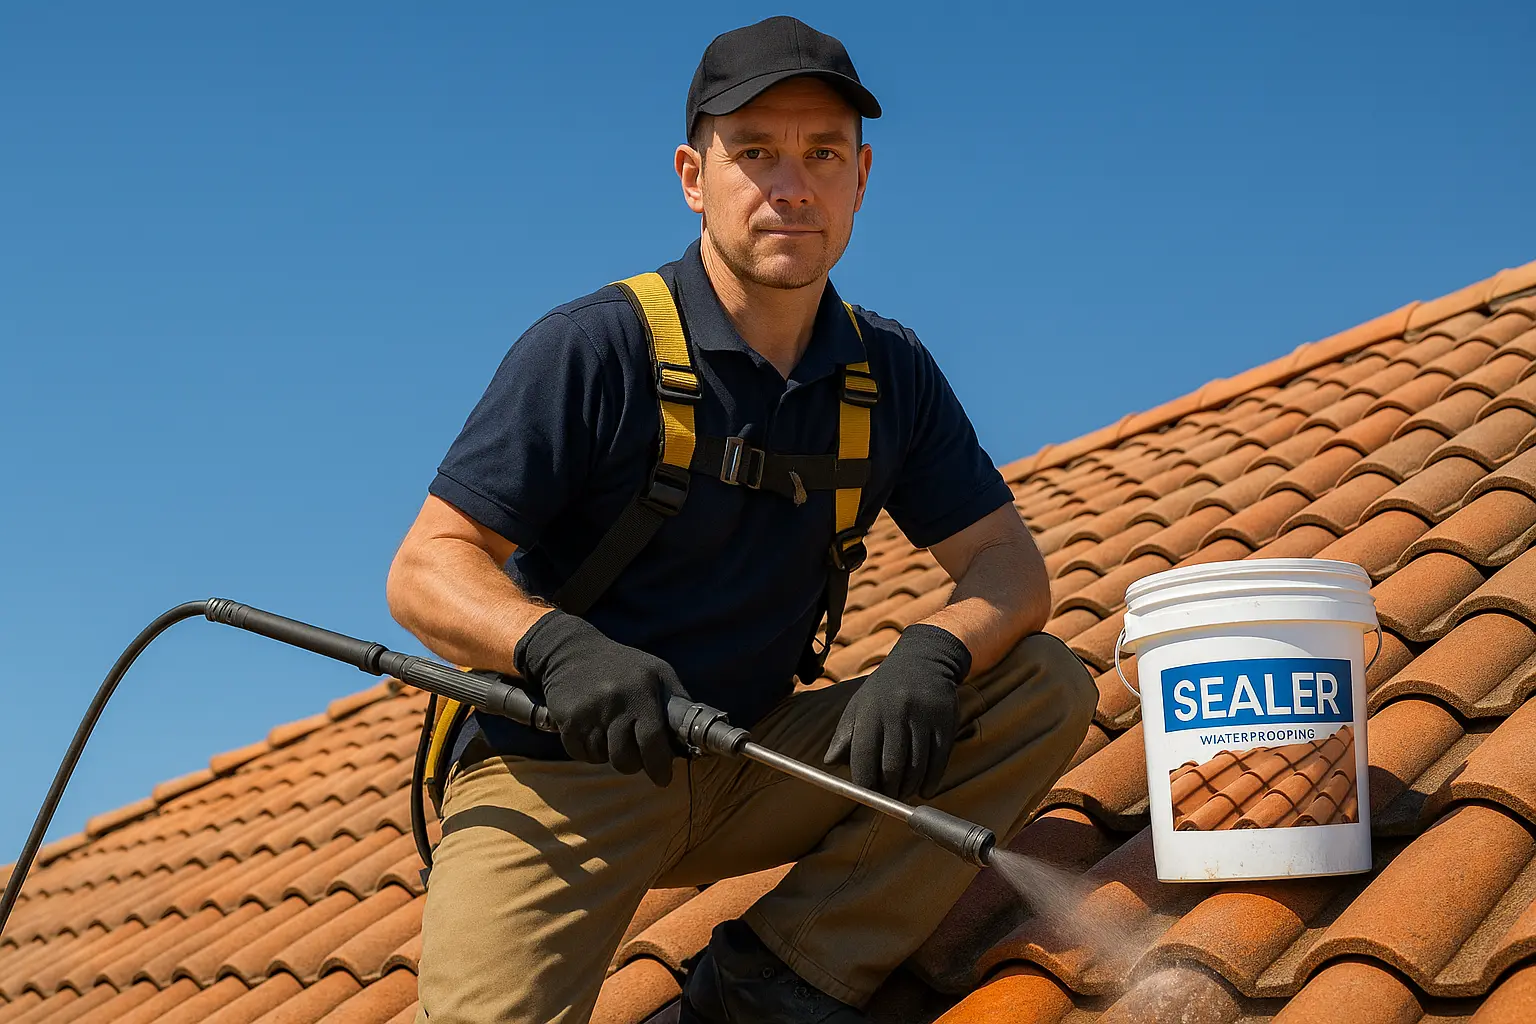
Preventing water from seeping further inside is as essential as repairing visible damage. Identify all spots where water might be entering, including around vents, chimneys, and any area showing cracked or missing pieces. Using a reliable roofing sealant forms a barrier to protect against future intrusions. When applied correctly between shingles and over small gaps, sealant becomes the first line of defense against reoccurring leaks, mold, restoration challenges.
Be sure to securely seal areas that have been affected and consider applying weather-resistant, UV-protected sealants. This extra measure not only strengthens current repairs but also extends the life of your roof. In some cases, these treatments work hand in hand with professional water damage roof repair methods to safeguard your home.
It is important to follow the product guidelines and reapply after severe weather events. Consistent upkeep ensures that even a little seepage does not evolve into full-blown water issues affecting the roofing structure.
Replacing Damaged Flashing
Flashing plays a crucial role in keeping rain from infiltrating your home, especially at vulnerable junctions like around chimneys and skylights. When flashing starts to break down or show signs of rust, it’s vital to replace it immediately. Begin by carefully removing the worn-out flashing without disturbing nearby materials. Measuring accurately before cutting new flashing ensures a perfect fit with no gaps left behind.
Secure the new flashing in place with roofing nails resistant to corrosion and then seal its edges well. This careful approach strengthens the entire roof and helps ward off any persistent leaks, mold, restoration risks. Whether you choose copper for its strength or aluminum for its light nature, matching your material to your roofing style is integral to lasting protection.
These steps, though detail-driven, create a solid barrier against water that has previously caused major issues. A prompt flashing replacement often works in tandem with overall water damage roof repair efforts to reinstate your roof’s integrity.
Taking Steps to Prevent Future Damage
Routine Roof Inspections
Regular inspections are vital to catching problems before they expand. Set a schedule to check your roof at least once a year or after harsh weather conditions such as heavy rains or storms. These checks can reveal small cracks, missing shingles, or early mold spots that evolve into serious leaks, mold, restoration dilemmas. A seasonal checklist that focuses on vulnerable areas like eaves, valleys, and flashing sections can make your inspection more effective.
By feeling the surface gently and noting any unusual softness or discoloration, you can spot even subtle damage. Professional inspectors sometimes employ drones or thermal cameras to detect hidden damp areas, making thorough water damage roof repair more targeted. Documenting your observations helps decide if a call to a professional is needed before the problem escalates.
Taking preventive measures at regular intervals not only delays the onset of problems but also ensures that minor repairs do not turn into costly emergencies.
Maintaining Your Gutters
Your gutters work hard to carry water away from the roof and home. However, they can quickly become clogged with debris like leaves and twigs, leading to water pooling and accentuating leaks, mold, restoration issues. Cleaning gutters as part of your regular maintenance routine is crucial for avoiding such blockages.
Most homeowners benefit from cleaning gutters at least twice a year—in spring and fall—but more frequent cleaning might be needed in leafy areas. Also, check that downspouts are working well so that water is steered away from your home’s foundation. A well-maintained gutter system goes hand in hand with successful water damage roof repair and long-term roof health.
Enhancing Roof Ventilation
Good airflow in your attic helps ease moisture buildup. Without proper ventilation, condensation gathers under the roof, fostering conditions that lead to mold and wood rot, which are central to the persistent leaks, mold, restoration struggles. Installing ridge, soffit, or other roof vents encourages the exchange of hot and moist air with cooler air from outside, helping keep your roof dry.
This improved ventilation is not only a preventive measure but also contributes to reduced energy bills by easing the temperature load on your home. When planning any major roofing work, consider consulting a ventilation expert to ensure the airflow patterns are optimized. Combining these ventilation improvements with routine water damage roof repair practices makes your roof more resistant over time.
Conclusion
The journey to a sturdy, healthy roof starts with understanding the early signs of water trouble. Small clues like discoloration, peeling paint, or slight moisture can be the precursors of severe leaks, mold, restoration challenges if left unaddressed. Knowing the causes—whether they’re broken shingles, improper insulation, or failing flashing—allows you to plan ahead and avoid future complications.
Proper preparation, from gathering the right tools to following recommended safety measures, makes roof repair manageable. Clearing debris and addressing issues early means that your water damage roof repair efforts are more effective and less risky. When repairs start, be meticulous—whether replacing a shingle, sealing a leak, or upgrading flashing, every step plays an important role in protecting your home against further deterioration.
Preventive maintenance is key. Regular roof inspections, gutter cleaning, and improved ventilation can stave off the problems that require intense leaks, mold, restoration interventions later. By staying alert and acting quickly at the first sign of trouble, you help to ensure that your roof remains a secure shield against the elements for years to come. Ultimately, whether you tackle the repairs yourself or enlist a professional for water damage roof repair, a proactive approach is the best strategy for keeping your home safe and sound.