Introduction to plywood, sheathing, structural repair
Finding damaged roof decking can truly unsettle a homeowner. It isn’t only an unsightly flaw – when the support beneath the roof is weakened, your entire property is at risk. Deterioration in your roof’s substrate opens the door for water leaks, mold growth, and even collapse in severe cases. This detailed guide walks you through each step to remove and replace damaged decking safely. By gaining a firm grasp on every part of the process, you can take action to protect your investment. With proper planning and attention to detail, you’ll be able to decide whether to fix the issue yourself using techniques like plywood, sheathing, structural repair, or if it’s time to call professional assistance.
Recognizing Roof Decking Damage
plywood, sheathing, structural repair – When to Rethink Your Approach
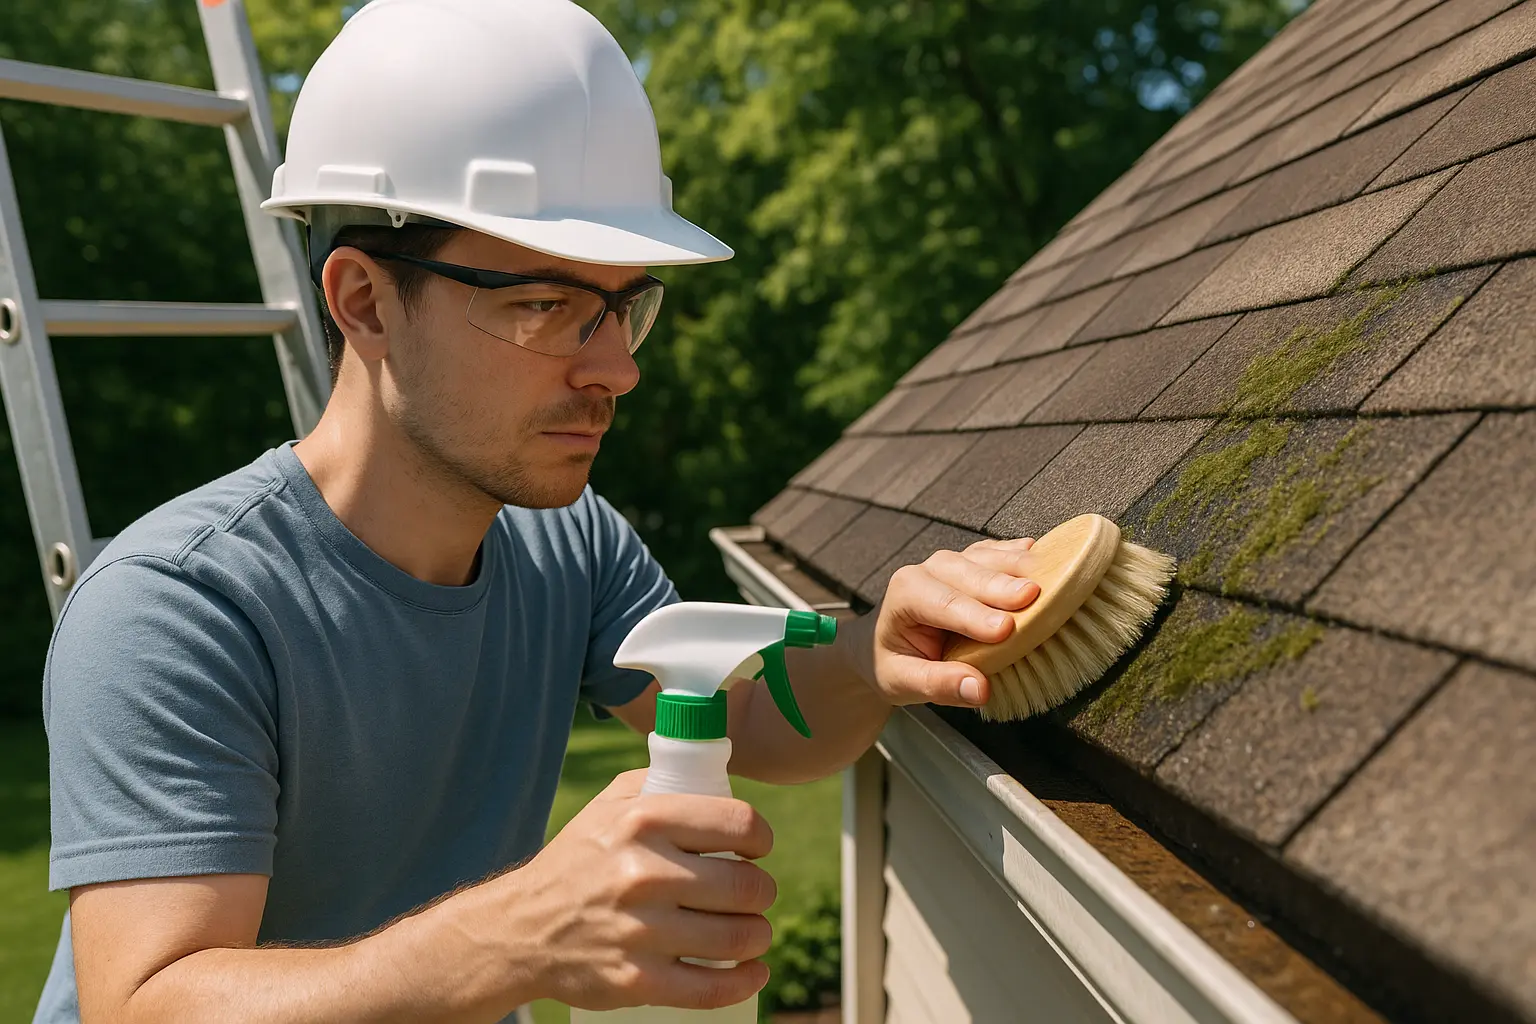
Before starting any work, take a close, careful look at your roof. A thorough visual check is essential. Walk around your home and study the roof from different angles. Notice any droops, water marks on ceilings, or unusual curves in the roofing material. Even if a few shingles are missing or loose, this might hint at a bigger problem underneath. Keep an eye out for uneven patches or discoloration along the edges—such signs often signal hidden damage in the decking below.
Using a ladder to inspect from a safe, nearby area can be very helpful. When you see inconsistencies, snap pictures or jot down notes. These records may prove crucial if you need to file an insurance claim later on. Always wear protective gear like gloves and non-slip boots to minimize risks during these checks. Doing so will help you maintain safety, especially when evaluating important aspects like plywood, sheathing, structural repair methods that might be needed later.
Moisture – The Silent Threat
Water is one of the major enemies of your roofing structure. Even a tiny leak can worsen over time. Head to your attic and inspect the beams, insulation, and any wood for damp patches. Dark spots or persistent musty scents in the attic or across your home often indicate that moisture has made its way in. In many cases, areas that seem just slightly wet can quickly require extensive plywood, sheathing, structural repair if they are not tended to immediately.
Remember, a minor leak can escalate unexpectedly, especially when heavy rain or snow is on the horizon. Homeowners often report seeing spreading water marks on walls and ceilings, which should prompt immediate checks for leaks. In humid climates, mold or mildew can start to appear even with the smallest amount of water, underscoring the need to monitor your roof regularly.
Structural Safety Tests and Evaluations
Sometimes, visual inspections aren’t enough. Carefully head into your attic and press gently on different sections of the roof decking. In a safe and healthy roof, the surface will feel firm and should not give under modest pressure. However, if you find any spots that are soft, spongy, or have a slight bounce, these are a clear indication that the structure may be compromised. Such spots might signal that it’s time for plywood, sheathing, structural repair measures before the damage escalates.
Write down the areas that seem weak. This documentation will help you focus your repairs on the most likely problem spots and can be very useful if you end up consulting with experts. Accurate evaluation is key because a small oversight could lead to bigger repair needs down the road.
Preparing for Removal
Safety Comes First
Starting any roof work demands that your safety is a top priority. Gather the right safety equipment: a hard hat, goggles, gloves, and non-slip boots are essential. Setting a firm support structure, such as secure scaffolding or a robust ladder, is highly recommended. Climbing on a roof that may already be damaged without proper safety measures can lead to accidents that might exceed repair costs.
Inform someone close to you about your work schedule. Let them know where you will be in case you run into difficulties. Also, review your home insurance policy to understand what is covered by repairs. Whether you choose a DIY project or professionals, your well-being and preparedness are the first steps to a successful repair, especially when opting for techniques like plywood, sheathing, structural repair.
Tools and Materials You Will Need
Planning ahead with the right tools is crucial. Equip yourself with a pry bar, hammer, circular saw, and a sturdy drill. These tools help you remove damaged materials cleanly without harming nearby structures. High-quality replacement materials are just as important. Items such as new decking boards, nails, screws, and a weatherproof sealant will be required.
Sometimes, additional tools like a reciprocating saw or an angle grinder might come in handy, particularly for tougher jobs. By checking that you have every tool at the ready, you avoid delays and the frustration of working mid-project without everything needed. In this way, your approach to plywood, sheathing, structural repair becomes more focused and efficient.
Time It Right – Weather Considerations
Your roofing project should coincide with clear, mild weather. Avoid starting repairs on rainy, windy, or extremely cold days. Bad weather can affect not only the quality of your work but also your personal safety. Take a look at the local forecast and arrange your repair tasks for a time when the conditions are calm and dry.
Temperature matters as well. Many sealants and adhesives need a particular warmth to set correctly. Working during cold spells might mean they don’t adhere well, which could lead to future vulnerabilities. By planning your work during optimal weather, you can ensure that your repairs—whether involving a simple plan to replace roof decking or a full plywood, sheathing, structural repair setup—last much longer.
Removing Damaged Decking
Detaching the Roofing Cover
Your first physical task involves carefully removing the outer roofing material covering the damaged decking. This layer might include shingles, tiles, or other materials that shield the decking. Use a pry bar to lift these materials gently. Take your time to prevent harming pieces that could be reused later. Sometimes, sections of the roofing are still in good shape even though the decking underneath is compromised.
As you remove the cover, note its condition by taking photos or writing down details. This record not only helps match new materials with existing ones for a uniform look but is useful when discussing the extent of plywood, sheathing, structural repair required with experts. Keeping careful records ensures that you maintain the integrity of the roof during the repair process.
Removing the Old Decking
With the roofing cover off, focus on the damaged decking itself. Using a circular saw, make precise cuts along the support beams where the new material will meet the intact parts of the roof. Work in small segments so that damage to surrounding elements, like rafters or insulation, is kept to a minimum. Patience here is key—rushing can cause harm to the roof’s structure.
Always measure twice before you cut. By ensuring only the damaged portion is removed, you safeguard the stability of the remaining sections. This careful method aligns perfectly with the practices of plywood, sheathing, structural repair and has a lasting effect on your roof’s durability.
Clearing Away Debris and Old Material
Once the old decking is removed, it is vital to clear out any remnants. Leftover nails, dust, and wood fragments must be fully swept away. A clean workspace makes a big difference when you apply new sealants and secure the replacement boards. In essence, cleaning the area is as important as the actual repair work.
By tidying up thoroughly, you minimize the chance of slipping or the new materials not bonding properly. A spotless foundation sets the stage for a successful project whether you plan to replace roof decking or undertake a complete plywood, sheathing, structural repair job.
Installing New Decking
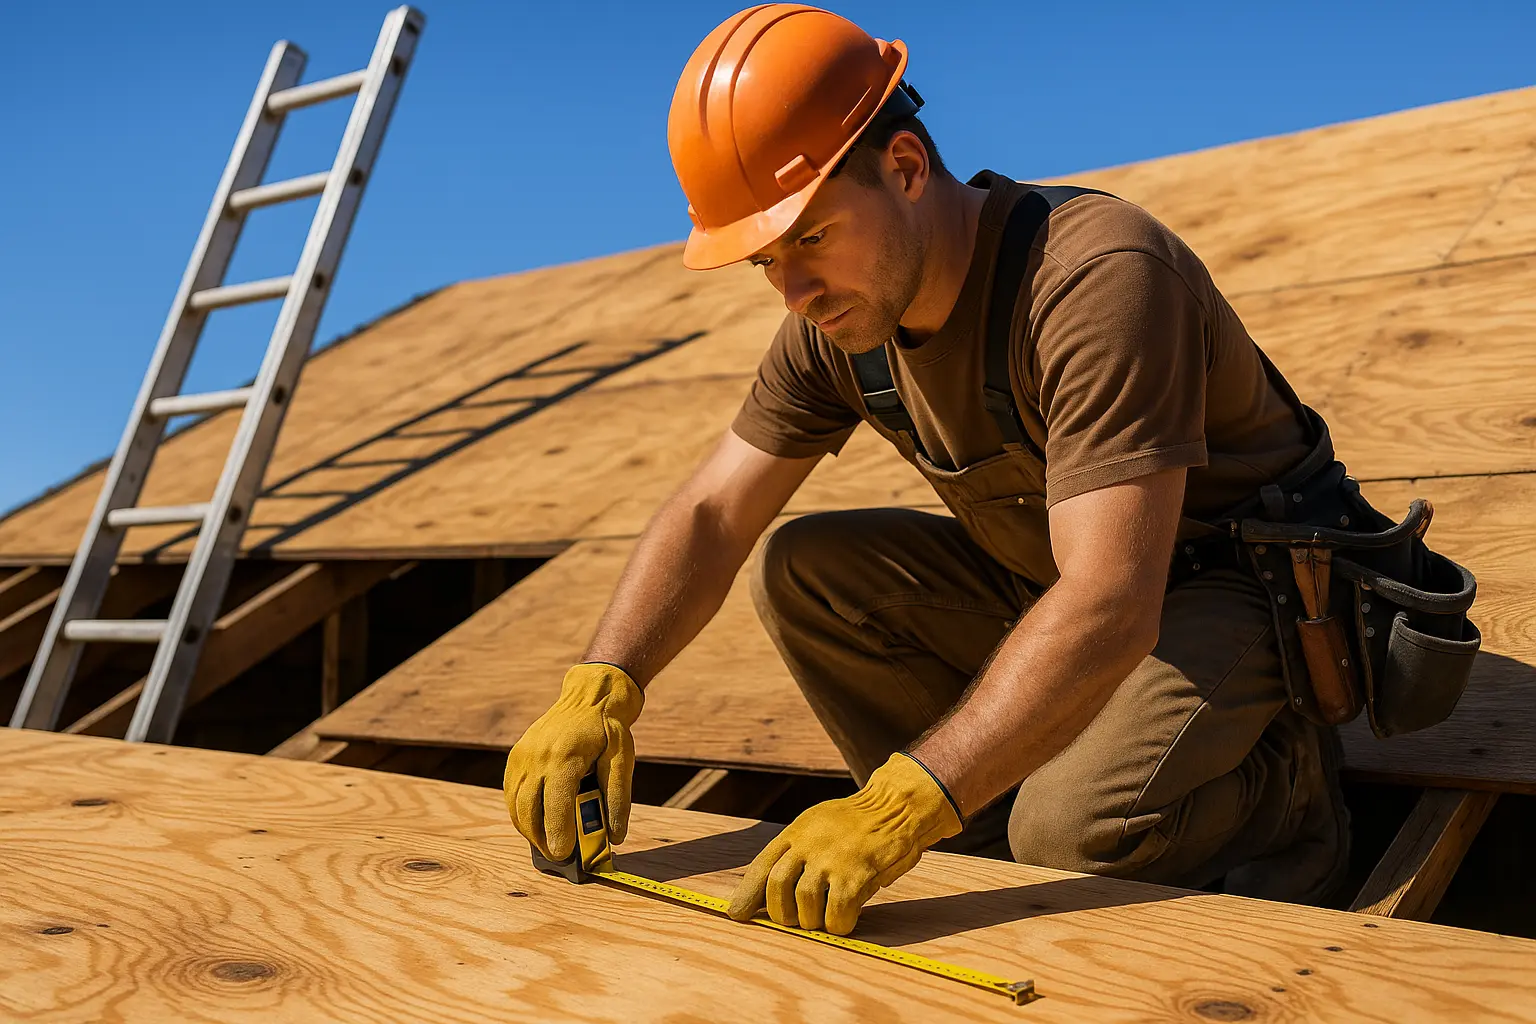
Measuring and Cutting the Replacement Boards
Accurate measurements are the backbone of a solid replacement. Start by measuring the area where the old decking has been removed. Double-check these numbers as any miscalculation might lead to gaps where moisture could seep in. Take your time when marking and cutting the new boards with your circular saw.
Each board should fit closely with the rafters and any existing structure. Many homeowners recommend a careful, methodical approach to cutting, which not only improves the final look but also instills confidence in your repair work. This step is vital in ensuring that your installation, whether you aim to replace roof decking or apply a heavy-duty plywood, sheathing, structural repair, is secure and long-lasting.
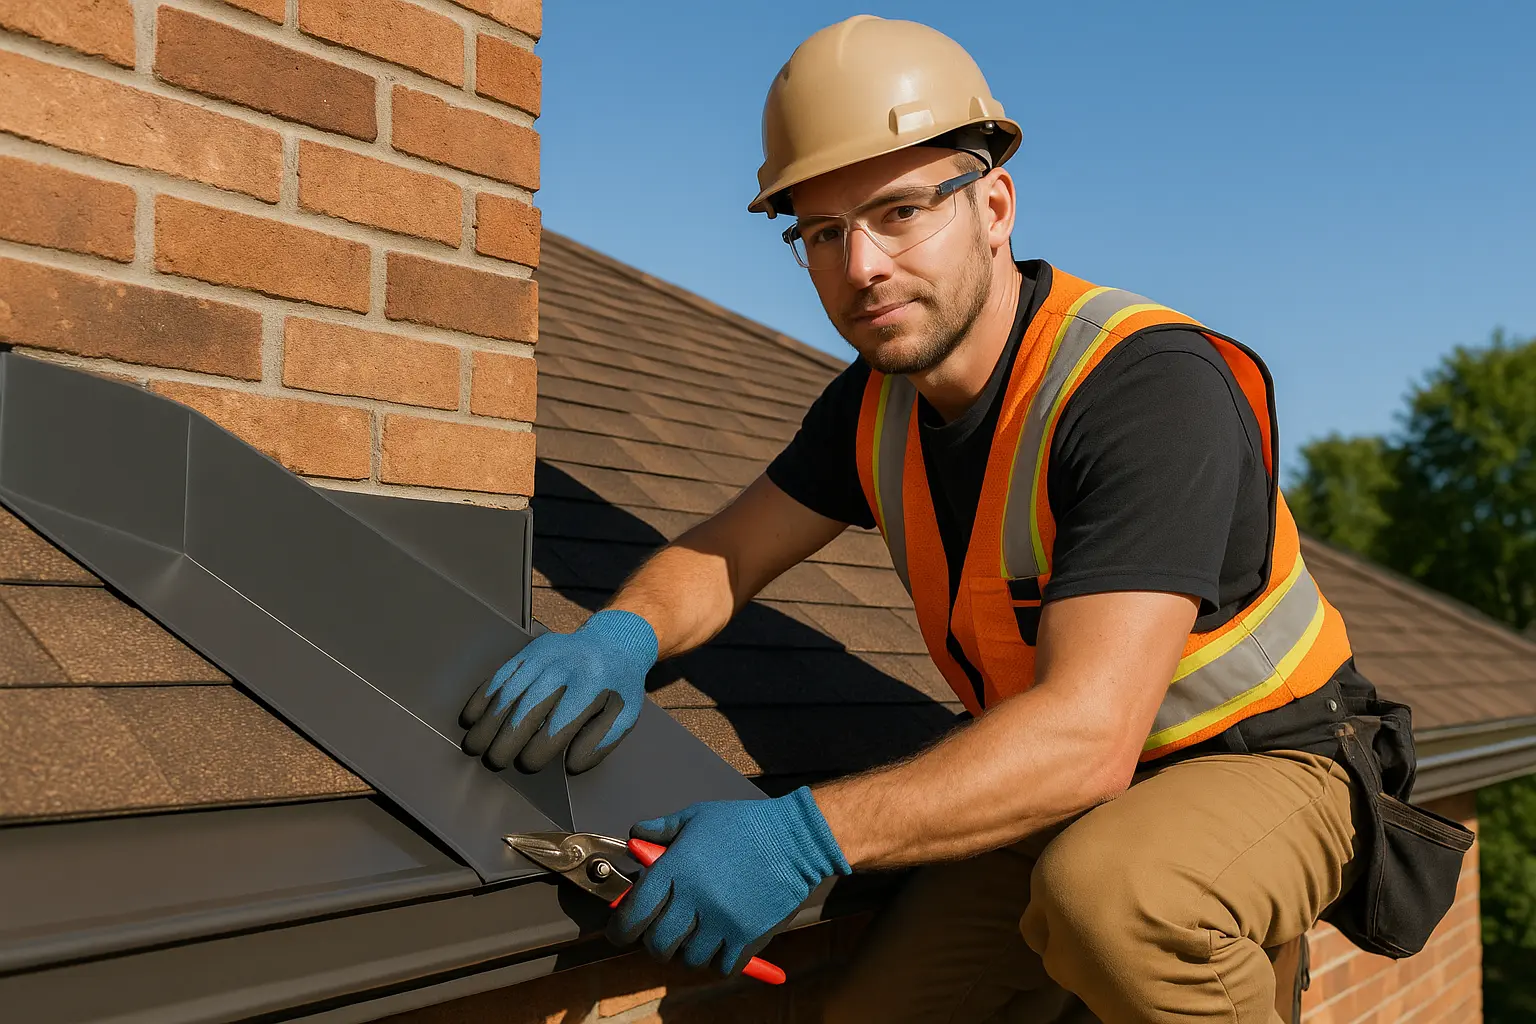
Securing the New Installation
After your new boards are cut to the right dimensions, the next phase is to fasten them securely. Align each board with the rafters so that they sit flush against the existing surfaces. Using nails, screws, or a mix of both can help provide a stable, robust connection. Taking the time to use a level during this process helps maintain a consistent and even surface.
Fasteners should be spread out evenly over each board. This even distribution creates a solid bond that minimizes any future movement or wear. Such attention to detail in applying plywood, sheathing, structural repair techniques ensures that your roof will be strong and safe even in tough weather conditions.
Sealing the New Decking and Weatherproofing
The final step in installation focuses on sealing and protecting your work. Apply a generous layer of waterproof sealant along every joint, edge, and seam where the new boards meet the existing structure. This layer is critical in preventing water intrusion while also extending the lifespan of your new flooring.
Choose a sealant that works well with your replacement materials. Consider applying an extra coat in areas most at risk of water exposure. In time, this regular use of sealant not only acts as a safeguard but also complements any efforts to replace roof decking by easing the overall process of plywood, sheathing, structural repair.
Final Steps and Long-term Maintenance
Reattaching Roofing Materials
After the new decking has been laid and sealed, it’s time to put the roofing cover back on. Reinstall your shingles or tiles carefully, ensuring each one aligns perfectly with the established pattern. This pattern keeps your home looking uniform and helps channel water away effectively during heavy rains.
While putting back the roofing material, take extra care to check every layer. Any misplaced piece can lead to leaks later on. If some of the old parts are too worn, consider replacing them with matching new ones. Consistent, attentive care in these final touches reinforces your commitment to plywood, sheathing, structural repair methods and ensures a long-lasting finish.
Routine Roof Inspections
Even after completing your repair project, the job isn’t over. Regular roof inspections are essential in catching small issues before they grow. It helps to check your roof at least once every season, or even more if your region is prone to harsh weather. Focus on areas that previously suffered damage and regularly examine seams and joints for signs of water penetration.
Simple tools like an infrared thermometer can sometimes detect cooler spots indicating moisture buildup. By keeping a checklist, you can note down any problems early on and address them promptly. These routine efforts support the durability of your repair, be it a replace roof decking project or a comprehensive plywood, sheathing, structural repair plan.
When to Get Professional Assistance
While this guide is designed for the determined DIY enthusiast, remember that some situations call for expert help. If the damage appears too extensive or the repair feels overwhelming, it’s wise to contact a roofing professional. Experts come with the right tools and skills to perform repairs safely and efficiently, ensuring every detail is managed with care.
Professionals also often bring specialized techniques and materials to the table, which can be especially useful when the job requires a solid plywood, sheathing, structural repair approach. They usually provide warranties on their work, giving you extra peace of mind. Knowing when to ask for help can save you time, money, and future headaches.
Conclusion
In the end, addressing a damaged roof is about much more than just appearance. It is a critical step in safeguarding your home’s structure and your family’s security. Each phase, from a careful inspection to detailed removal and new installation, is designed to strengthen your roof. Whether you are planning to replace roof decking on your own or use professional support, following a precise set of steps like those in plywood, sheathing, structural repair will make all the difference.
Regular upkeep, including timely inspections and quick repairs, is key. Investing time in understanding your roof’s needs will prevent larger issues over time. Your home deserves the best care, and by applying proper methods and expert guidance when necessary, you can keep it safe for many years.
Seize the chance to secure your home’s future today. With patience, the right tools, and reliable procedures—from checking for leaks to a thorough plywood, sheathing, structural repair process—we know you can overcome even the toughest roofing challenges. Let your commitment to upkeep shine through in every repair, protecting your home with a shield that lasts.