The Role of waterproof barrier in Roof Protection
Choosing the right method to boost your roof’s defense might seem overwhelming. Every homeowner knows a secure roof is the most important shield for their house, and achieving that involves more than just laying down shingles. The installation of roof underlayment is a step that directly impacts your roof’s long-term resilience. This guide shares clear and simple steps to ensure your roof remains in excellent shape. With carefully executed roof underlayment installation practices and attention to detail, your roof gets the added protection of a true waterproof barrier against leaks, moisture, and decay.
Understanding Roof Underlayment and Its Importance
What Is Roof Underlayment and the Role of waterproof barrier?
Roof underlayment is a specially crafted layer that sits between your roof deck and the outer roofing materials. It is designed to act as a fundamental waterproof barrier. This extra layer stops water from getting under the shingles or tiles, preventing damage to the structure beneath. In simple terms, the roof underlayment installation not only defends against water intrusion but also helps your roof withstand harsh weather, reducing wear over time.
The underlayment plays a sneaky yet crucial role, working quietly in the background so that when heavy rains hit, it acts as the last defense line. Some materials are built to provide a reliable waterproof barrier that offers extra security during unexpected storms. Ignoring this layer can lead to leaks, moisture buildup, and eventually structural decay, making proper installation so important.
Exploring Different Types of Underlayment Materials
Homeowners and roofing experts have several options when it comes to choosing underlayment. Three common types have emerged over time, each with its own benefits and challenges:
- Asphalt-Saturated Felt: This long-standing option has been trusted for decades. It gives basic protection at a friendly cost and works well under moderate moisture. Many choose asphalt-saturated felt for its traditional look and reliability, although it might not deliver the same enduring waterproof barrier in very wet conditions.
- Rubberized Asphalt: If superior water resistance is what you need, rubberized asphalt underlayment is an excellent choice. It forms a durable, flexible layer that can create an effective waterproof barrier even in areas hit by heavy rains or snowfall. Its resilience makes it ideal for places with shifting temperatures and high moisture levels.
- Synthetic Underlayment: Modern synthetic underlayment has gained popularity for its lightweight strength and extended durability. Made of advanced polymers, it offers impressive resistance to tearing, UV rays, and temperature extremes while providing a solid waterproof barrier. Although the initial price might be higher, many roof underlayment installation projects have shown that synthetic options lower maintenance costs over time.
Each material must be chosen based on your roof’s specific needs, the local weather, and your budget. Speaking with a roofing expert to weigh these options can help ensure that your chosen layer serves as a reliable waterproof barrier for years to come.
Selecting the Ideal Underlayment for Your Roof
Deciding on the best underlayment goes beyond simply picking a product from the shelf. It requires assessing multiple factors like your local climate, the roof type, and your available budget. Areas that experience prolonged rainy spells need materials that establish a solid waterproof barrier, and in such cases, rubberized asphalt might be the most efficient solution.
For homeowners in drier climates or with roofs that must remain lightweight, synthetic underlayment strikes a fine balance between durability and effective water defense. Often, a close look at these options reveals that while synthetic materials might cost more initially, they pay off in the long run by minimizing repairs and reducing overall upkeep costs. Whether you choose once more traditional asphalt-saturated felt, innovative rubberized asphalt, or advanced synthetic underlayment, know that each option is meant to enhance your roof’s waterproof barrier and extend its lifespan.
Getting Ready for Roof Underlayment Installation
Essential Tools and Materials for a Smooth Job
Great roof underlayment installation begins with robust preparation. Before you set foot on your roof, gather every tool and material needed for the job. This proactive approach ensures your project proceeds without unexpected stops. You will need a variety of items to create that vital waterproof barrier:
- Ladder: A sturdy ladder placed on a flat, secure surface is indispensable. It helps you safely navigate the roof while reducing the risk of falls.
- Utility Knife: A sharp tool that allows you to cut the underlayment smoothly, especially around vents, chimneys, or other roof features.
- Measuring Tape and Chalk Line: Accurate measurements paired with a chalk line give you a straight path for your installation. It’s a crucial step in ensuring each row aligns perfectly.
- Roofing Nails and Hammer: The correct fasteners are necessary to secure the underlayment firmly, making sure it stays in place to form that reliable waterproof barrier.
- Protective Gear: Safety comes first. Think non-slip footwear, gloves, and safety glasses to protect you from any hazards while working on the roof.
Having these tools ready in advance means you can focus on a careful roof underlayment installation with little chance for interruptions. Keeping a first-aid kit nearby is also a wise step to handle any small mishaps.
Keeping Safety in Mind at Every Step
Safety is key when working high above ground. Ensuring that every setup is secure can keep accidents at bay. Start by verifying that your ladder is stable and placed on flat ground. Working with a friend or partner can also boost safety, as they can lend a hand with heavy items or watch for any risks you might miss.
Invest in sturdy, non-slip shoes to help maintain firm footing on wet or uneven surfaces. When handling tools, make sure they are in good condition—a little care goes a long way in safeguarding your well-being while you build a strong waterproof barrier on your roof.
Checking the Roof Deck Before You Begin
The success of your roof underlayment installation depends largely on the condition of the roof deck. Think of the deck as the base on which you build your waterproof barrier. Before laying down any material, inspect the deck thoroughly for any signs of damage like warped, cracked, or rotten spots. Ignoring even a small problem can lead to bigger troubles later.
Search for any mold or water stains that may hint at previous leaks. Handling these early on, whether with minor repairs or a complete clean-up, helps set the stage for a smooth installation. This extra step not only secures the underlayment’s performance but also prolongs the life of your entire roofing system.
Practical Steps During Underlayment Installation
Establishing a Baseline for Installation
The first move in roof underlayment installation is to create a steady guide for your work. Use a chalk line along the roof’s edge as a starting point. This line is like a roadmap—it ensures every subsequent row of material lines up just right, creating a uniform look and a continuous waterproof barrier.
Accurate alignment is especially vital on roofs with curves or unique angles. Even a small misplacement can compromise the effectiveness of your barrier against water intrusion. Many roof underlayment installation projects show that a well-marked guideline leads to fewer leaks, improved water flow, and, ultimately, a more durable roof.
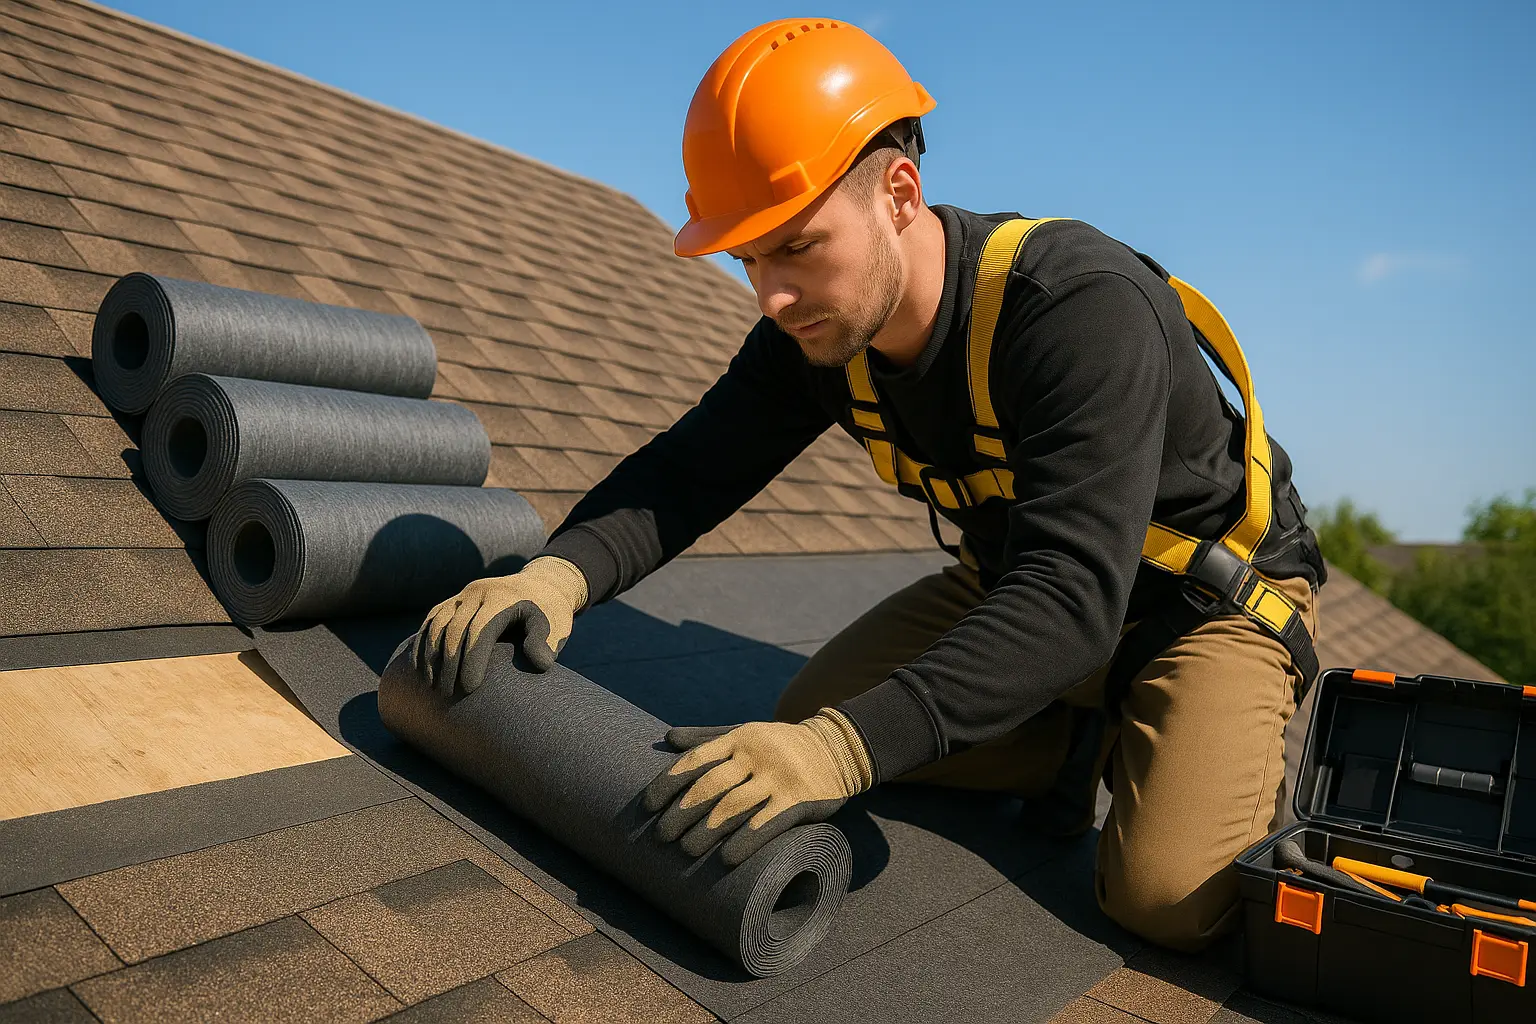
Rolling Out the First Row of Underlayment
With your baseline securely drawn, the next step is to lay out the first row of material. Carefully unroll your underlayment along the chalk line, ensuring the edge aligns cleanly with the roof. For extra protection, extend the material about one inch past the edge. This extra bit creates a drainage channel that supports your waterproof barrier when heavy rain hits.
Using roofing nails placed at regular 24-inch intervals along the edges (and a bit closer where needed), secure the material firmly in place. Proper nail placement is crucial—a well-fastened row sets up a solid foundation, so subsequent rows are easier to align. Inaccurate placement could lead to loose spots, undermining the waterproof barrier you are striving to achieve.
Covering the Entire Roof Effectively
Once the first row is done, continue the roof underlayment installation by adding more rows until the entire roof deck is covered. Overlap each new row by about four inches. This overlap is essential not only for preventing water seepage but also for maintaining a seamless waterproof barrier. Overlapping counters any small imperfections on the roof, ensuring that water is kept well at bay during storms.
Pay close attention to areas with special roof features, like valleys, hips, or vents. Custom cuts might be needed around these spots to preserve the integrity of the waterproof barrier. When you reach these tricky sections, using roofing cement or specialized tape to seal all seams can secure your roof underlayment installation and block unwanted moisture.
For areas prone to strong winds or heavy downpours, the overlapping method brings extra stability to the roof. With patience and careful measuring, you build a protective layer that stands up to nature’s challenges.
Securing Every Detail for Lasting Protection
Improving Roof Valleys for Maximum Defense
Roof valleys are particularly sensitive spots because they channel water right where you don’t want it. In these areas, adding an extra layer or using a valley liner designed exclusively for this purpose can enhance the waterproof barrier. The goal here is to shift and manage the water flow before it ever reaches the lower layers.
Careful attention to these critical zones means fewer leaks and less risk of water damage. Homeowners involved in meticulous roof underlayment installation have often witnessed reduced instances of mold and decay in these vulnerable areas.
Managing Protrusions with Extra Care
Almost every roof features components like vents, chimneys, or skylights. These protrusions interrupt the continuous flow of your underlayment and must be treated with special care. When you encounter an obstacle, trim the material neatly so that it contours perfectly around the object. This attention to detail ensures the underlying waterproof barrier remains unbroken.
After cutting the material, seal the edges around vents and other protrusions with roofing cement or tape. This additional step fortifies your roof underlayment installation, preventing any small gaps from undermining the barrier that protects your home from water ingress.
Final Check: Ensuring a Complete Waterproof Barrier
After covering the whole roof, take a detailed look at every section to confirm that everything is securely in place. Inspect the overlaps, edges, valleys, and areas around protrusions to verify that the waterproof barrier is smooth and continuous. A comprehensive final check can catch any misalignments before heavy weather tests your new barrier.
Using a checklist during this final inspection is a proven strategy. Gentle water tests, like a light spray, can help reveal any spots needing extra sealing. This diligence ensures that your roof underlayment installation has built a reliable waterproof barrier that will protect your home for years to come.
Conclusion
Following these detailed instructions lays the groundwork for a sturdy underlayment that acts as more than just a layer—it creates a lasting waterproof barrier that protects your home against every storm. The effort invested in a careful roof underlayment installation pays off with significant savings on repairs and maintenance over time.
Quality materials combined with a precise installation process help secure your roof’s integrity. Whether you choose asphalt-saturated felt, rubberized asphalt, or synthetic underlayment, each option contributes to building a resilient waterproof barrier. Many homeowners find that careful attention to each step dramatically reduces water damage while boosting the overall lifespan of their roofs.
In summary, this guide has taken you through every phase—from understanding what roof underlayment is and exploring its types, to meticulous preparation and final sealing. By integrating a thorough roof underlayment installation process with the right tools and techniques, you establish a waterproof barrier capable of standing up to severe weather. Whether you embark on this project yourself or enlist professional help, remember that each careful step builds a roof that defends your home long into the future.