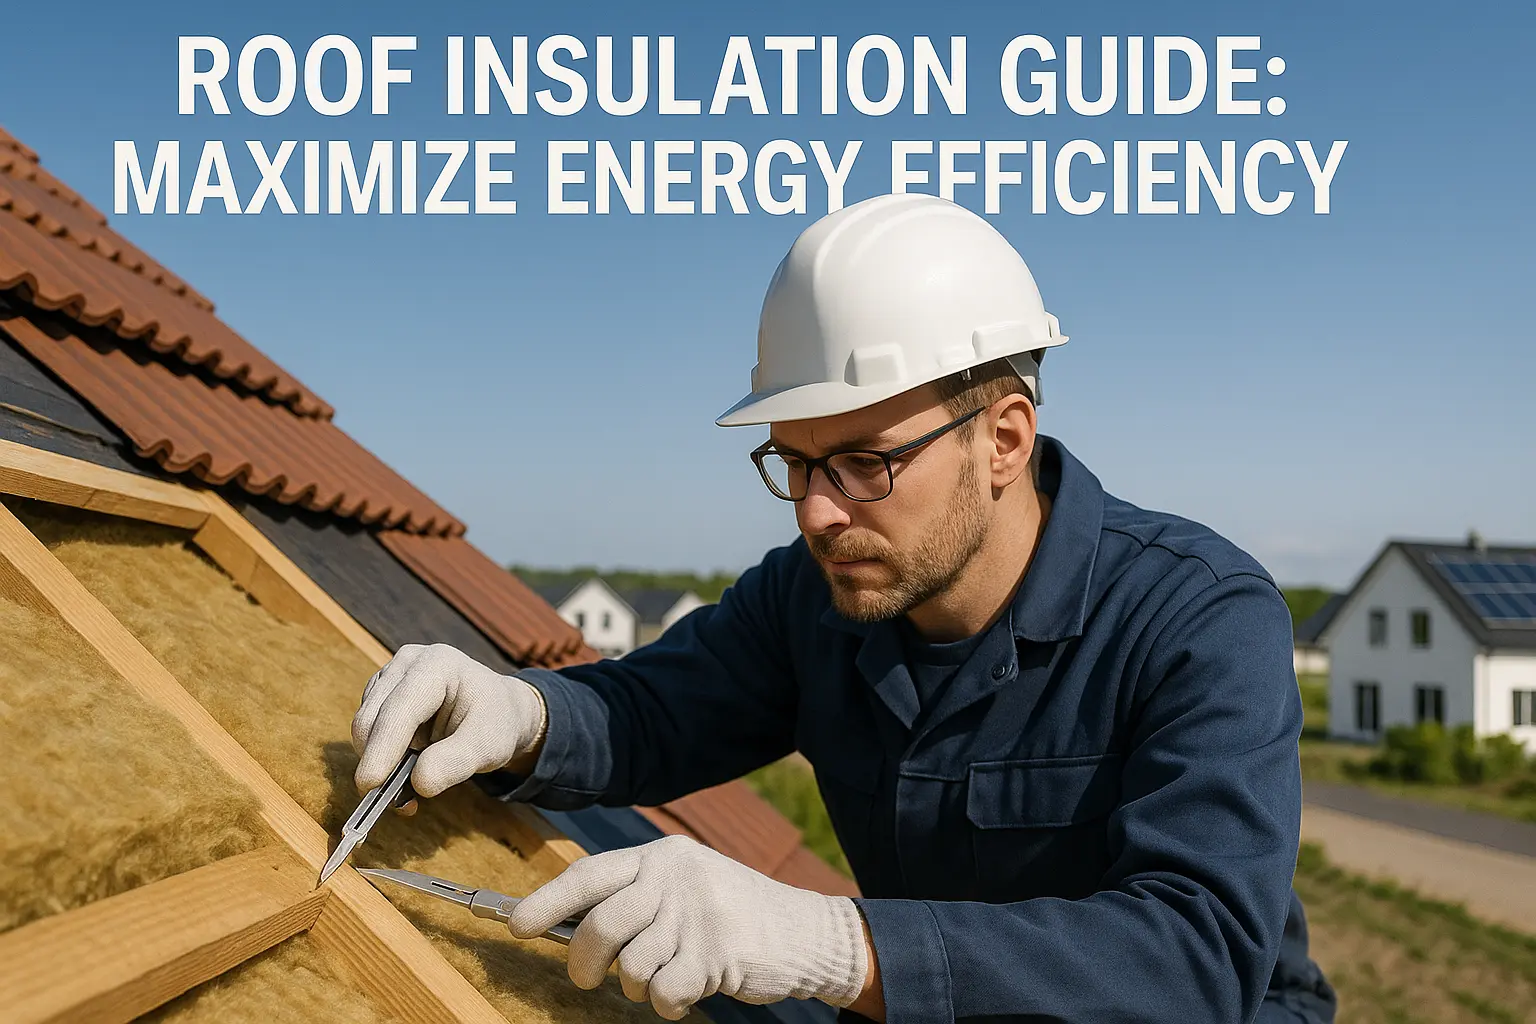
Introduction
When the summer heat ramps up, keeping your home at a comfortable temperature isn’t just a bonus—it’s practically a must. A cozy indoor space doesn’t happen by accident; it requires smart choices about your home’s construction. One of the top methods to hold the heat at bay is a proper roof insulation installation. Not only does this method stabilize temperatures during the hottest roof insulation summer days, but it also curbs energy waste and cuts utility bills.
Many homeowners dream of slashing their electricity costs while enjoying a room that breathes easily. Knowing the right way to install roof insulation lays the groundwork for many rewards: improved energy efficiency, extended roof life, and a livable home that meets your family’s needs. In this guide, we take a closer look at the ins and outs of roof insulation. We cover the different materials available, how to prepare, detailed steps for installation, and important safety checks—all backed up by real-life examples and clear comparisons.
Understanding Roof Insulation and the radiant barrier Advantage
What Exactly Is Roof Insulation?
Roof insulation is like a safeguard that controls how much heat escapes or sneaks into your home. Its job is simple: in the searing summer and the biting winter, it helps maintain a stable indoor climate by trapping air as a natural shield. In summer, it stops excess heat from flooding your living room, and in winter, it keeps the warmth inside where you need it. A big part of its job is determined by the insulation material’s R-value—the higher the R-value, the tougher the material is against unwanted heat flow.
In many modern homes, a popular option is the radiant barrier—a term that has become almost synonymous with energy efficiency. Not only does it help block radiant heat, but it also pairs well with other insulation types to boost overall performance. When planning a roof insulation summer project, integrating a radiant barrier can be a smart move.
Exploring Different Insulation Materials
Selecting the right material for your roof isn’t one-size-fits-all. Each option offers its own benefits and some minor trade-offs:
- Fiberglass: Often the go-to choice for its affordability and ease of use, fiberglass usually comes in batts or rolls that slide neatly between roof joists. It’s a favorite for both new homes and remodels.
- Cellulose: Made from recycled paper and treated for fire safety, cellulose is eco-friendly and excellent at reducing noise. This material is blown into place, ideal for attics or tricky spots.
- Foam Board: Although on the pricier side, foam board stands out for its high thermal resistance and durability. It works best where moisture or temperature swings are extreme, offering a strong layer against energy loss.
Recently, manufacturers have introduced combined approaches that mix traditional materials with reflective elements. When you factor in climate conditions and your home’s architectural quirks, your material choice becomes a tailored solution for optimal energy efficiency. Adding a radiant barrier in these setups further enhances the protective layer, making a noticeable difference during roof insulation summer months.
Key Considerations Before You Decide
Before you zero in on your insulation material, think about several influential factors:
- Local Climate: In areas that face relentless heat, insulation with a radiant barrier can reflect away a lot of the sun’s energy before it even touches your home.
- Roof Structure and Design: A roof with vaults or a complex design may need customized insulation to hit every nook and cranny without gaps.
- Your Budget: Sometimes, advanced materials like foam boards come with a heftier price tag. Balancing that upfront cost against long-term energy savings is key.
- Eco-Friendliness: For those keen on reducing their carbon footprint, materials like cellulose offer both comfort and an environmentally kind solution.
Before making any decisions, consider getting a professional thermal audit. This check-up helps spot where your home might be losing heat, ensuring that any new project, including the installation of a radiant barrier, targets the right areas for maximum gain.
Preparing for Installation
Evaluating the Roof’s Condition
Before diving into an insulation project, take a good look at your roof. A detailed inspection that checks for leaks, damaged shingles, or other structural issues is essential. Overlooking small repairs can compromise new insulation and even worsen your roof’s condition over time.
A professional inspection can uncover hidden issues such as water damage, mold build-up, or pest intrusions. These unforeseen issues might be magnified once new insulation is put in place, making a careful pre-check necessary. By conducting a multi-point review of your roofing system—including the underlying boards and ventilation pathways—you lay the groundwork for a successful install.
Gathering the Right Tools and Gear
Once your roof gets a thumbs-up and you’ve fixed any problems, it’s time to collect your installation tools and gear. Being fully equipped not only saves time but also ensures a safer, smoother project.
Some must-have items include:
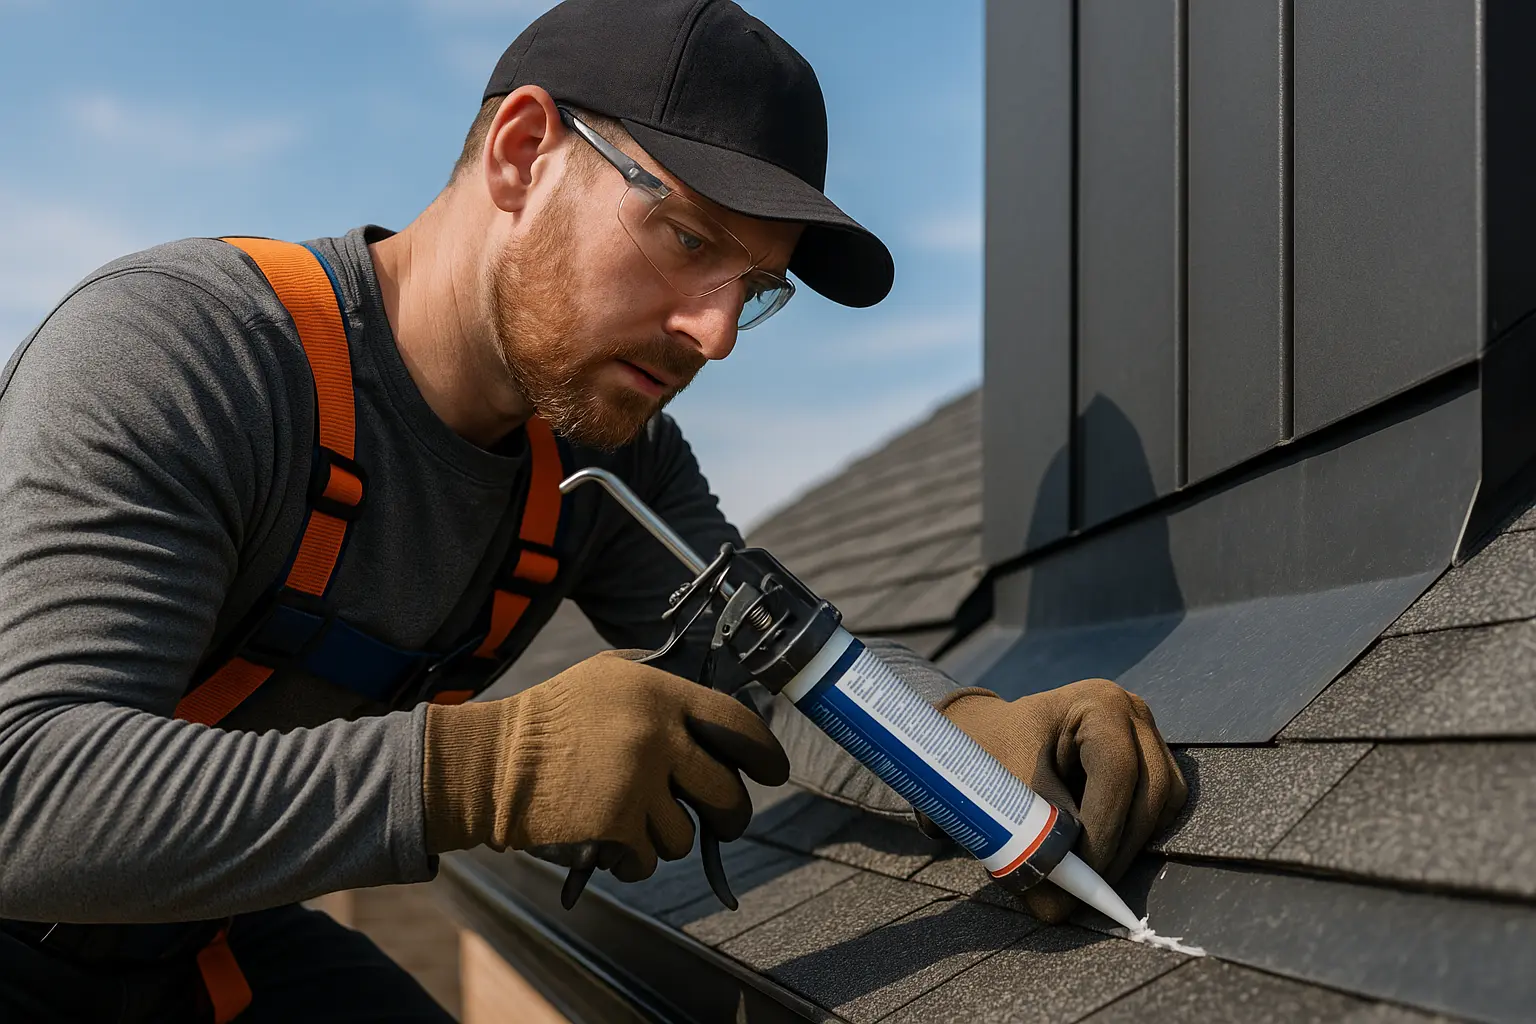
- Utility Knife: Sharp and precise, a good knife is key for trimming insulation around vents, wires, or oddly shaped spaces.
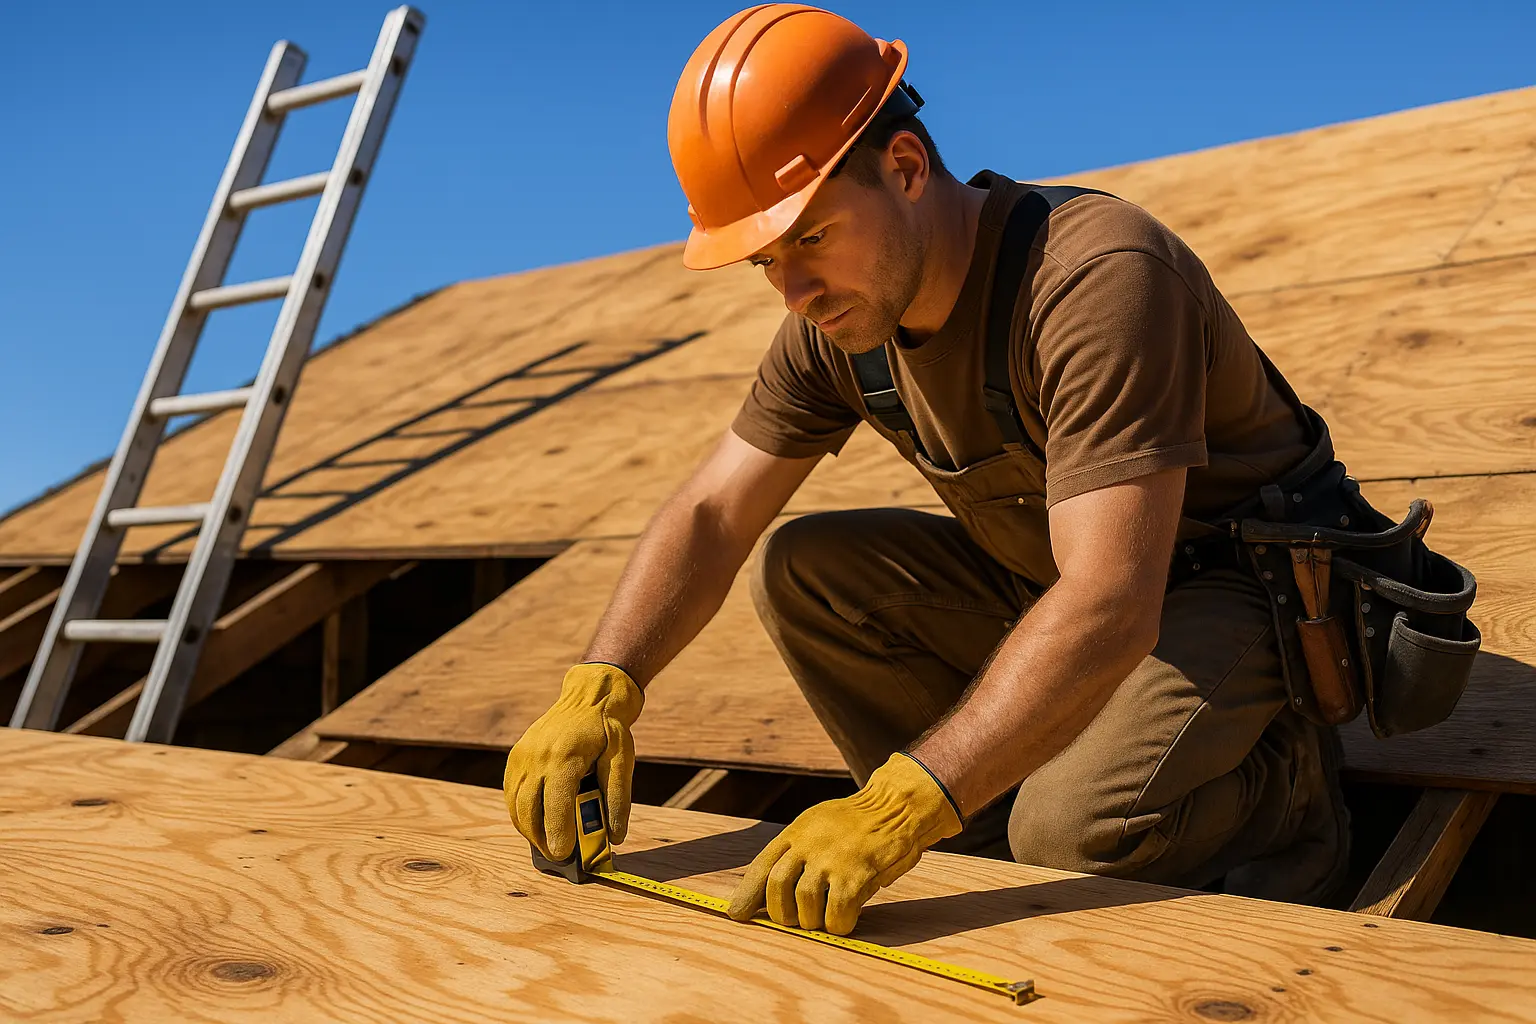
- Tape Measure: Accuracy matters—a tape measure ensures that insulation fits perfectly, leaving no gaps that could let heat slip through.
- Safety Gear: Gloves, goggles, and long-lasting clothing protect you from irritants like fiberglass particles. Keeping safety in mind is essential during roof insulation summer projects when the heat itself can add to risks.
- Specialized Equipment: Depending on your choice—whether loose-fill or foam board—tools like a blower or extra fasteners might be required.
Getting your workspace ready is key too. Ensure that your attic or roof has sufficient lighting and enough room to move around freely. A tidy work area reduces accidents and amps up your efficiency.
Staying Safe Throughout the Process
Working on a roof or in an attic brings certain hazards, so keep a keen eye on safety from start to finish. You face risks from falls or exposure to particles, so following strict safety guidelines is non-negotiable:
- Ladder Safety: Always use a secure ladder set on a flat, stable surface. Anti-slip features and sturdy footholds can prevent mishaps.
- Protective Clothing and Gear: Donning gloves, goggles, and breathable masks can shield you from dust and insulation fibers that might irritate your skin or lungs.
- Weather Watch: Avoid any work during high winds, rain, or severe heat. Not only is this dangerous, but it can also affect how well the insulation sticks and performs.
- Getting Professional Help: If you’re new to roofing projects or unsure about your ability to work safely, hiring a professional may save you headaches. A seasoned installer will know how to handle the materials and maintain all safety standards during a radiant barrier project.
When you keep safety front and center, you protect your home and yourself, ensuring that the installation process is efficient and trouble-free.
Installation Process
Installing Batt or Roll Insulation
One of the most common approaches to adding insulation involves using batts or rolls. These pre-cut pieces slot neatly between roof joists, offering an uncomplicated solution that many homeowners appreciate.
During installation, carefully position each piece between the joists to avoid air gaps that might let unwanted heat transfer occur. Overlapping segments can boost performance, especially if the layers include a radiant barrier element.
Take extra care around obstacles like wiring, vents, or electrical outlets. Trim the insulation neatly with your utility knife to preserve a tight, continuous barrier. When you work around fixtures, precision pays off by reducing future energy leaks and maintaining a steady temperature indoors.
For regions experiencing extremes—like the intense warmth of a roof insulation summer—it might help to add multiple layers. Stacking insulation layers can provide extra resistance against high temperatures and further enhance overall energy efficiency, especially when combined with a radiant barrier.
Applying Loose-Fill Solutions
Loose-fill insulation is a flexible option for spaces that don’t lend themselves to neatly arranged batts. Materials like cellulose or tiny fiberglass beads are blown into place, filling even the oddest cavities effectively. This method is especially useful in older homes where ceiling angles and spaces are unconventional.
The key to successful loose-fill installation is even distribution. With the right blower settings, the insulation is spread out uniformly to eliminate chilly spots or weak coverage. This method can be fine-tuned to meet the precise R-value needed and works very well during roof insulation summer when heat gain is a major concern.
Not only does loose-fill insulation conform to irregular spaces, but it can also be topped up later, offering a flexible solution for gradual energy efficiency improvements. In many cases, homeowners see noticeable savings on energy bills—sometimes up to 15-20%—after upgrading their insulation.
Installing Reflective Insulation with radiant barrier
For those living in extremely hot environments, reflective insulation is tailored for the challenge. Typically installed as foil-faced panels on the underside of the roof, this insulation bounces away incoming radiant heat. This is why integrating a radiant barrier proves especially beneficial.
Secure these foil-backed sheets firmly to the roof structure, making sure the reflective side faces downward to best block the sun’s rays. In areas prone to the scorching effects of a roof insulation summer, this method cuts down the heat that enters your living spaces considerably.
To maximize performance, always combine reflective insulation with proper ventilation in the attic. Good airflow prevents moisture buildup, preserving the insulation’s efficiency and reducing risks like mold formation. In some setups, blending reflective insulation with other types creates a hybrid solution that elevates energy efficiency even more.
Many homeowners in sun-drenched locales have found that adding a radiant barrier not only lowers cooling costs but also enhances overall comfort by keeping interiors cooler and more stable.
Conclusion
In a nutshell, quality roof insulation is a smart investment that brings lasting comfort, energy savings, and added durability to your home. The steps—from choosing the right materials, prepping the roof, gathering tools, and following a precise installation method—are all part of a plan that improves indoor living conditions significantly.
Understanding every aspect of insulation, whether it’s the physics of R-values or the practical benefits of a radiant barrier, empowers you to make cost-effective and eco-friendly choices. Even small updates in your insulation approach can lead to noticeable energy savings, lower bills, and a more comfortable home environment throughout every season.
Whether you tackle the project on your own or decide to bring in a professional, remember to stick to safety regulations and meticulously plan the work. Using the right tools for the job and giving your roof a proper check before starting will set you on the path to success. Incorporating a radiant barrier helps ensure that your home stays cool during the peak of a roof insulation summer while saving energy year-round.
Ultimately, a well-installed insulation system not only boosts your home’s energy performance but also contributes to a healthier, more sustainable future. The benefits of a radiant barrier, when paired with the right insulation methods, translate into comfortable summers, warmer winters, and consistent cost savings over time. Embrace the change today, and watch your home transform into an energy-efficient haven that stands up to the extremes, season after season.