Understanding Elastomeric, Reflective, Waterproof Roof Coating Benefits
The weather keeps us on our toes, and no one wants to face a leaky roof when the skies open up. With shifting climate patterns and unexpected storms, now is the time to arm your home with extra protection. One of the best ways to do that is by applying a roof coating. This extra layer works hard to keep out the worst the environment can throw at you while also extending the life of your roof. In this guide, you’ll learn everything you need to know about applying a roof coating—from its benefits, through proper roof inspection and cleaning, to step-by-step tips for a flawless finish. Whether you are a do-it-yourself enthusiast or prefer to call in experts, you’ll find practical advice for a project that protects your home for a long time.
Enhanced Weather Protection with elastomeric, reflective, waterproof Innovation
A top advantage of roof coatings is how they act as a barrier against harsh weather. These coatings seal the roof’s surface and keep water, moisture, and debris from seeping inside. This is particularly useful for homes in areas where heavy rains, snow, or even tropical downpours are common. For example, a good elastomeric, reflective, waterproof layer helps reduce leaks by keeping out water during unexpected storms.
Think of coastal areas where salt-laden winds and persistent humidity accelerate rust and decay. Here, the coating is not only a moisture barrier but it also stops tiny salt particles from speeding up deterioration. When applied correctly, an elastomeric, reflective, waterproof coating seals off tiny gaps and stops unwanted water penetration, preserving the wood and other materials beneath your roof.
The benefits of using an elastomeric, reflective, waterproof coating go beyond just keeping out water. Homeowners can enjoy fewer repairs and enhanced durability even when weather conditions turn extreme, ensuring your home stays dry and secure.
Energy Efficiency and Longevity Improvements
Roof coatings are one of those rare home improvement projects that can cut down on your energy bills while extending roof life. Many modern coatings work by reflecting sunlight rather than absorbing it, so they naturally help keep your home cooler during hot weather. Using an elastomeric, reflective, waterproof solution, your roof reflects heat away from your living spaces, lowering the benefits of air conditioning during sunny days.
For instance, a cool roof coating can drop the temperature of your roof by as much as 50°F compared to conventional materials. Not only does this mean lower energy bills, but it also provides a more comfortable indoor atmosphere. With less heat seeping through, your interiors stay pleasantly cool even when the sun blazes overhead. This is especially important in regions that experience long, hot summers, where an elastomeric, reflective, waterproof coating can be a game changer.
This energy-saving boost is paired with a significant increase in the roof’s lifespan. Exposure to ultraviolet rays and environmental elements can gradually wear down roofing materials, but a robust coating helps to deflect these harmful forces. With regular roof coating installation and maintenance, your roof becomes a more durable, long-lasting structure.
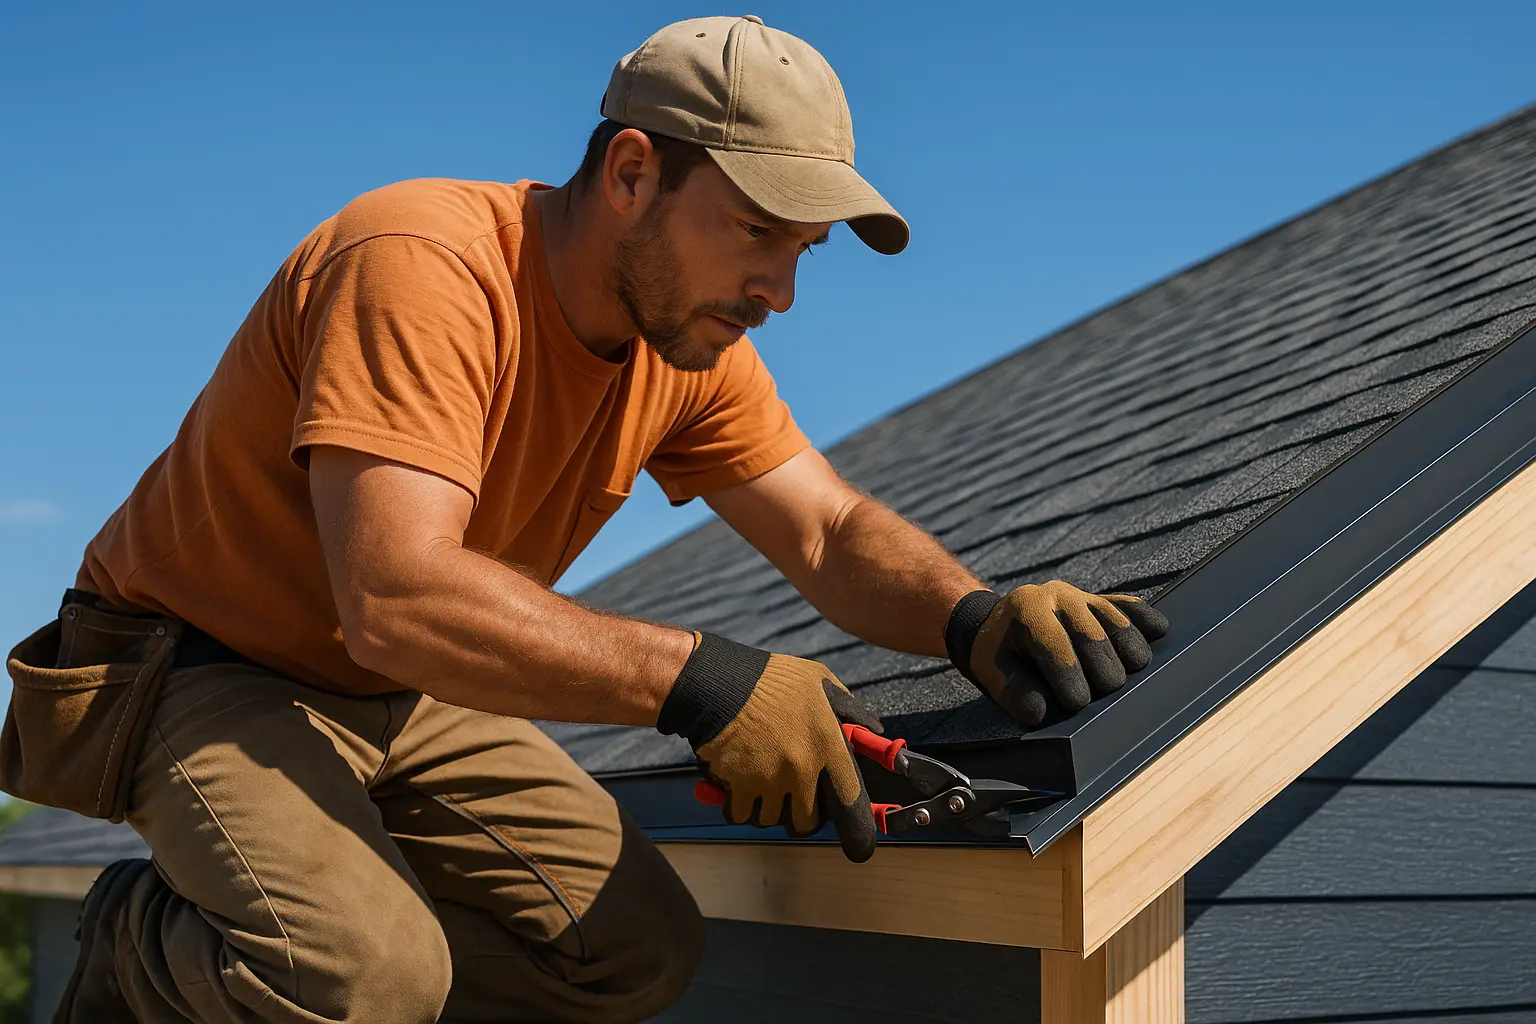
Preparing Your Roof for Coating
Before you coat your roof, careful preparation will pay off in long-term protection and smooth performance. Proper roof vacuum cleaning and repairing any damages set the stage for a coating that not only bonds well but also lasts. This part of the project is essential to ensure that your elastomeric, reflective, waterproof formula performs to its maximum potential.
During your roof coating installation process, start with a thorough inspection. Look for missing shingles, cracks, or signs of leaking. Minor issues, if unnoticed, could end up trapping moisture under your new coating, leading to bigger problems down the road. If you’re not comfortable examining your roof’s condition, consider letting a licensed professional do it so you can be sure everything is in tip-top shape before moving ahead.
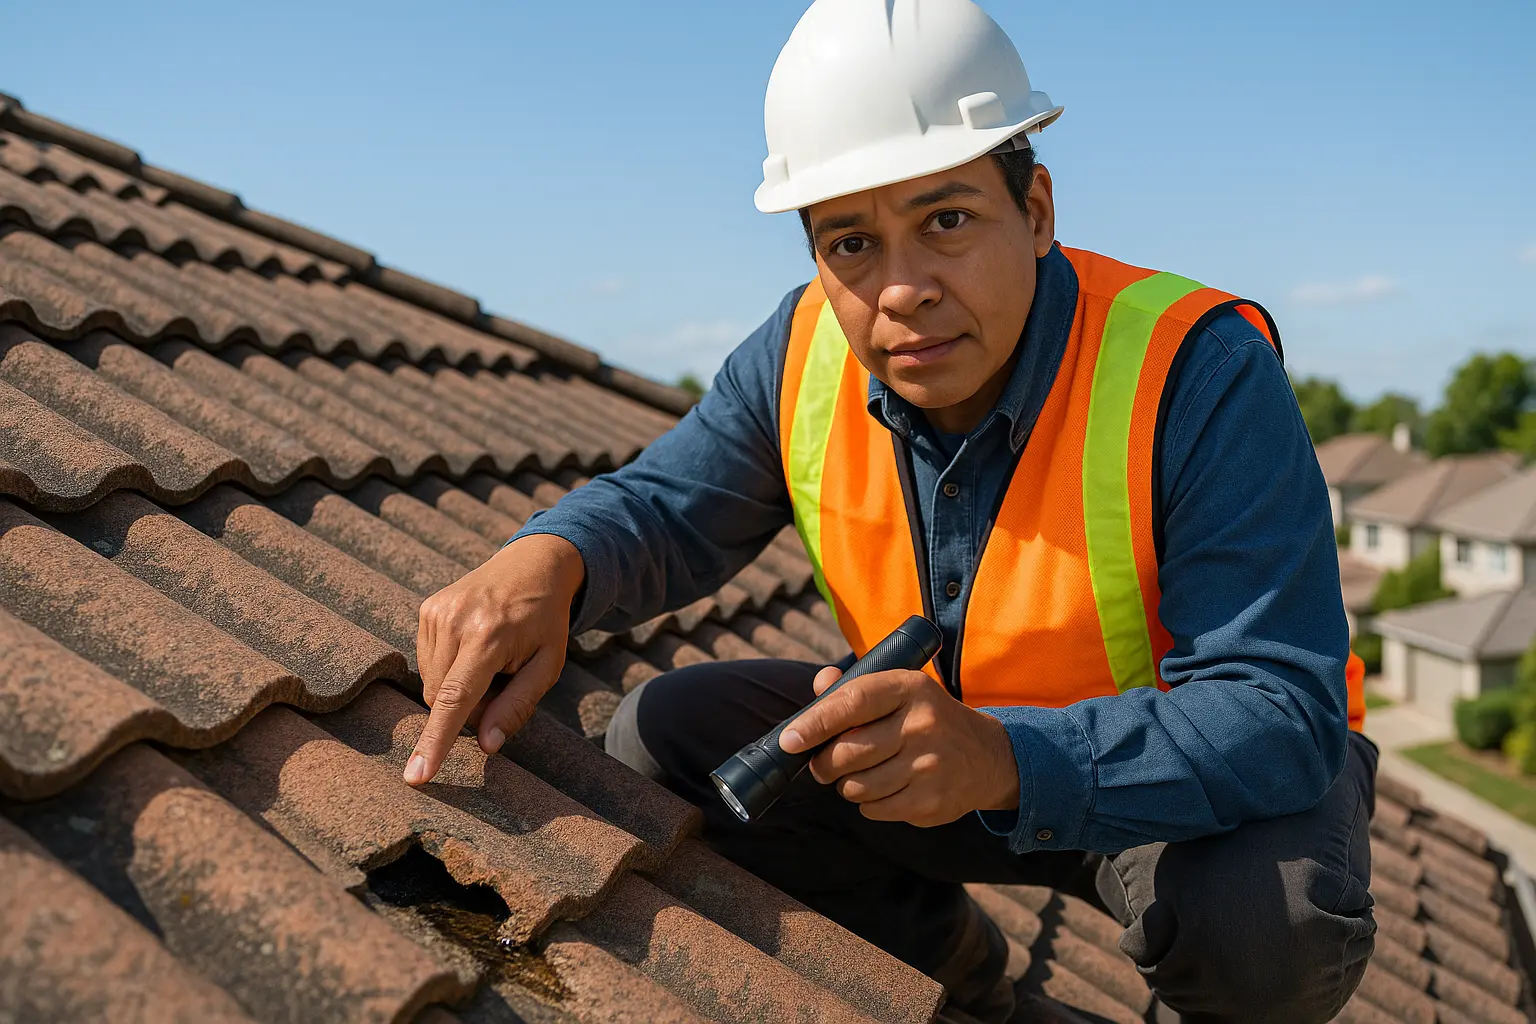
Inspecting and Cleaning Your Roof
Once you’ve checked the roof’s overall condition, the next step involves clearing away debris. Any buildup of dirt, algae, or loose particles can interfere with the adhesion of your coating. Use simple tools like a broom, a leaf blower, or even a gentle pressure washer to remove all unwanted materials. It’s important that your roof is completely clean and dry before you begin applying the elastomeric, reflective, waterproof mixture.
A well-cleaned surface means better bonding of the new layer and a much stronger defense against heavy rains or harsh sun. Keeping in mind that even a tiny speck of grime could reduce its protective power, taking the time for careful cleaning will pay off when your roof is shielded against nature’s fury.
Choosing the Right Roof Coating
Not all roof coatings are created equal. The market is full of options, and your choice should match the material and age of your roof. Asphalt, metal, and flat roofs each require different types of treatments to achieve the best results. For instance, silicone coatings offer top-notch waterproofing and UV protection, making them a favorite for many homeowners.
Acrylic and polyurethane are other common types, with each having its own set of strengths. Acrylic coatings are often easier to apply, while polyurethane may provide better durability in high-traffic or high-stress areas. In many cases, an elastomeric, reflective, waterproof defensive layer outshines traditional options, making it a preferred choice for those keen on long-lasting protection.
Be sure to read product reviews and manufacturer guides to select a coating that fits your needs. Checking expert advice and carefully comparing pros and cons will steer you toward the ideal choice for your specific roof type.
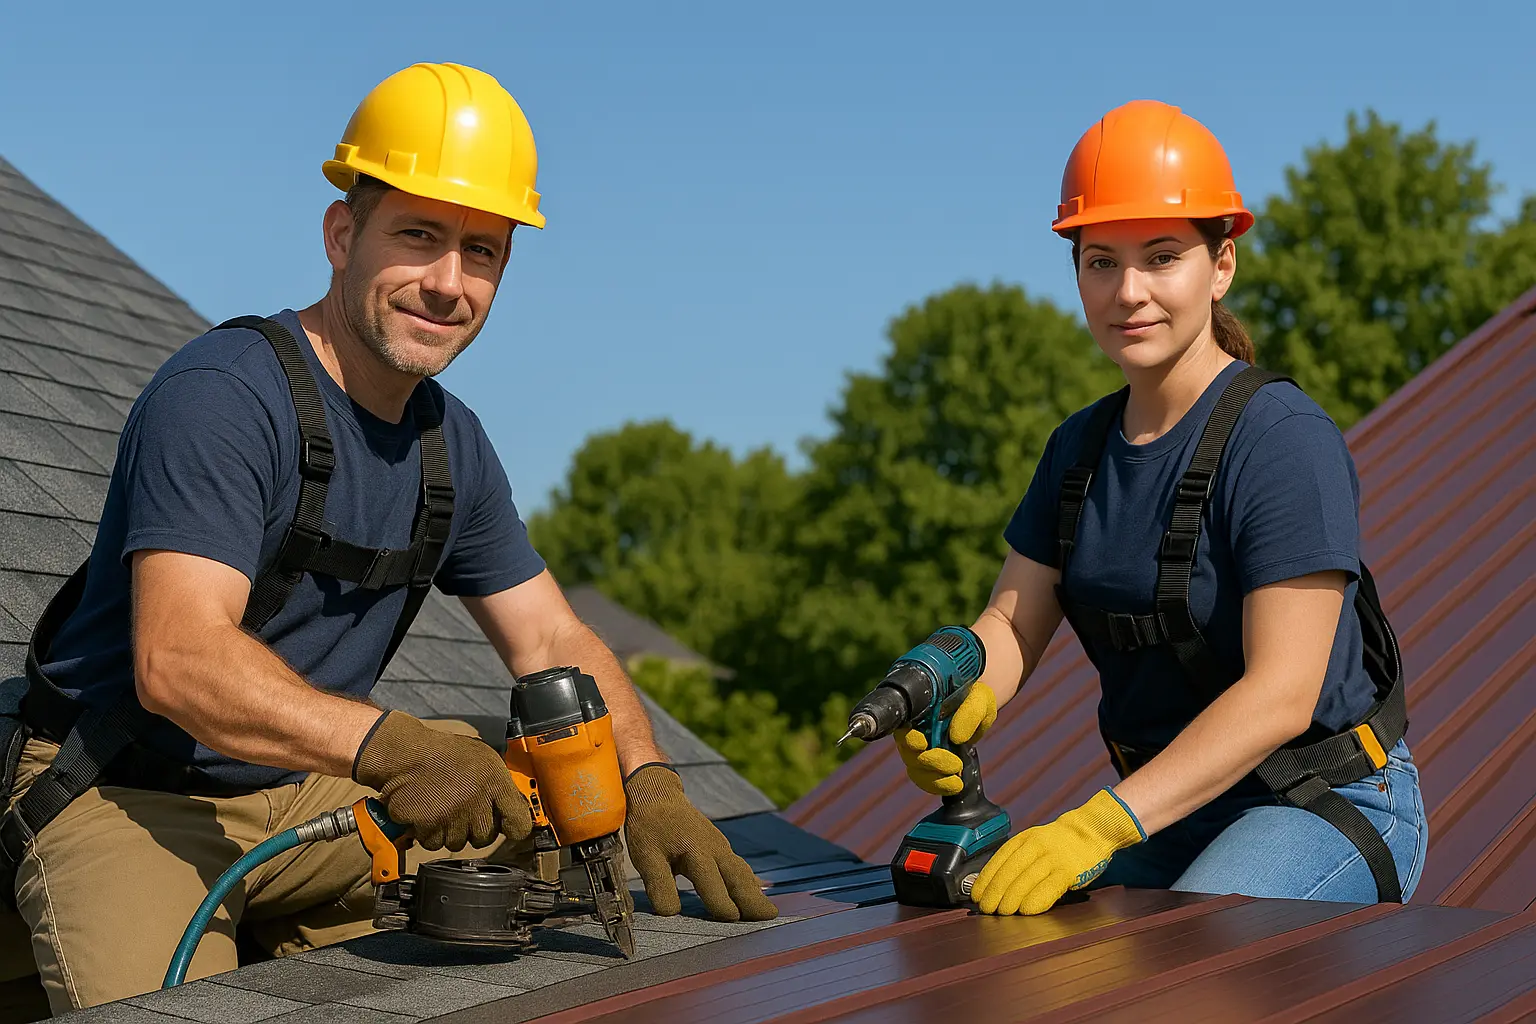
Step-by-Step Roof Coating Installation
After prepping, the next part of the project is applying the coating. Knowing the exact steps of a proper roof coating installation is crucial. Following a clear, methodical approach ensures that every section of your roof is evenly protected. With the right tools and techniques, you can turn a routine maintenance chore into an effective, lasting solution.
Gathering Your Tools and Materials
Before getting started, ensure you have everything on hand. The proper equipment makes for a smoother project and minimizes mistakes. Essential items include:
- Rollers and brushes – rollers work well on broad flat spaces, while brushes are ideal for edges and corners.
- Protective clothing – think gloves, goggles, and overalls to shield yourself from any chemical splatters.
- Pressure washer or hose – these are crucial for a thorough cleaning before you apply the coating.
- Measuring cups and mixing tools – precise measurements help to create an even mix, ensuring full coverage.
- Extension poles – for safely reaching higher or tricky spots without the constant hassle of ladders.
With your tools organized ahead of time, your roof coating installation will feel less like a scramble and more like a well-planned project. Having an elastomeric, reflective, waterproof solution ready is key to sealing every inch of your roof seamlessly.
Applying the Base and Top Coats
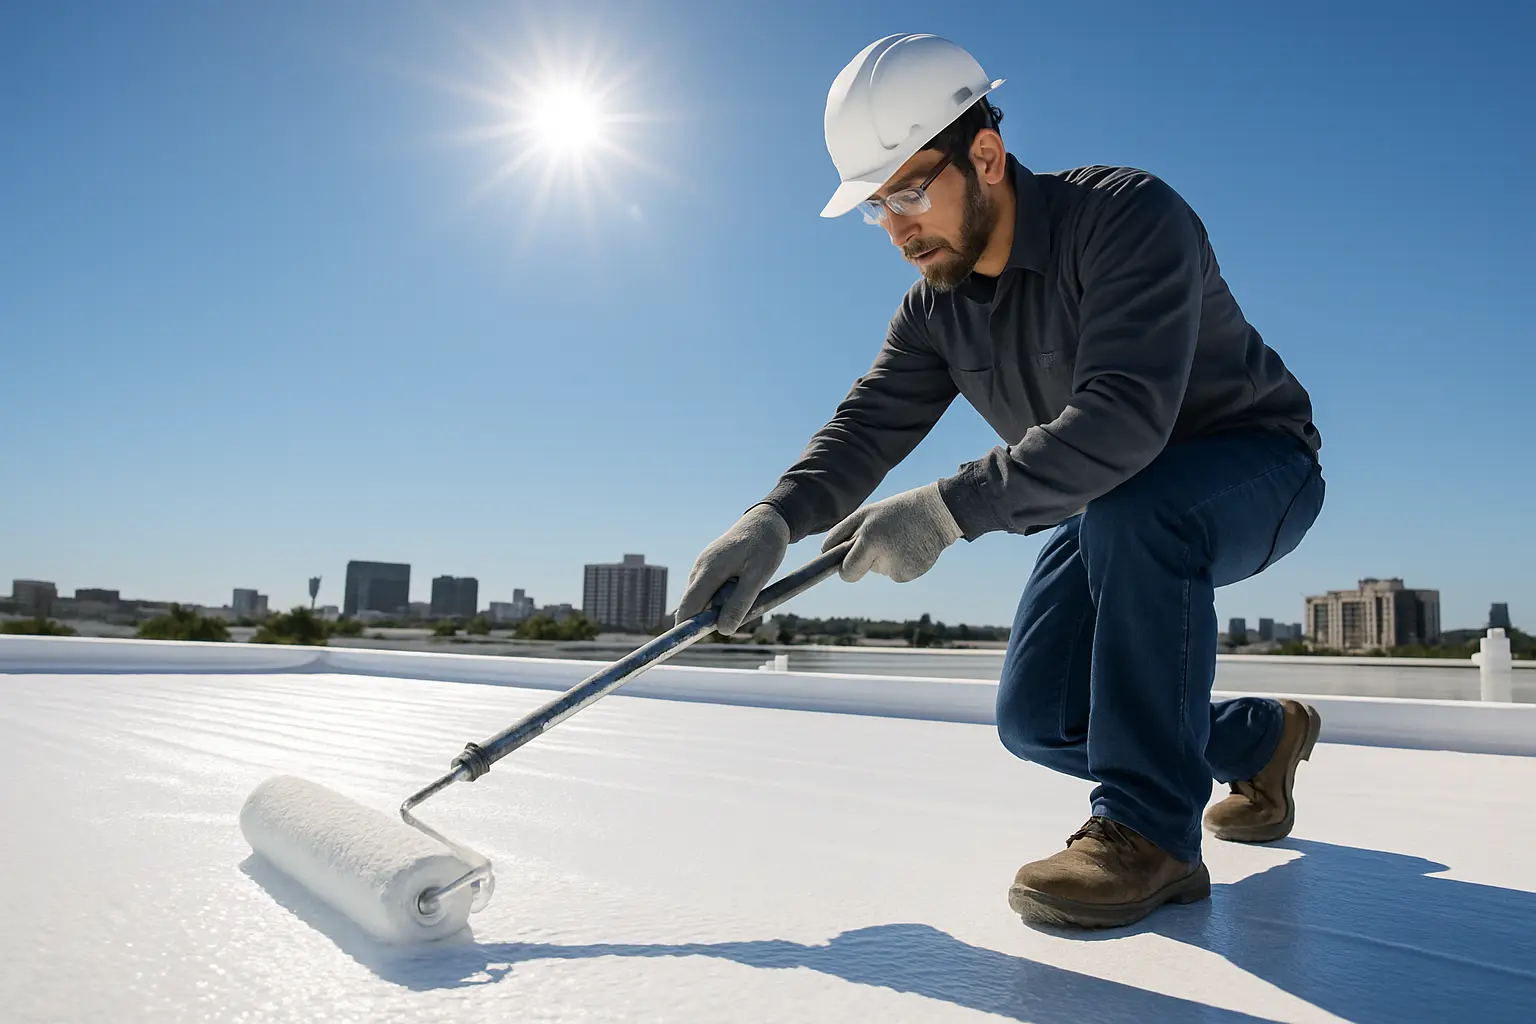
Begin early in the morning when the temperature is cooler so the coating has time to settle properly. Start with a base coat applied evenly over the entire roof surface using a roller. Take care at seams and joins where leaks are likely to develop. If needed, use a brush to handle tricky areas. This first layer is essential as it lays the groundwork for further protection.
Once the base coat dries as per the manufacturer’s instructions, it’s time for the top coat. This final layer not only reinforces the base but also adds a neat, finished look. The top coat works to amplify UV resistance and further reflect heat, which is why many modern elastomeric, reflective, waterproof systems excel in keeping your roof safe.
For the best results, allow proper drying time between layers. Lightly sanding the surface before the next application can be useful to ensure flawless adhesion of multiple coats. This careful method boosts the overall durability of your roof and locks in all the protective benefits of your coating.
Ongoing Care and Long-Term Protection
Once your roof has been covered in a sturdy elastomeric, reflective, waterproof layer, the journey is not quite over. Maintenance is crucial to keep that shield performing at its best. Regular checks and timely repairs will ensure your roof remains as strong as on day one.
It’s recommended to inspect your roof twice a year—typically in spring and fall—to spot any early signs of wear, such as cracks, peeling, or bubble formations. After major weather events like storms or heavy rains, a prompt inspection can help you catch potential problems before they exacerbate. This routine keeps your investment intact and your home secure.
Long-Term Home Protection and Professional Evaluations
In addition to self-inspections, setting a schedule for professional evaluations can be a smart move. Experts can detect minor issues that might be missed during casual checks. A professional roof coating installation review not only confirms that your elastomeric, reflective, waterproof layer is intact but can also recommend simple repairs if needed.
Maintaining clear drainage by cleaning gutters and downspouts is another key practice. Poor water management can undermine even the best coatings. With regular maintenance, your roof’s defense against the elements becomes even more robust.
Remember, investing in a high-quality coating now means fewer repairs—and less hassle—later on. Whether you tackle the project yourself or seek professional help, following these strategies will protect your home well into the future.
Conclusion
By understanding the many benefits and proper steps of roof coating installation, you put your home on strong footing against unpredictable weather. From improved energy efficiency to extended roof life, a well-chosen coating creates a safeguard that stands the test of time. Applying an elastomeric, reflective, waterproof formula properly means fewer leaks, lower energy bills, and peace of mind knowing your home is shielded from nature’s extremes.
Every step matters—from inspection and cleaning to careful application and regular upkeep. With this detailed guide by your side, you’re prepared to protect your roof and your investment. Investing in an elastomeric, reflective, waterproof coating is more than a home improvement project; it’s a long-term solution for ensuring your shelter remains secure, comfortable, and energy-efficient.
Keep exploring the best products, ask for expert advice, and embrace a meticulous approach to every stage of the project. In doing so, you secure lasting value for your home and create an environment that stands resilient against whatever weather lies ahead.