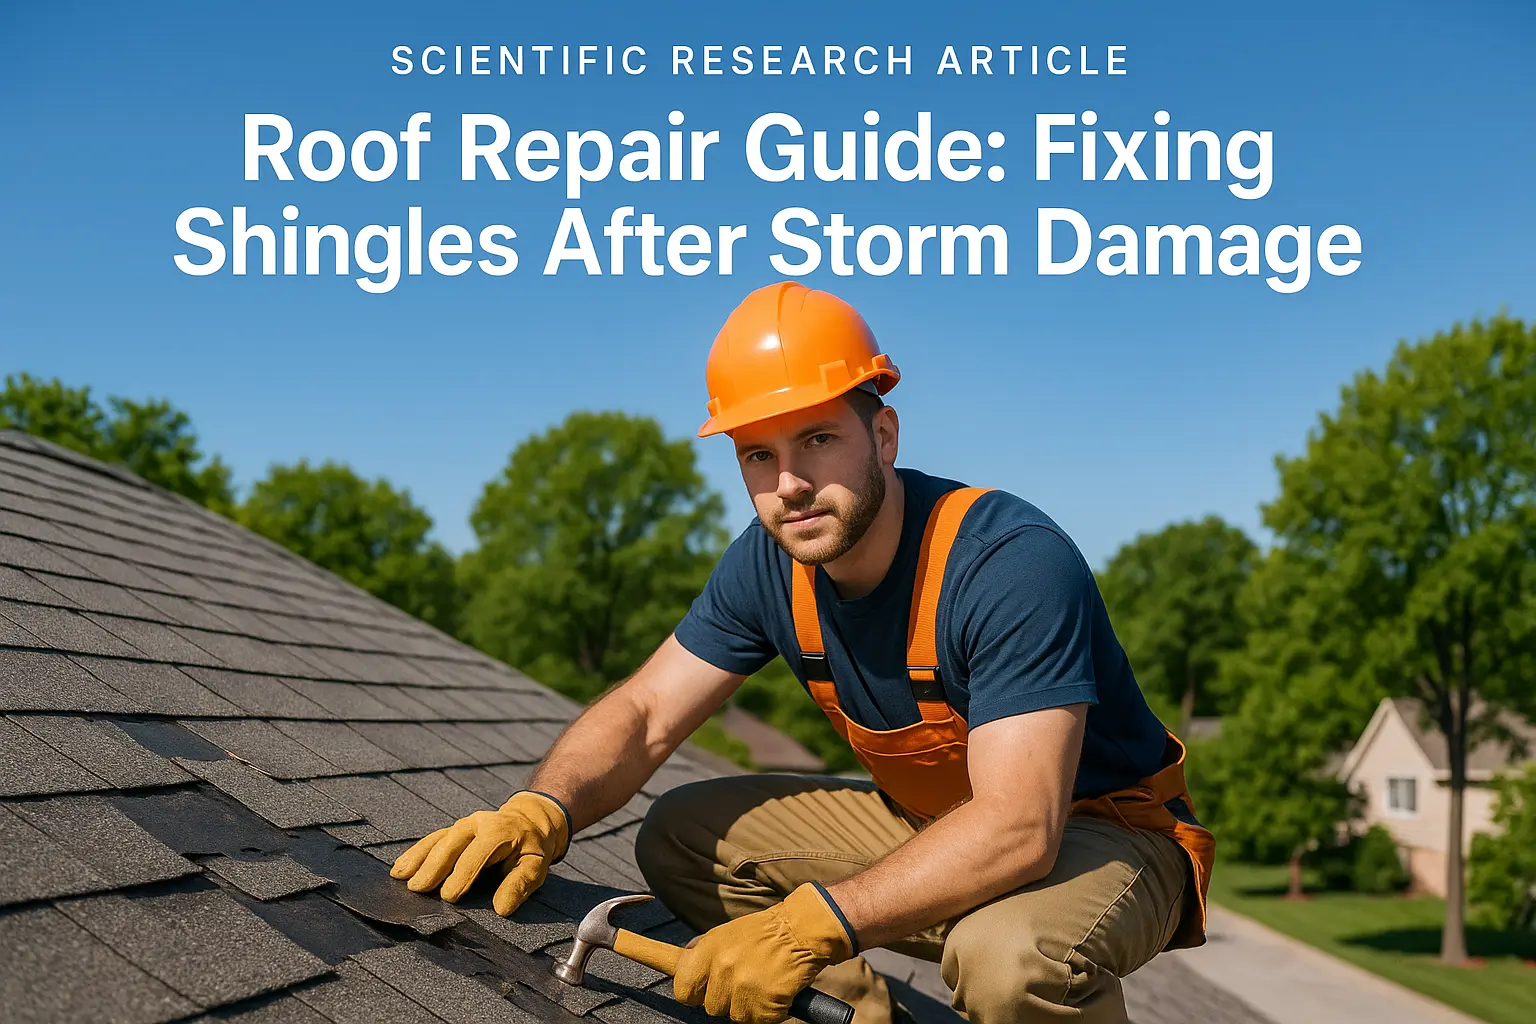
Introduction
Dealing with a rooftop leak—especially one that creeps in around the flashing—can feel like a real headache. Not only can it ruin the look of your home, but it may also lead to serious structural problems if ignored. Water sneaking into your living spaces can cause a host of issues, from mold development to rotted wood and even hazardous electrical complications. Often, the culprit is not the roof itself, but the flashing that’s meant to keep water away. When this barrier is damaged, tiny crevices can form, allowing water to seep in and worsen over time. In this article, we offer guidance for homeowners and DIY fans on repairing these leaks, emphasizing speedy fixes that protect your home’s value and the safety of its inhabitants. Remember, a small investment in proper repair today can save you from major issues tomorrow.
Sealant, Joints, Waterproofing: Essential for Lasting Roof Performance
One of the most important practices in roof repair is the regular use of quality sealant, joints, waterproofing to keep moisture at bay. Whether you are a seasoned DIY enthusiast or hiring a professional, understanding the role of these materials is crucial.
Understanding Roof Flashing
What Is Roof Flashing?
Roof flashing is a thin, protective material made usually of aluminum, copper, or galvanized steel, designed to steer water away from vulnerable areas. Flashing lines the seams, joints, and transitions between different roof planes, such as where a roof meets a chimney, a skylight, or a vent. The idea is simple: create a watertight barrier that prevents moisture from penetrating where different roof parts connect. Over the years, manufacturers have developed stronger, more durable flashing products that better support sealant, joints, waterproofing concepts, ensuring protection against the natural wear from rain, sun, and wind.
This layer of metal or sometimes specially treated plastic plays a central role in keeping your interior dry. Good flashing acts as the first line of defense by directing water away from critical joints. When installed properly, these materials work together with sealant, joints, waterproofing to guard against leaks, preserving your home’s structure and appearance.
Common Reasons for Flashing Leaks
Flashing leaks can develop for multiple reasons. Understanding these causes can help you take action before minor issues lead to major repairs:
- Improper Installation: Often, leaks start when flashing isn’t installed at the right angle or is not overlapped properly. A misalignment, even by a small margin, can create gaps that let water in. These oversight issues can interrupt the flow of water away from the seams, rendering your sealant, joints, waterproofing plan less effective.
- Harsh Weather Conditions: Severe weather events like heavy rain, hail, strong winds, and even snow can physically stress the flashing. With repeated exposure, metals might bend or warp, compromising their ability to guide water away from your roof’s joints.
- Aging Materials: Like any other component of your home, flashing can deteriorate over time. Prolonged exposure to sunlight and steep temperature changes can cause metal to oxidize and corrode. With time, tiny fissures develop, letting water seep through despite the initial sealant, joints, waterproofing efforts.
Knowing these vulnerabilities not only prepares you for routine checks but also reinforces the importance of ongoing care and replacing aged materials before minor deterioration becomes a costly repair.
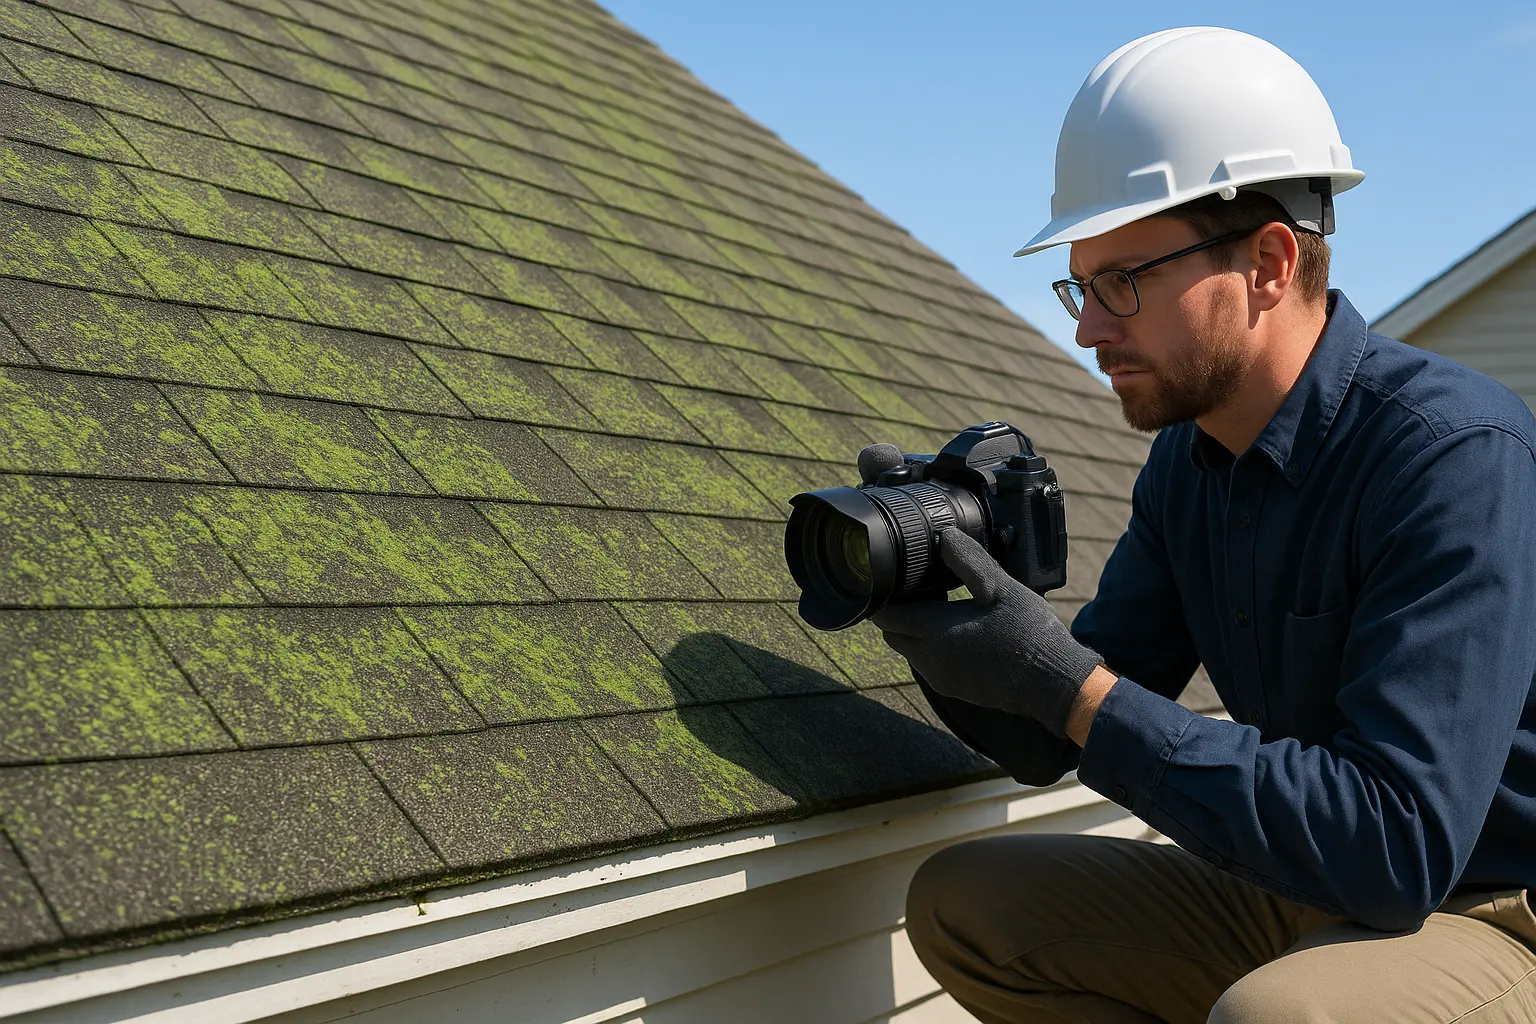
Signs of a Flashing Leak
Early detection of flashing problems is key to preventing severe damage. Watch out for these common signs that hint at potential leaks in your roof:
- Water Stains: Dark spots on ceilings or walls are a primary signal that moisture is infiltrating your home. These stains typically emerge after long bouts of rain or rapid snowmelt, suggesting that water is managing to bypass your roof’s barrier.
- Curling Shingles: When shingles around flashing start to lift or curl, moisture might be undermining the bonding agent that holds them together. This shift can indicate that water is slowly getting under your roofing layers.
- Dripping Water: Visible water drops streaming during or after rain are obvious signs that water is making its way inside. Look especially closely around vents, skylights, and chimneys where flashing is expected to block the flow.
- Mold or Mildew: The growth of mold or mildew on ceilings and walls points to lingering dampness. Persistent moisture has likely moved past the flashing, making that initial sealant, joints, waterproofing effort insufficient.
Routine checks after heavy weather can catch these troubling signals. Many homeowners find that early attention not only prevents the need for extensive flashing leak repair but also preserves the overall health of the home’s roof.
Steps to Fix Flashing Leaks
Gathering the Right Tools
Before diving into repairs, it’s crucial to gather all necessary tools and materials. When you’re prepared, you smooth the way for a safe and effective repair job. Your toolkit for this project might include:
- Pry Bar: Helpful for gently lifting shingles around the problematic area without inflicting extra damage.
- Utility Knife: Essential for slicing through old sealant or adhesive that might be holding damaged flashing in place. A sharp blade ensures neat, precise cuts.
- Caulking Gun: Needed to apply roofing cement in a steady, continuous line, ensuring a good seal around the edges.
- Roofing Cement: Choose a high-performance cement designed for waterproofing and smooth coverage once the new flashing is in position. This material plays a big role when pairing the best sealant, joints, waterproofing techniques with your repair work.
- Replacement Flashing Material: Whether you decide on aluminum, copper, or another robust material, it must be well-suited to the demands of your roof’s joints and overall design.
Lay out your equipment near your work area and always remember to follow safety protocols. This includes using stable ladders and wearing non-slip footwear. With thoughtful preparation, your repair process becomes much easier and more effective.
Removing Damaged Flashing
With your tools in hand, the next step is to remove the flawed flashing carefully. This stage requires both patience and precision:
- Shingle Lifting: Start by gently prying up the shingles that overlay the damaged flashing. The goal is to expose the problematic area without stressing the adjacent shingles more than necessary.
- Cutting Through Sealants: Use your utility knife to trim away old adhesive or sealant that binds the flashing to your roof. This step is delicate, as accidental cuts can harm nearby shingles or the roof itself.
- Cleaning the Surface: After the removal, it’s vital to clear away any leftover roofing cement, dirt, or debris. A properly cleaned surface ensures that the new flashing and its sealant, joints, waterproofing layers bond correctly and form a sturdy barrier.
This thorough prep work sets the stage for a repair that lasts. Even minor debris or irregularities can cause the new flashing installation to fail, so take the time to do it right.
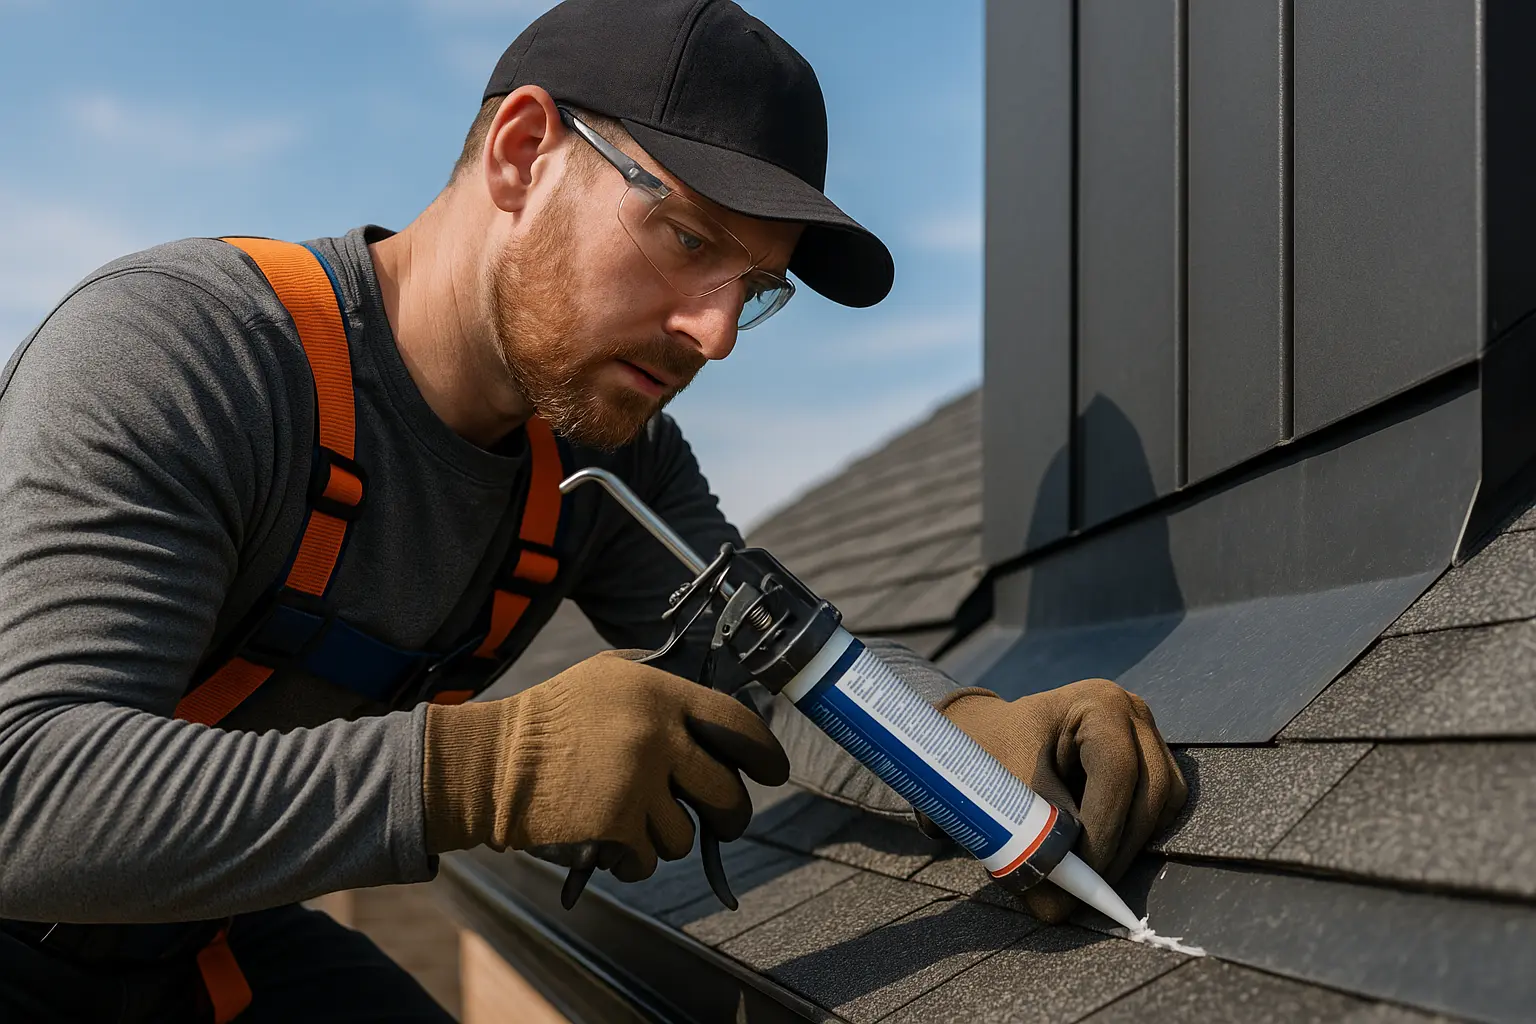
DIY Approach to sealant, joints, waterproofing Repairs
Once the old flashing is removed and the area is spotless, it’s time to install the replacement. Your aim is to have the new flashing blend seamlessly with the existing roof structure:
- Measuring and Cutting: Begin by carefully measuring the space where the new flashing is needed. Precision here helps ensure the new piece fits snugly. A custom-cut piece minimizes gaps that could compromise the entire sealant, joints, waterproofing system.
- Underlapping Shingles: Slide the new flashing beneath adjacent shingles to create a layered effect. This overlapping design is key for guiding water away from the joints and ensuring that your roof stays dry.
- Securing the Flashing: Fasten the new flashing with roofing nails, being cautious to avoid overtightening or damaging nearby material. Following this, apply a generous coating of roofing cement along all edges. This not only secures the flashing further but reinforces your overall sealant, joints, waterproofing plan.
Every step in this process is crucial for long-term reliability. Gaps or poorly secured materials can allow water in, eventually leading to more extensive repairs. Remember that careful installation now brings confidence and fewer headaches in the future.
Preventing Future Leaks
Regular Roof Inspections
Once repairs are complete, prevention becomes the next line of defense. Scheduling regular roof inspections helps catch small problems before they escalate. After extreme weather, a quick check-up of your roof can pinpoint early signs of trouble like loose shingles or discoloration. Routine care can ensure that your sealant, joints, waterproofing setup remains intact and effective.
It’s a good practice to look over your roof periodically, especially in the wake of storms or abrupt temperature changes. By being proactive and consistent with maintenance, you reduce the chances of future flashing leak repair and extend the lifespan of your roof.
Getting Professional Help When Needed
At times, the DIY fixes might not be enough—especially when damage is extensive. Professional roofers bring specialized skills and tools that help detect hidden issues. Their expertise in flashing installations and overall roof care often extends the effective life of the structure. Hiring professionals means investing in a service where detailed documentation, strict safety measures, and quality guarantees come standard. This ultimately preserves your home’s overall integrity while reinforcing your sealant, joints, waterproofing measures.
Moreover, professionals can conduct thorough checks on other parts of your roof, potentially preventing further complications. Whether it’s routine maintenance or comprehensive repairs, expert advice is invaluable in managing roof health.
Investing in Quality Materials
One of the surest ways to fend off recurring leaks is to opt for top-grade materials right from the start. High-quality flashing and roofing cement are designed to stand up to intense weather and variable temperatures. When you choose the best products available, your sealant, joints, waterproofing system is more likely to hold strong over time. In turn, these products reduce the need for frequent repairs and help maintain your roof’s aesthetic appeal.
Pay attention to compatibility issues as well. Make sure the flashing you select is suitable for the type of roof you have, be it asphalt shingles, tiles, or metal sheets. Sometimes spending a little more now on reputable brands and durable products can drastically lower maintenance efforts later. With the right choice, future flashing leak repair incidents become much less common.
Conclusion
Maintaining a strong roof is about front-loading your efforts today to ward off costly, disruptive water damage tomorrow. By properly understanding and caring for roof flashing, you prevent leaks and reinforce your home’s overall safety and longevity. This guide has walked you through the phases—from recognizing early signs of leaks and gathering essential repair tools to carefully removing damaged materials and installing new ones.
It’s clear that regular upkeep, careful use of sealant, joints, waterproofing measures, and professional maintenance when needed can help you avoid major issues. Paying attention to how materials interact at the joints and ensuring every piece is installed with care will secure your home against inclement weather.
Remember, ongoing care such as timely flashing leak repair and routine inspections not only saves money but ensures that your home remains a safe haven. By taking steps today and reinforcing your sealant, joints, waterproofing defenses, you safeguard one of your biggest investments—your home.
Ultimately, whether you prefer to tackle repairs on your own or call in experts, always give priority to quality repairs and preventive measures. A well-maintained roof stands as the first barrier against the elements, ensuring comfort, safety, and lasting peace of mind for you and your family.