Introduction
Discovering a leak in your roof can bring on a wave of worry, particularly when the problem centers around a vent pipe. What might seem like a minor nuisance can quickly turn into a headache, undermining the strength of your roof and letting water seep into your home. That small drip can lead to rot, mold infestations, and even a loss of insulation efficiency, all of which might result in a costly repair project. Learning how to deal with a leak near a vent pipe is key both to protecting your investment and ensuring the comfort and safety of your living space. In this guide, we explore how to determine the source of the leak, look over the critical elements, and walk you through the steps needed to set things right.
In addition to immediate fixes, we also highlight methods to stop future leaks before they start. Regular checkups and the use of quality materials are essential if you want to extend the life of your roof. Whether you enjoy tackling projects yourself or you lean toward professional services, the insights below will help you handle this tricky roofing problem with confidence.
Identifying the Issue
The first step in protecting your home is to locate the leak early. By catching the problem when it’s still small, you can avoid major damage and high repair bills later on. It all starts by noticing the tiny signs that water is making its way inside. Let’s look at these clues more closely.
Spotting the Telltale Signs
Early detection plays a huge role in dealing with roof leaks. Homeowners should keep an eye out for faint but unusual changes. You might find irregular spots or discolorations that hint at where water has been settling.
Water stains: Dark or uneven patches on your ceiling or walls are a common sign that water is seeping in. In many cases, these stains start small and then spread as moisture continues to affect the area, sometimes leaving behind mineral deposits.
Dampness: Feeling moisture or noticing a generally damp area around the vent pipe can indicate a leak that is slowly compromising your roof’s defenses. Changes in temperature or even high humidity might make these damp spots more obvious.
Mold or mildew: Mold growth in regions that aren’t normally damp is another alarm signal. Mold can appear near a vent if the leak has been persistent, and aside from ruining surfaces, it may also have health implications for anyone living in the home.
Think of a family that ended up with persistent dark patches by their attic vent. After a thorough look, they realized a leak had been slowly deteriorating the roof for several months. Catching these signs early can save both effort and money.
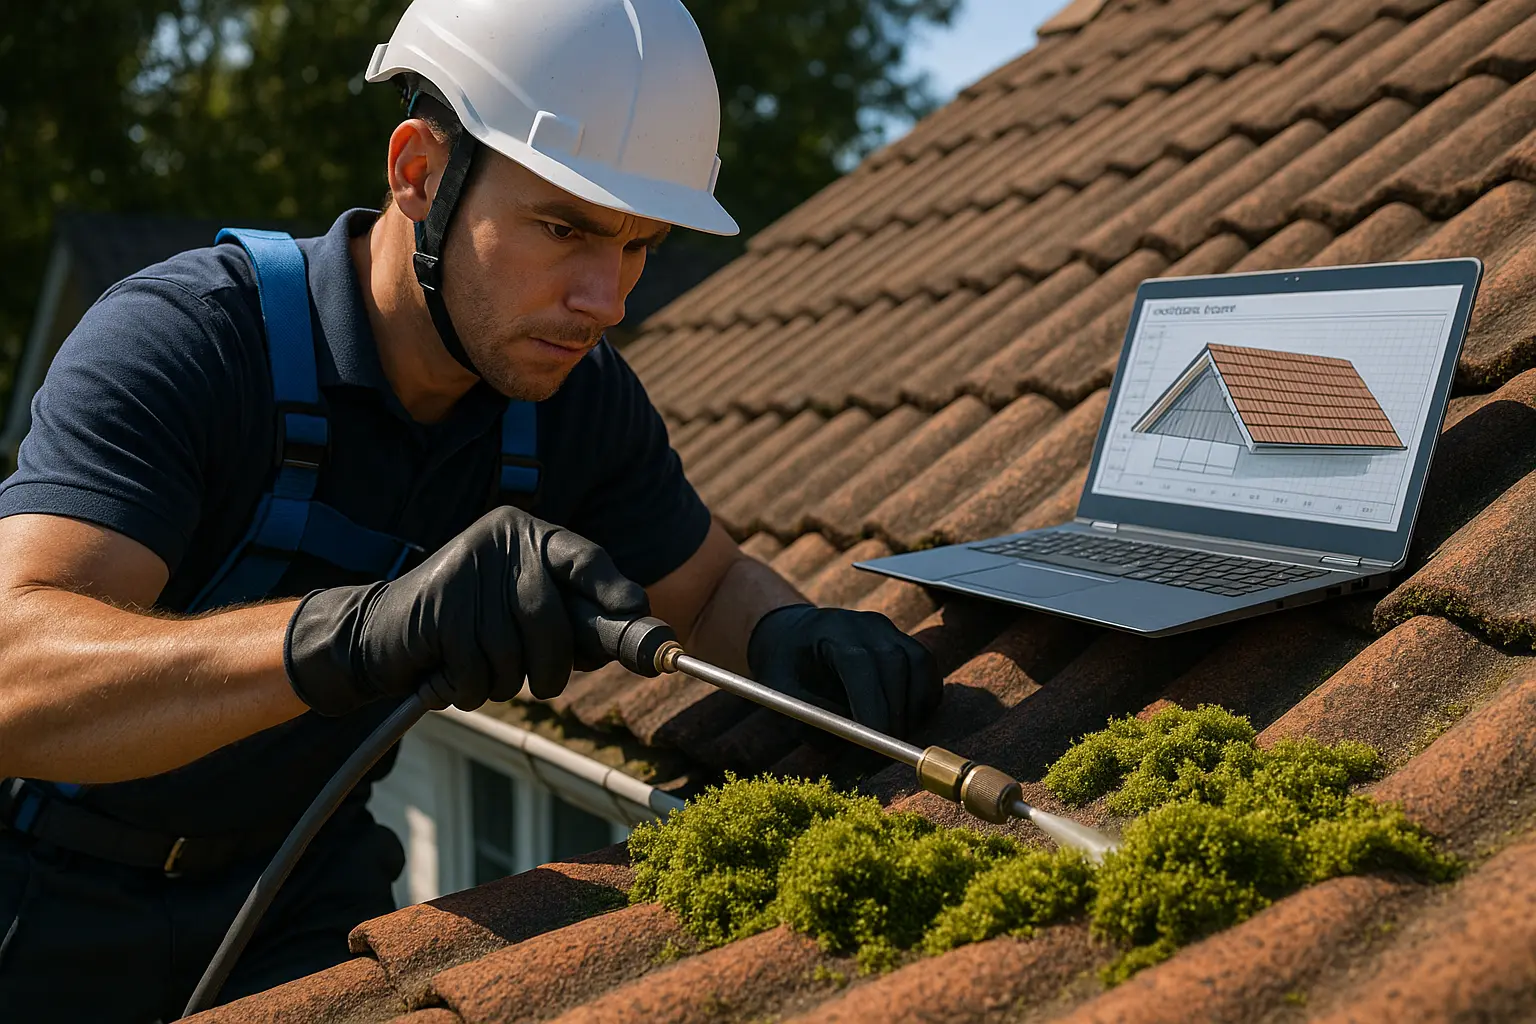
Conducting a Thorough Roof Inspection
When you suspect a leak, your next move should be a detailed inspection of your roof. Do this during daylight for better visibility and safety. Check out the region around the vent pipe carefully to assess the damage.
Safety first: Always use a solid ladder, wear non-slip shoes, and if possible, have someone nearby to help you. For steep or fragile roofs, it’s best to have a professional take a look.
Hour by hour examination: Start your check by looking at the shingles and the area around the vent pipe. Look for any cracked, curled, or missing shingles that could offer water a way in. It’s also important to note if there are any tiny gaps in the roofing material that might expose the underlying deck.
Inspecting the metalwork: Flashing plays a vital role in keeping water off the roof, guiding it away from seams and joints. Inspect the flashing around your vent pipe carefully; even a slight bend or rust mark can compromise its performance, ultimately leading to a vent pipe roof leak.
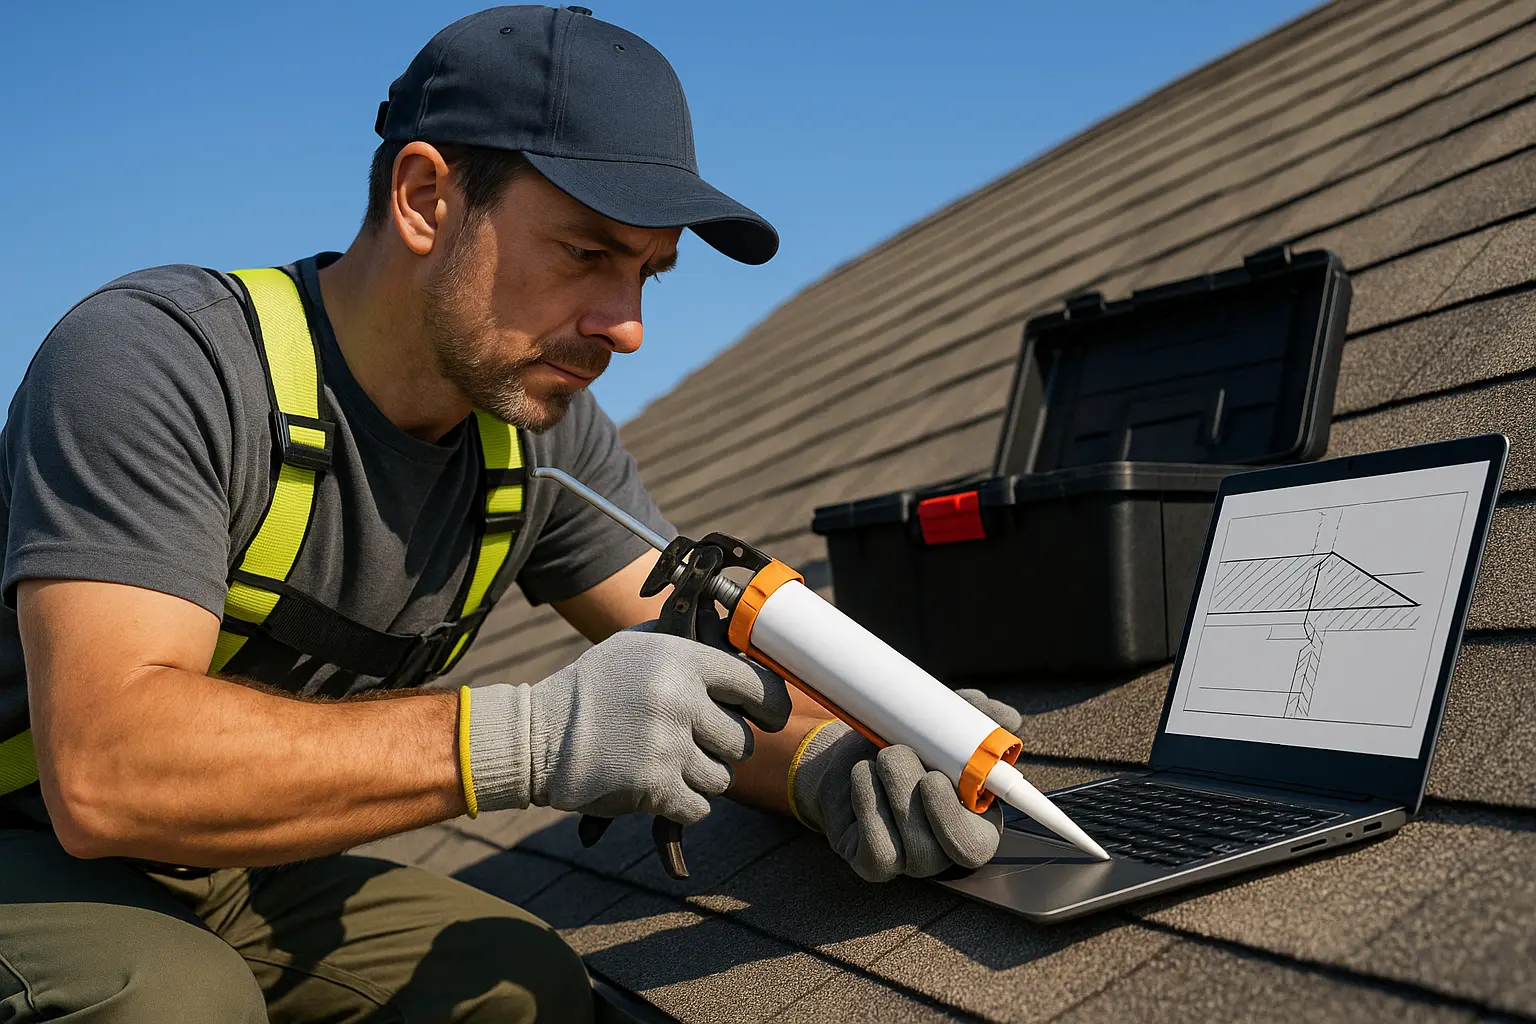
Flashing, Sealant, Boot Repair – Essential Steps
After you have identified the leak’s location and severity, it’s time to put together a repair plan that addresses all potential weak spots. This section focuses on a comprehensive approach that relies on flashing, sealant, boot repair techniques to restore your roof’s integrity and ward off future problems.
When correctly implemented, flashing, sealant, boot repair helps ensure that no water has an open invitation into your roofing system. In fact, many seasoned roofers insist on these methods, saying they not only fix the leak but also bolster the overall resilience of the roof. Using the right tools and materials, you can stop water from sneaking in around those vulnerable vent pipe areas.
flashing, sealant, boot repair – Quick Overview
This approach is a three-pronged method that encompasses checking your metal flashings, reapplying a robust sealant, and replacing any worn-out pipe boots. Together, these steps create a barrier designed to push water away from your roof. Let’s break down each process to explain how they all fit together.
Repair Methods in Detail
Once you have a clear view of the problem, it’s time to roll up your sleeves and get into the repair work. Depending on where the leak is most active – whether at the flashing, the boot, or even the shingles – each repair method is tailored to address that specific vulnerability.
Replacing the Flashing
Your roof’s flashing acts like a rain guard, steering water clear of the delicate areas where different materials meet. When this component suffers damage, the risk of water intrusion goes up significantly.
Step-by-step method: Begin by carefully removing the old and compromised flashing. Use the right tools—a pry bar and a roofing shovel—to lift it without harming nearby shingles. Once the old flashing is removed, thoroughly clean the exposed surface, making sure it is dry and free from any debris or sticky residue.
Then, position the new flashing firmly against the roof’s curve. Fasten it with roofing nails, keeping the spacing even to maintain consistent support. To seal the joints, apply plenty of roofing cement along the edges, which helps lock out water. This repair, part of an overall flashing, sealant, boot repair process, not only fixes the current leak but also acts as a solid preventive measure against future water damage.
Installing a New Pipe Boot
If the pipe boot looks worn out, cracked, or torn, replacing it is a smart way to plug the gap. The pipe boot is designed to hug the vent pipe snugly and prevent water from finding a way in.
Installation guidelines: Start by gently prying off the old boot, taking care not to disturb the surrounding roof materials. Clean the area around the vent pipe well, ensuring that no old adhesive or debris remains. Slide the new pipe boot over the pipe and make sure that its flange sits evenly on the roof.
Secure the boot with the appropriate screws, driving them in evenly to avoid any misalignment. Then, run a generous bead of roofing cement around its edges. This step not only enhances the waterproofing but is also a core part of the overall flashing, sealant, boot repair strategy that many homeowners and contractors swear by.
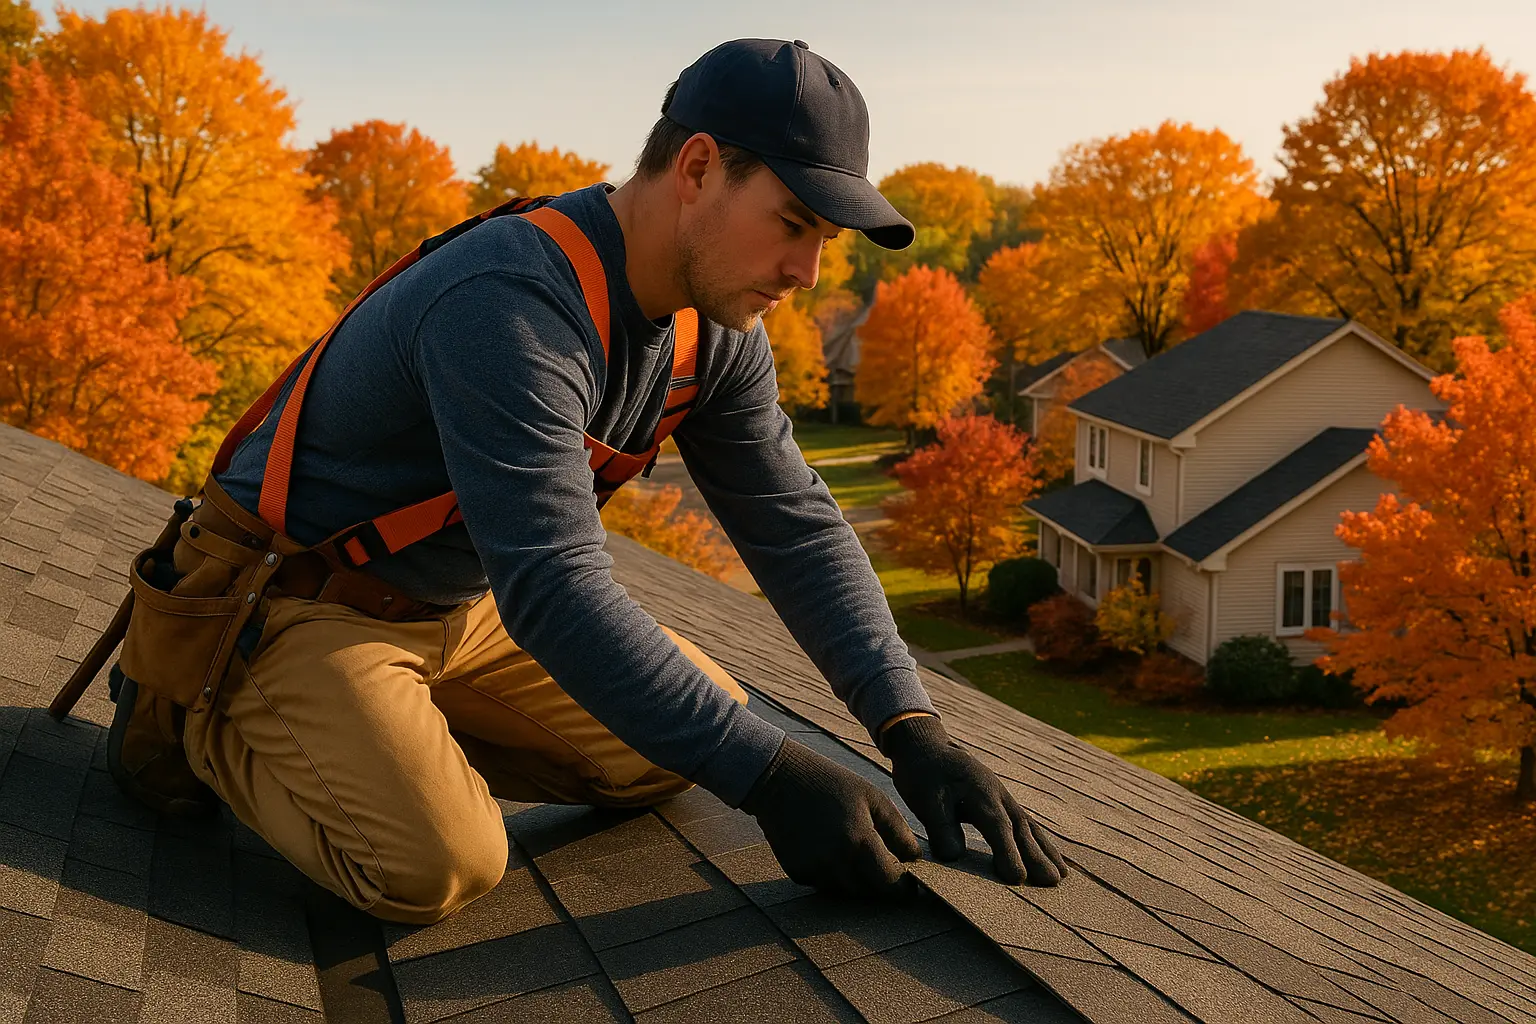
Restoring the Shingles
The shingles act as the first line of defense against the elements. When they become loose or damaged, water can easily infiltrate the underlying layers of your roof, making repairs more difficult over time.
How to repair: Tighten any loose shingles with roofing nails and ensure they sit flat on the roof’s surface. Missing or severely damaged shingles need to be replaced with fresh, weatherproof ones that match the look of your existing roof. This not only keeps your roof intact but also helps maintain its overall appearance.
Imagine a scenario where a few shingles were blown loose by a storm. With prompt replacement and securing measures, a potential vent pipe roof leak was averted. This attention to detail completes the comprehensive flashing, sealant, boot repair approach, ensuring that every weak point is reinforced.
Steps to Prevent Future Leaks
Fixing a leak is only part of the battle—it’s equally important to stop new problems before they take hold. Taking preventive measures through regular upkeep and methodical care can dramatically extend the lifespan of your roof.
Investing time in regular maintenance checks and repairs means you’re more likely to spot an issue, like a tiny crack or missing shingle, before it turns into a full-blown vent pipe roof leak.
Routine Roof Maintenance
A regular cleanup and inspection routine is your best defense against minor setbacks turning into major expenses. Check your roof at least twice a year—once as the weather warms up in the spring and once as it cools down in the fall—in addition to after any severe weather such as heavy storms or strong winds.
Maintenance pointers: Be on the lookout for signs of wear on your shingles, small gaps along the flashing, or any discoloration around your vent pipe area. Make sure gutters are clear and the roof is rid of debris to prevent water buildup. Incorporating flashing, sealant, boot repair techniques during seasonal upkeep can enhance the roof’s overall resilience.
With careful observation and timely touch-ups, you reduce the chance of a small issue escalating into a widespread vent pipe roof leak, saving you both time and money in the long run.
Getting Installation Right
Good installation practices are the cornerstone of a durable roof. Whether you tackle repairs on your own or call in a specialist, always follow the proper guidelines for setting up all roofing components.
Installation tips: Follow the manufacturer’s instructions when installing shingles, flashing, and pipe boots. Mistakes like improper nailing or skipping the sealing process can leave gaps that will eventually let water in. When in doubt, leaning on a trusted roofing expert can help ensure that every detail is managed perfectly, as part of that essential flashing, sealant, boot repair process.
Studies have shown that homes with professionally installed roofs are less likely to suffer from extensive damage. A well-installed roof means fewer emergency repairs and a better shield against the challenges posed by weather.
Choosing Quality Materials
The choice of materials plays a huge part in how long your roof lasts. While cutting corners with cheaper options might seem appealing at first, quality components like sturdy flashing, top-notch sealant, and durable pipe boots mean that your roof is better protected over time.
Material selection: Opt for materials that are designed to handle your local weather, whether that means high winds, heavy rains, or freezing temperatures. Investing in high-quality items is a key part of any effective flashing, sealant, boot repair strategy. Though you might spend a little more upfront, the long-term savings and peace of mind are well worth it.
There have been many cases where choosing reliable products has saved homeowners from recurring leaks and the associated repair costs. By selecting premium materials, you’re making a smart long-term investment in the security and durability of your roof.
Conclusion
Tackling a leak that forms around a vent pipe requires urgency, careful troubleshooting, and proper repair practices. By recognizing the early symptoms, conducting a detailed inspection, and following tailored repair steps—whether it’s replacing the flashing, installing a fresh pipe boot, or reattaching loose shingles—you can keep your home safe from water damage. The combined approach of monitoring and mending your roof is a robust defense against a vent pipe roof leak.
Take immediate steps: Don’t wait for a small problem to balloon into a full-scale disaster. Use consistent methods, such as applying the flashing, sealant, boot repair tactics mentioned here, to ensure each part of your roof is well-sealed and secure. If you ever feel uncertain, professional roofing specialists are just a call away and can offer expert guidance to not only fix but also prevent future leaks.
Protect your investment: Regular inspections, adherence to proper installation techniques, and the commitment to using quality materials will go a long way in ensuring your home remains safe and dry. By embracing the preventive measures outlined above and incorporating a reliable flashing, sealant, boot repair routine, you can keep a close rein on potential leaks even before they start.
In the end, maintaining your roof is about more than just aesthetics—it’s about safeguarding your home from the unpredictable forces of nature. Taking the extra time to nip leaks in the bud not only preserves your property’s value but also ensures a healthier living environment for you and your loved ones. Make it a habit to check, repair, and upgrade your roof regularly so that even the smallest vent pipe roof leak is met with a swift reply and a robust solution.
Remember, a well-maintained roof is your best defense against nature’s surprises, and with informed steps and quality materials, every homeowner can confidently face any roofing challenge that comes their way.