Secure Roof Protection: A Comprehensive Roof Edge Guide
Roof edge trim is a key part of any roofing project, vital for both function and style. Small yet mighty, it not only keeps unwanted water away from your home’s inner structure but also gives your roof a neat, finished look. Homeowners who take the time to understand and master the installation of roof edge trim will soon notice significant improvements in durability and visual appeal. In this detailed guide, we explain every aspect of roof edge trim—from its purpose and available materials to step-by-step installation and regular upkeep. With Secure Roof Protection as your goal, you can achieve a professional finish whether you decide to tackle the task yourself or hire an expert.
Understanding Roof Edge Trim
Secure Roof Protection Tactics
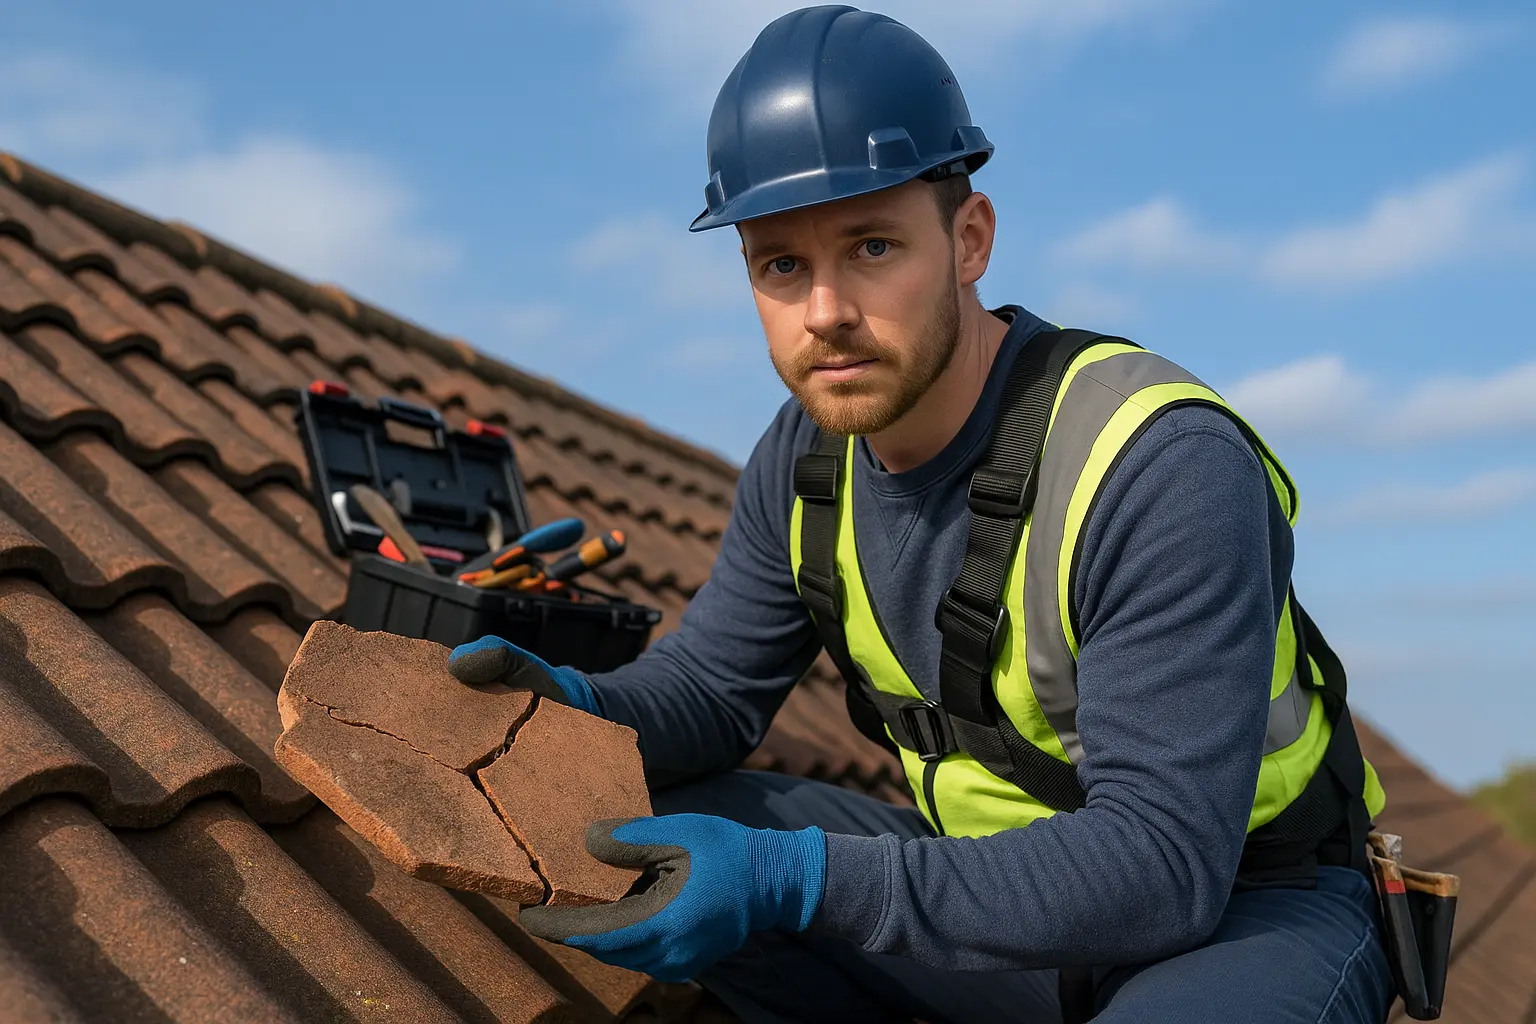
Roof edge trim, often known as drip edge, plays a dual role in safeguarding your home. At a fundamental level, its aim is to shield the roofing structure from water-related damage by channeling rain away from critical areas like the fascia and into the gutters. This simple yet effective method of Secure Roof Protection stops water from sneaking under shingles and causing issues such as rot or mold. Imagine a roof lacking this essential barrier—water accumulates, leading to gradual deterioration and costly repairs.
Visually, a well-installed roof edge trim lends a sleek and polished appearance. It refines the roofline by creating clean, straight edges that emphasize your home’s design while guarding vital areas. This combination of beauty and practical defense is why attentive homeowners choose trim that aligns with their Secure Roof Protection aims.
Materials and Options
When it comes to picking the right roof edge trim, you have several materials at your disposal, each with its own strengths. For example, aluminum is a favorite because it is affordable, light, and resists corrosion. In areas with moderate weather, aluminum performs reliably, offering a balanced mix of efficiency and cost savings. Homeowners in many suburbs rely on aluminum as part of their Secure Roof Protection system.
For climates that face harsher weather, steel shines with its extra durability. Steel edge trim stands up well to snow, strong winds, and high humidity, making it ideal for regions prone to severe weather. Those wishing to add a touch of elegance to their home might choose copper. Though more expensive, copper not only promises long-lasting performance but also acquires a unique patina over time—adding both charm and lasting Secure Roof Protection.
Tools and Preparation
Before you set out on your roof edge trim installation, make sure you have all necessary tools and that your work space is properly prepared. You will need a solid hammer or nail gun, a sharp utility knife for clean cuts, and tin snips for shaping your trim. A measuring tape and chalk line are your best friends when it comes to maintaining a precise and straight cut line, ensuring a flawless Finish that boosts overall Secure Roof Protection.
Safety should always come first. Don your gloves, goggles, and sturdy shoes to keep yourself safe. Begin by clearing the roof of debris and examining it for any damaged areas. A thorough pre-check of your roof ensures that the mounting surface is sound, setting a strong stage for securing your Secure Roof Protection efforts.
Installation Process
Step-by-Step Guide for Roof Edge Trim Installation
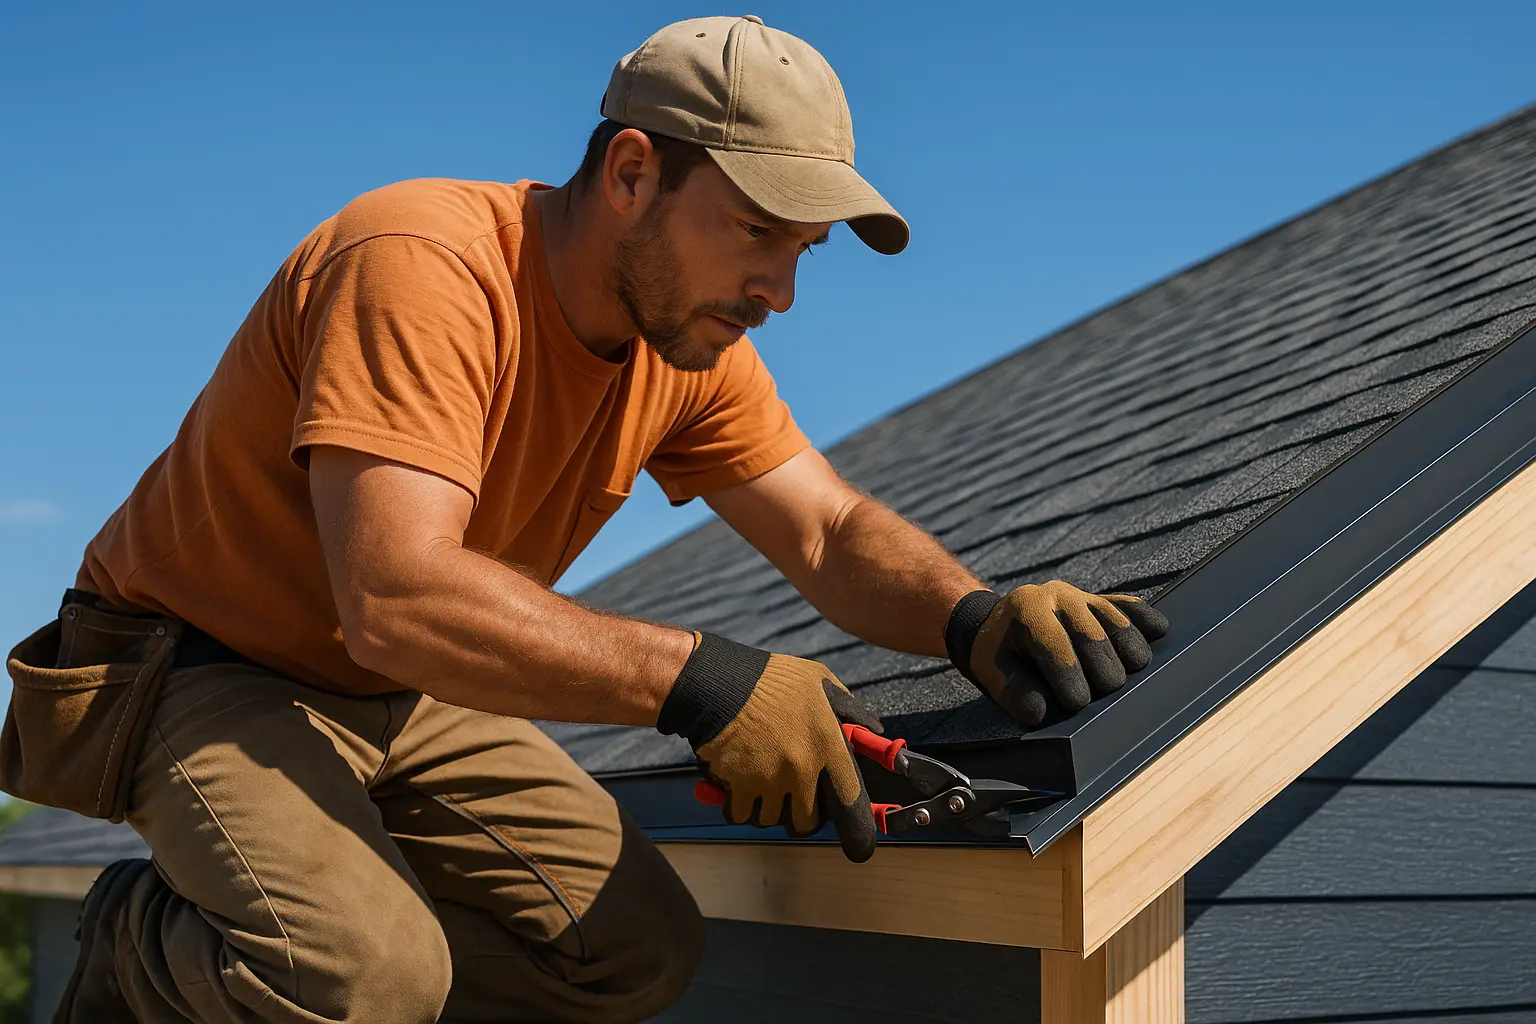
Begin the installation with careful measurements. Accurately measure your roof’s edge length to determine how much trim material you will need. This planning step is crucial to avoid ordering too little or too much, and it directly supports the overall Secure Roof Protection concept by ensuring every inch is covered.
With measurements in hand, use tin snips to cut the trim to the exact lengths required. Start at one end of the roof to set a reference point, and make sure each piece fits snugly with the next. The goal here is a seamless look with overlaps of about 1 inch between each trim piece; these overlaps form an extra layer of Secure Roof Protection against water seepage.
Once aligned, nail the trim down firmly. Position the nails about 12 inches apart, ensuring they go through the trim and into the underlying fascia board. This anchoring method strengthens the installation and underpins your Secure Roof Protection strategy. In short, a precise roof edge trim installation not only looks neat but also reinforces the structure against water damage.
Common Installation Pitfalls
Even seasoned DIY enthusiasts may stumble during installation. One common error is not overlapping the trim pieces sufficiently, leaving gaps that allow water to slip through—thus compromising your Secure Roof Protection goal. Additionally, over-driving the nails can distort the trim, causing it to bend or warps over time. Such mistakes can lessen both the visual appeal and the protective power of your setup.
Pay careful attention to every joint and gap. After fastening the trim, examine all connections and apply a quality sealant where necessary. This added step creates a tighter seal, reinforcing your Secure Roof Protection while guarding against moisture issues, especially in areas with high rainfall. Make sure your work remains level throughout the installation to avoid channels where water might pool.
Finishing Touches
The final phase of your project involves a careful review and touch-ups to ensure the trim meets both functional and aesthetic expectations. Walk along the roof edge and inspect every joint for smooth, secure overlaps. A light brush of high-quality sealant along seams can finish off your Secure Roof Protection system, offering an extra barrier against weather.
Then, step back to appreciate the clean, uniform look. Are the edges crisp? Does the trim shield the fascia effectively? These final adjustments not only enhance the curb appeal but also cement the roof edge trim installation as a robust element of your overall Secure Roof Protection.
Post-Installation Care
Routine Maintenance for Lasting Secure Roof Protection
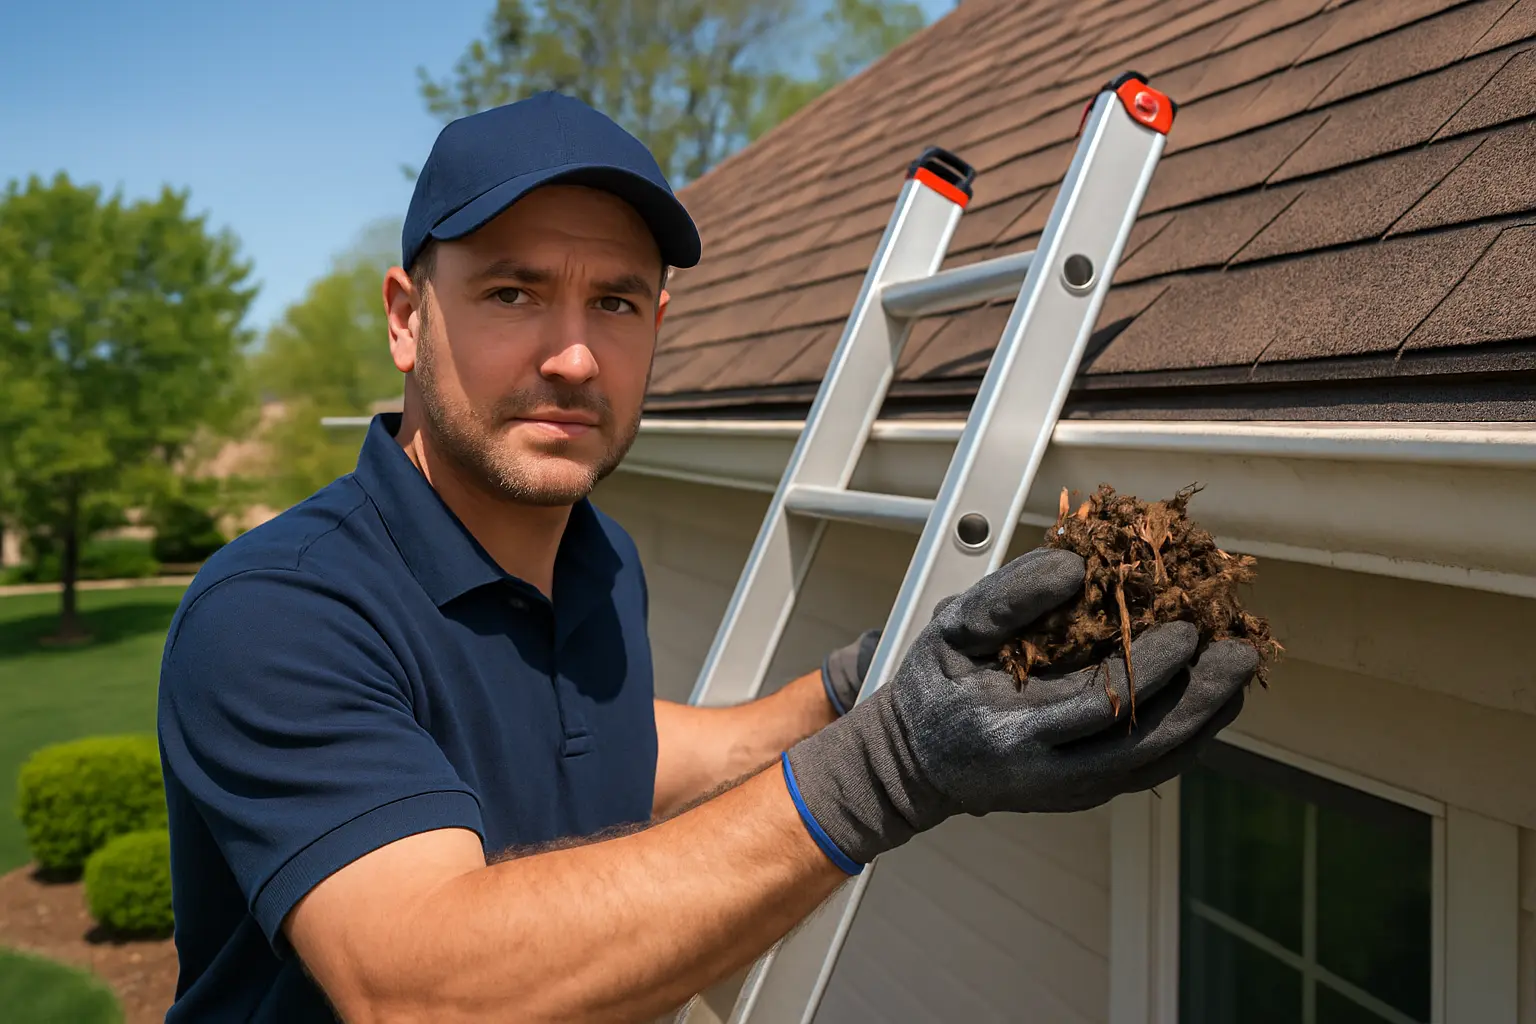
Installing the roof edge trim marks just the beginning of your home’s upkeep journey. Regular maintenance is essential to retain both the effectiveness and the look of your new trim. After severe weather events like storms or heavy snow, check the gutters and trim for any blockages or damage. Routine cleaning prevents debris build-up that might otherwise interfere with your Secure Roof Protection plan.
Plan for an annual inspection to catch any early signs of wear. Look for loose nails, cracks in sealants, or even slight oxidation on metal parts. Early repairs help you maintain continuous Secure Roof Protection and keep repair costs down over time.
Repainting and Upkeep
Over time, metals like aluminum or steel may benefit from a fresh coat of paint to ward off rust and corrosion. Repainting isn’t just cosmetic—it strengthens the material and prolongs the span of Secure Roof Protection. When you choose a paint, opt for one meant specifically for metal surfaces. This ensures the finish withstands UV light, temperature shifts, and moisture for a longer period.
If you spot peeling spots or chips, clean the area, sand lightly so it’s smooth, and then apply a primer before the final coat. This routine not only keeps your roof looking sharp but reinforces the trim’s role in Secure Roof Protection.
Timely Repairs
Even with routine care, occasional damage is inevitable. A strong wind or falling debris might cause the trim to bend, dent, or even rust. When these issues appear, prompt repair is key to maintaining your Secure Roof Protection. Minor bends can often be corrected with the right tools, but if the damage is extensive, replacing the affected sections might be necessary. Quick fixes help prevent minor issues from escalating into larger structural problems that could compromise the roof overall.
Conclusion
The roof edge trim is much more than a decorative accessory—it’s a necessary shield that blends style with practical water defense. With Secure Roof Protection at the forefront, every element from selecting materials to the careful installation and ongoing upkeep plays a role in safeguarding your home. Choosing the right material, whether aluminum, steel, or copper, is a decision that balances cost, durability, and the specific demands of your local climate.
Each step of the installation process, from precise measurements to proper nail placement and overlapping joints, contributes to a final product that is both attractive and robust. Avoiding common mistakes and sealing gaps early on ensures your Secure Roof Protection remains uncompromised. And remember, the work doesn’t end with installation—a regular schedule of maintenance, repainting, and timely repairs is essential to keep your defense strong.
By investing time and care into roof edge trim installation, homeowners set the stage for a long-lasting, secure, and stylish roof. Whether you embark on a DIY project or hire professionals, every careful step counts. In our ever-changing weather conditions, maintaining a high standard of Secure Roof Protection is more than a necessity; it’s an investment in the future of your home. Additionally, effective roof edge trim installation not only boosts curb appeal but also reinforces your home’s overall structural integrity, keeping your property safe and looking its best for many years to come.