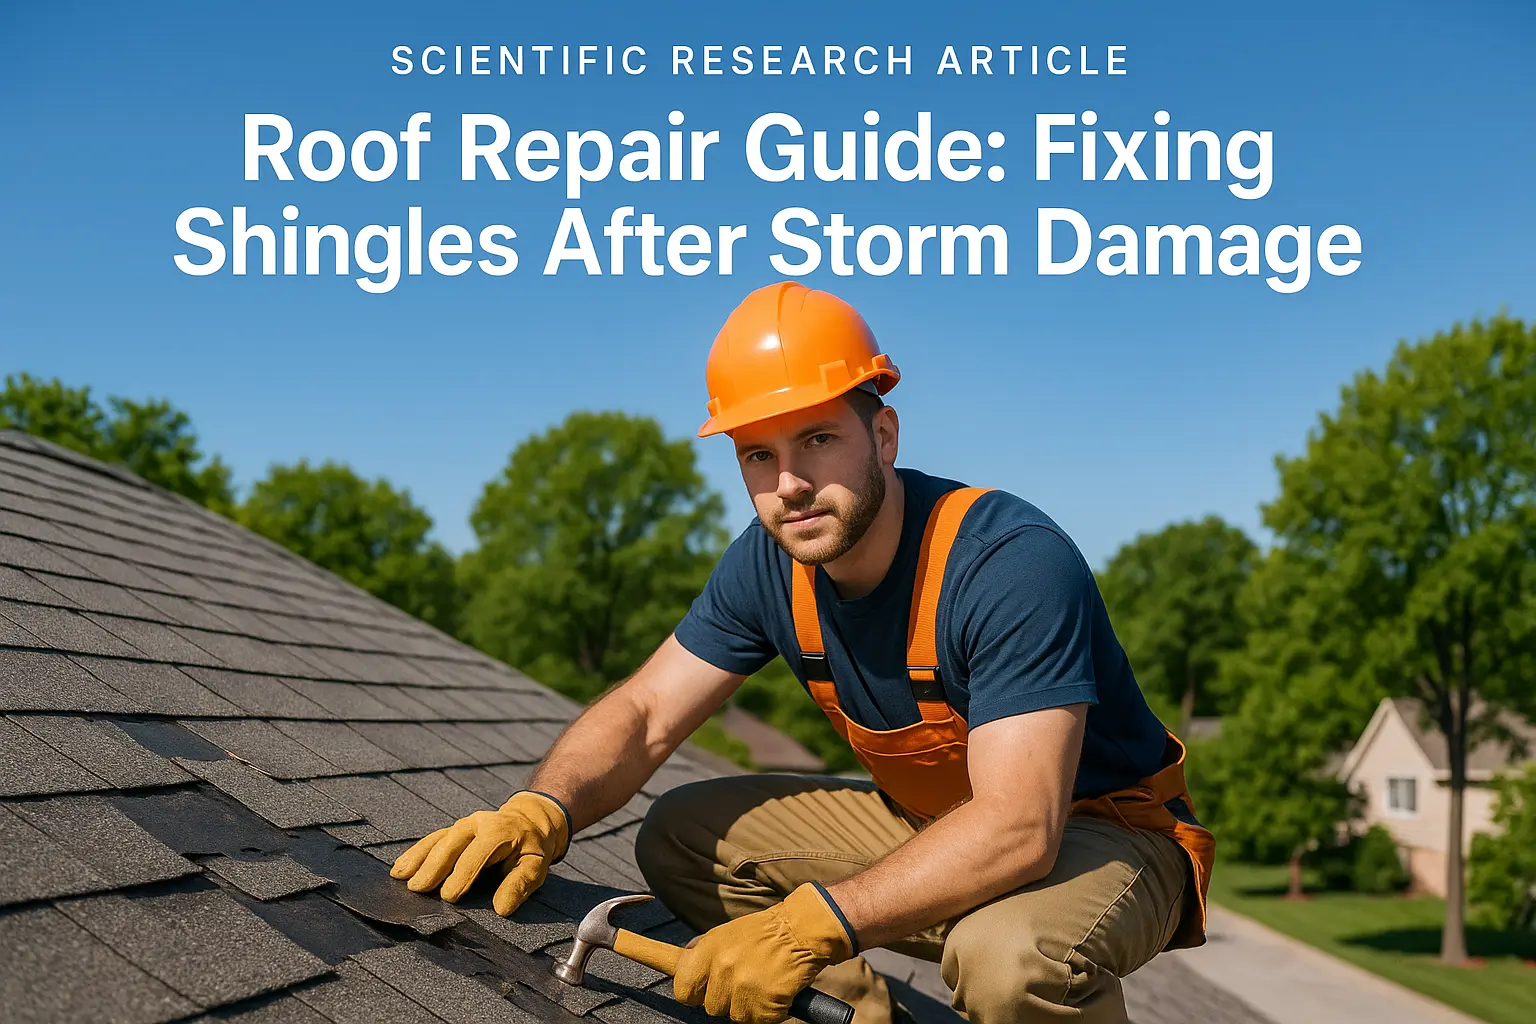
Introduction
A fallen branch can wreak havoc on your roof. The damage may be obvious with broken shingles or subtle when the hit weakens the supporting structure. Whether the impact creates leaks, small punctures, or hidden problems with the roof deck, prompt attention is key. This comprehensive guide will walk you through everything from the initial damage check to the repair work and insurance steps. With careful attention and clear planning, you can restore your roof, keeping the home safe from further harm.
Assessing the Damage
Inspect the Affected Area
Start by taking a careful look at the damaged roof. Your safety is the top concern. Before climbing, check the outside for hanging limbs or precarious branches that still dangle. When a storm has been involved, unstable tree growth is common. Using binoculars from the ground can help you see where the damage is most pronounced without risking a dangerous climb.
During your visual check, note any broken or missing shingles, liquefied rubber or cracked cement areas, and debris embedded in the surface. Remember, sometimes the real problem isn’t visible at first glance. Small depressions or color shifts on the roof could indicate that a hidden structure, such as the roof trusses, has taken a blow. If you feel uncertain about what you see, it’s best to call in a professional for a detailed fallen branch roof repair assessment.
Document Your Findings
Once you have inspected the area, document everything thoroughly. Snap clear, high-resolution photos from multiple angles, ensuring you capture both a wide view and close-ups of specific damage points. Detailed images help create a clear repair plan and are crucial when filing an insurance claim. Taking notes about any visible changes, like creases in the roof’s surface or misaligned panels, further strengthens your evidence.
Keep a log of the time and date when the damage was first noticed. Make sketches if that helps clarify areas of concern. These steps become invaluable if the damage worsens or if insurance companies require proof of the incident. In any conversation with insurers, clear documentation boosts your claim’s credibility.
Reach Out to Your Insurance Provider
After documenting the damage, contact your homeowner’s insurance. Most policies cover incidents like weather-induced damage from falling branches, though every policy is unique. During your discussion, clearly ask what types of issues are covered, details about the claim process, and expected timelines. Be sure to record every conversation, keeping emails and notes safe for later reference.
If required, arrange for a professional inspection report as soon as possible. This extra step sets a solid foundation for your claim by portraying you as proactive. The smoother this initial dialogue goes, the more prepared you are to start the actual repairs.
Gathering Appropriate Tools and Materials
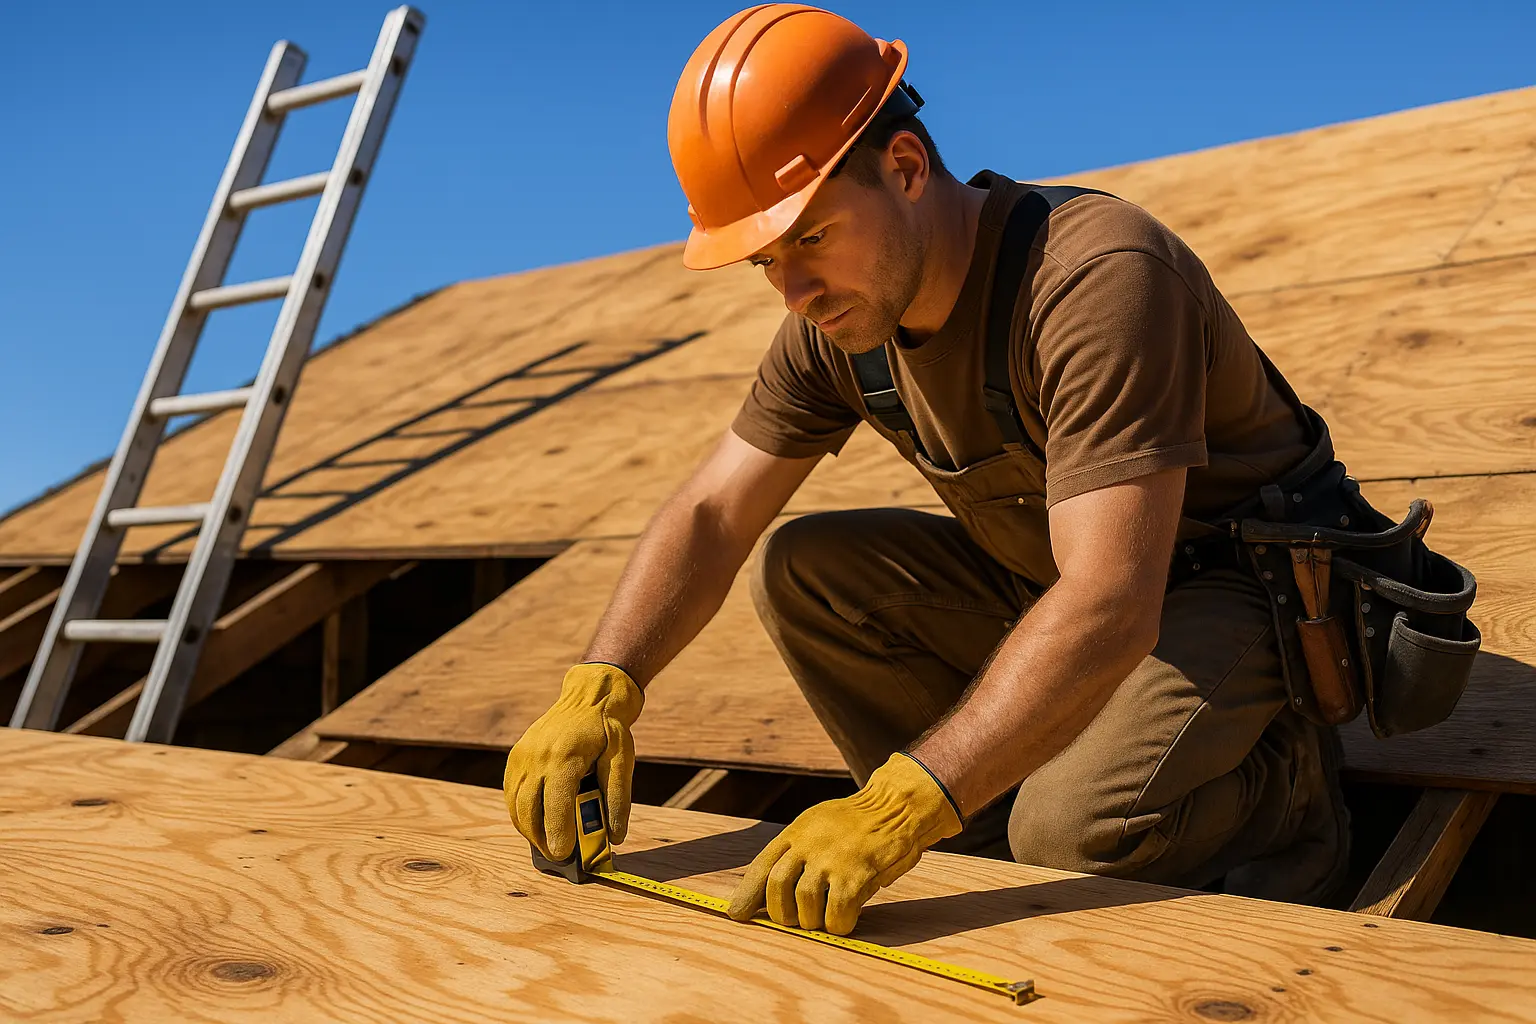
Safety Equipment is Crucial
Your next focus is gathering the right gear. Working on a roof, especially when structural damage is involved, calls for proper safety equipment. Equip yourself with a robust ladder—one that is checked for wear—durable gloves to protect against sharp edges, and a security harness to guard against falls. Don’t underestimate the value of safety boots and a hard hat, especially if there could be loose debris falling around.
This careful preparation not only reduces injury risk but also gives you more assurance as you work on repairs. Always ensure that your safety equipment is in good condition before starting. Securing safety gear upfront is one of the best investments you can make in the repair process.
Tools for Effective Repairs
Next, gather your repair tools. A successful fix depends on having the right items nearby. You might need a hammer, a set of nails, roofing cement, a utility knife for precise cutting, and even a hammer tacker to secure new materials. Knowing how and when to use these items is just as vital as having them ready. For example, apply roofing cement to seal the new elements against any water incursion.
A well-organized toolbox not only saves time but also prevents interruptions. Consider keeping backup items available, especially if the job extends longer than expected. The efficient use of your repair tools is key in making sure that each element is re-secured safely and securely.
Replacement Materials Matter
Finally, prepare the materials you’ll need to restore your roof. Matching the new supplies to the existing roof is important. Consider collecting shingles that closely resemble your current set, along with the correct underlayment and high-quality adhesives to keep everything in place. If the branch’s impact has resulted in deeper structural damage, you might need to replace larger segments, possibly even parts of the roof deck itself.
It is wise to compare your replacement materials from several sources to ensure they meet your safety and quality standards. Sometimes it helps to consult with a roofing expert, especially to confirm that your chosen supplies will provide lasting protection, even after another harsh weather event. Planning your materials well in advance sets the stage for a repair that restores both performance and appearance.
Repairing the Roof
Clearing Away Debris
The actual repair work begins with clearing away the mess left behind by the fallen branch. Remove larger pieces like big wood chunks and broken shingles with care, using sturdy gloves and, if available, protective eyewear. Clear smaller debris with a broom to ensure no remnants can disrupt the repair work. A neat, clean surface is essential to spotting any additional damage you might have missed initially.
This cleanup is not just about making the roof look tidy. Removing debris helps prevent water accumulation and stops further damage. In some cases, cleaning will expose hidden water stains or soft spots that indicate further damage beneath the surface.
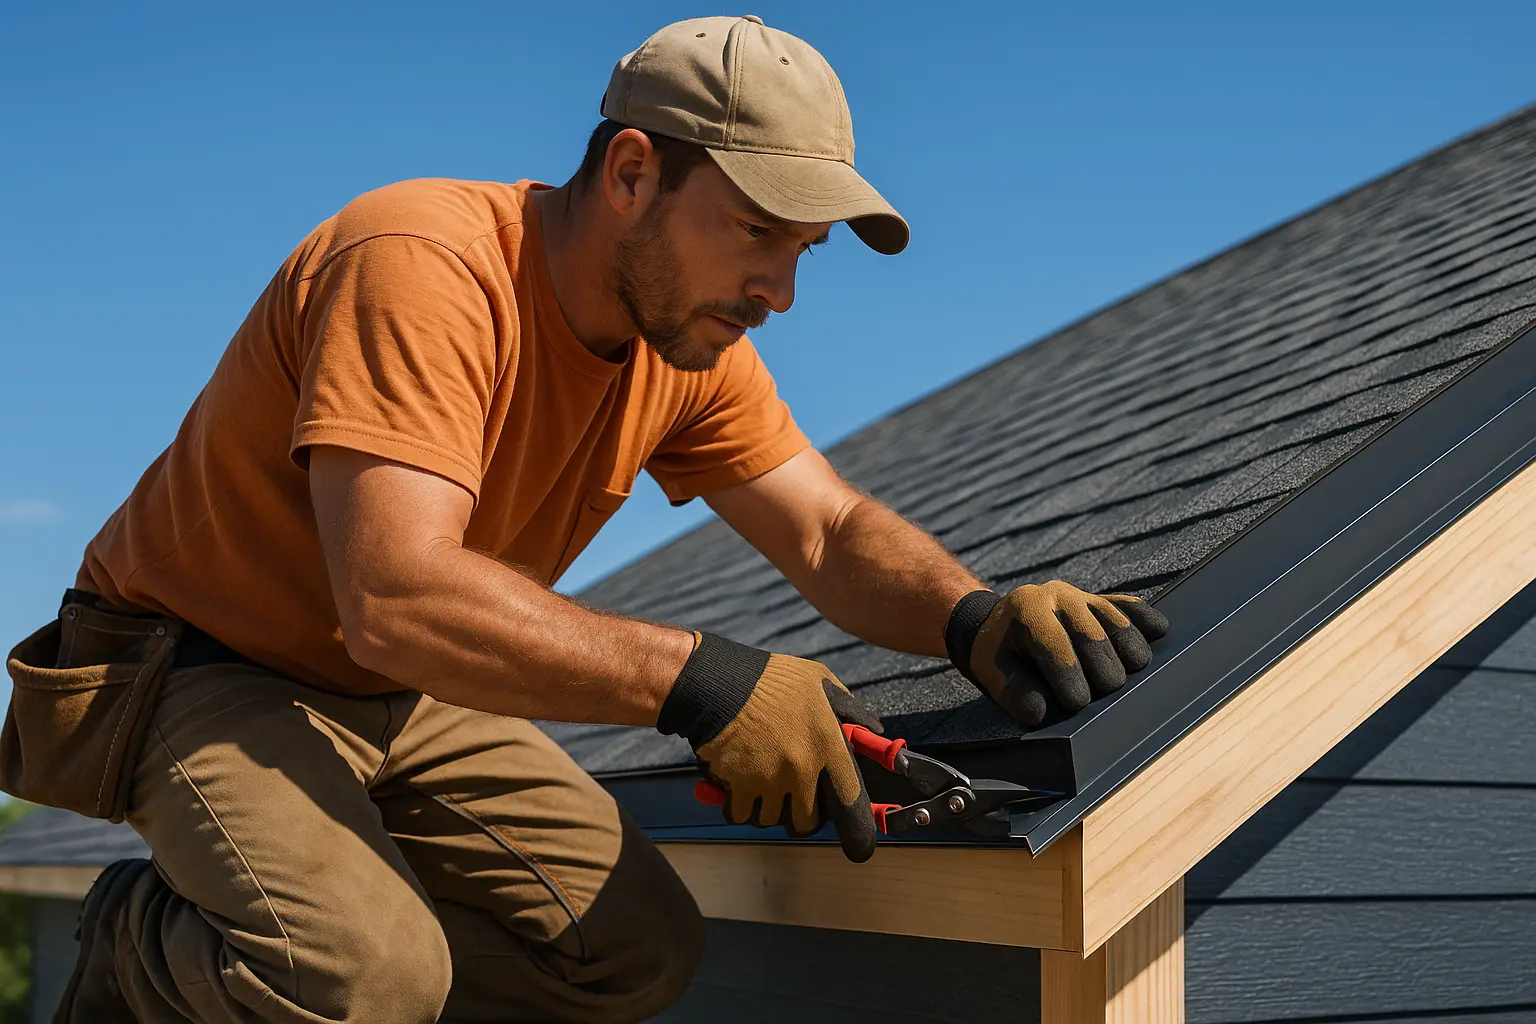
Replacing and Fixing Shingles
Once the area is clear, focus on the shingle issues. Inspect each shingle closely; if any are cracked, loose, or missing, remove them carefully and install replacements that match the rest of the roof. Use nails and roofing cement to secure each new shingle, ensuring they work as a collective, waterproof barrier. The effort put into replacing damaged shingles results in a more durable fix and helps stop future leaks from forming.
For instance, many homeowners who have completed this type of fallen branch roof repair successfully have switched to modern materials that better resist heavy rains and winds. Not only do these updated shingles look better, but they also provide improved resilience against further inclement weather.
Checking Underlying Structures
After the superficial fixes, it is critical to inspect the roof’s inner framework. Sometimes a branch’s impact can affect core support structures like the roof deck or trusses. Take a close look for any signs of water damage, such as dark stains, soft spots, or if you even notice a slight bend. Water can seep into hidden areas and may compromise the roof’s overall strength.
If you detect signs of structural weakening, do not wait. Engage a roofing expert to conduct a thorough inspection. They might use specialized tools like a moisture meter to uncover any further damage that isn’t immediately visible. Remember, your prompt actions here could avoid larger repairs or potential hazards later on.
shingles, trusses, emergency
shingles, trusses, emergency – A Focus on Key Repairs
When tackling a repair under challenging conditions, always be mindful of the principle of shingles, trusses, emergency. This phrase represents the three essential aspects of rapid repair when a roof is hit by a falling branch. The right approach involves using quality materials for your shingles, checking the strength of the trusses, and responding to any emergency situations with urgency.
Throughout your project, keep the concept of shingles, trusses, emergency at the forefront. Whether you are applying new roofing cement or securing loose elements, constant attention to these critical areas can keep further damage at bay. This method not only helps preserve the roof’s integrity but also speeds up the process of returning your home to full functionality. In any case where weather conditions worsen unexpectedly, you should be ready to invoke a shingles, trusses, emergency plan and act swiftly.
Integrating this focus into your repairs means checking every layer of the roof—from the outer shingles down to the inner trusses. Each component must be addressed carefully to ensure that the overall structure remains stable against future impacts. Remember, a solid repair can prevent recurring emergencies down the line.
The formula of shingles, trusses, emergency will not only guide your actions but also help you decide when it is time to stop and bring in professionals. Using this focused approach may well be the difference between a patch-up job and a quality restoration that lasts for years.
Wrapping Up
Repairing a roof that has suffered from a falling branch is a step-by-step process. It starts with a careful assessment of the damage, continues with gathering the proper tools and materials, and finishes with a thorough repair that addresses both surface issues and hidden structural concerns. Each phase, from the initial inspection to replacing damaged shingles, plays its role in getting your home back in order.
It is important to remain proactive throughout the project. Document every step—photos, notes, and even sketches—to support any future insurance claims and to help track the repair progress. Whether you decide to tackle the work yourself or involve professionals, understanding the procedure makes all the difference.
Keep in mind that your repairs should reflect the principles of shingles, trusses, emergency throughout. By relying on strong materials, ensuring the roof’s structural support, and being ready to deal with any urgent issues as they arise, you create a safeguard against future risks. This thorough and careful strategy minimizes unexpected repairs and keeps your home secure in the long run.
If you ever feel unsure about any part of the process, or if the repair seems too extensive for a DIY fix, consulting an experienced roofing professional is always a wise decision. Their skill in handling fallen branch roof repair, combined with proper tools and materials, can provide the reassurance you need that the job is done right.
Ultimately, addressing both the visible and hidden damage with care results in a roof that is stronger and more resilient. By following these detailed steps, you not only restore your roof but also protect your home from future weather-related issues. Remember the mantra—shingles, trusses, emergency—and let it guide your repairs as you work towards a safer, more secure home.
Through diligent planning, careful execution, and constant attention to detail, the process of fixing your roof can become a manageable and successful endeavor. With every step reinforcing the structure’s longevity, you ensure that your home remains a sturdy shield against the unpredictable forces of nature.