Introduction to a Reliable Installation Waterproof Barrier
The shifting weather patterns and the inevitable seasonal stresses can gradually weaken the protective layers of your roof. One particularly critical element is the roof flashing, which serves as a line of defense against unwanted water. Over time, a combo of heavy rain, snow, ice, and intense sunlight gradually deteriorates the flashing, eventually leading to leaks that demand immediate care. Homeowners frequently face the exasperating issue of water seepage – not only does this affect the home’s structural safety, but it also causes repair bills to soar. By choosing to replace roof flashing proactively, you shield your home and keep expensive damages at a distance.
Addressing roof flashing issues is essential. Even though this is a small component, a failing flashing permits water to reach the core of your home, jeopardizing its support structures, encouraging rot, and fostering mold growth. This guide is crafted to give homeowners a clear picture of what roof flashing does, why it matters, and what you need to do for successful repairs and replacement. In addition to guiding you through the replacement process, we share crucial maintenance advice and tips on knowing when professional support is needed. It’s all about keeping your roof’s installation waterproof barrier robust, ensuring long-lasting protection.
Understanding Roof Flashing and Its Role in Your Installation Waterproof Barrier
The Value of a installation waterproof barrier in Roof Protection
Roof flashing is a key component in any roofing system, acting as the construction’s waterproof barrier. Made typically from thin metal sheets like aluminum, copper, or galvanized steel, flashing is installed around roof openings like chimneys, vents, and skylights. Its primary job is to channel water away, ensuring it doesn’t seep beneath the roofing material. With a well-executed installation waterproof barrier in place, the likelihood of leaks is noticeably reduced, protecting both the home and its inhabitants.
In addition to fending off water, roof flashing plays a significant role in extending the roof’s lifespan. When installed according to best practices, flashing serves to seal the intersections where different types of roofing meet. For instance, around a chimney roof junction, properly placed flashings prevent water from sneaking through the vulnerable joins. In both new roof builds and major repairs, ensuring a proper installation waterproof barrier can be the defining factor in maintaining the integrity of the entire system.
Why You Need to Replace Roof Flashing
Even though roof flashing is created to resist weather extremes, it is eventually worn down by continuous exposure to nature. The major reasons to consider a replacement include:
- Corrosion: Continuous exposure to rain, snow, and salty air (especially in coastal regions) speeds up the corrosion process. Corroded flashing loses its ability to serve as a consistent waterproof barrier, putting the roof at risk.
- Warping and Degradation: Repeated temperature swings cause metal to expand and shrink rapidly. This stress might warp or bend the flashing, so it no longer fits perfectly with the roof.
- Displacement: Hard-hitting wind and storms can nudge flashing out of place. Even slight movement can create small gaps that eventually allow water penetration.
The moment you detect signs of wear in your flashing, it’s essential to act swiftly. Overlooked leaks can turn into major issues such as wood rot, mold, or even significant structural damage. Investing in timely fixes, including a proper installation waterproof barrier, not only keeps your home secure but also helps prevent larger repair costs in the long run.
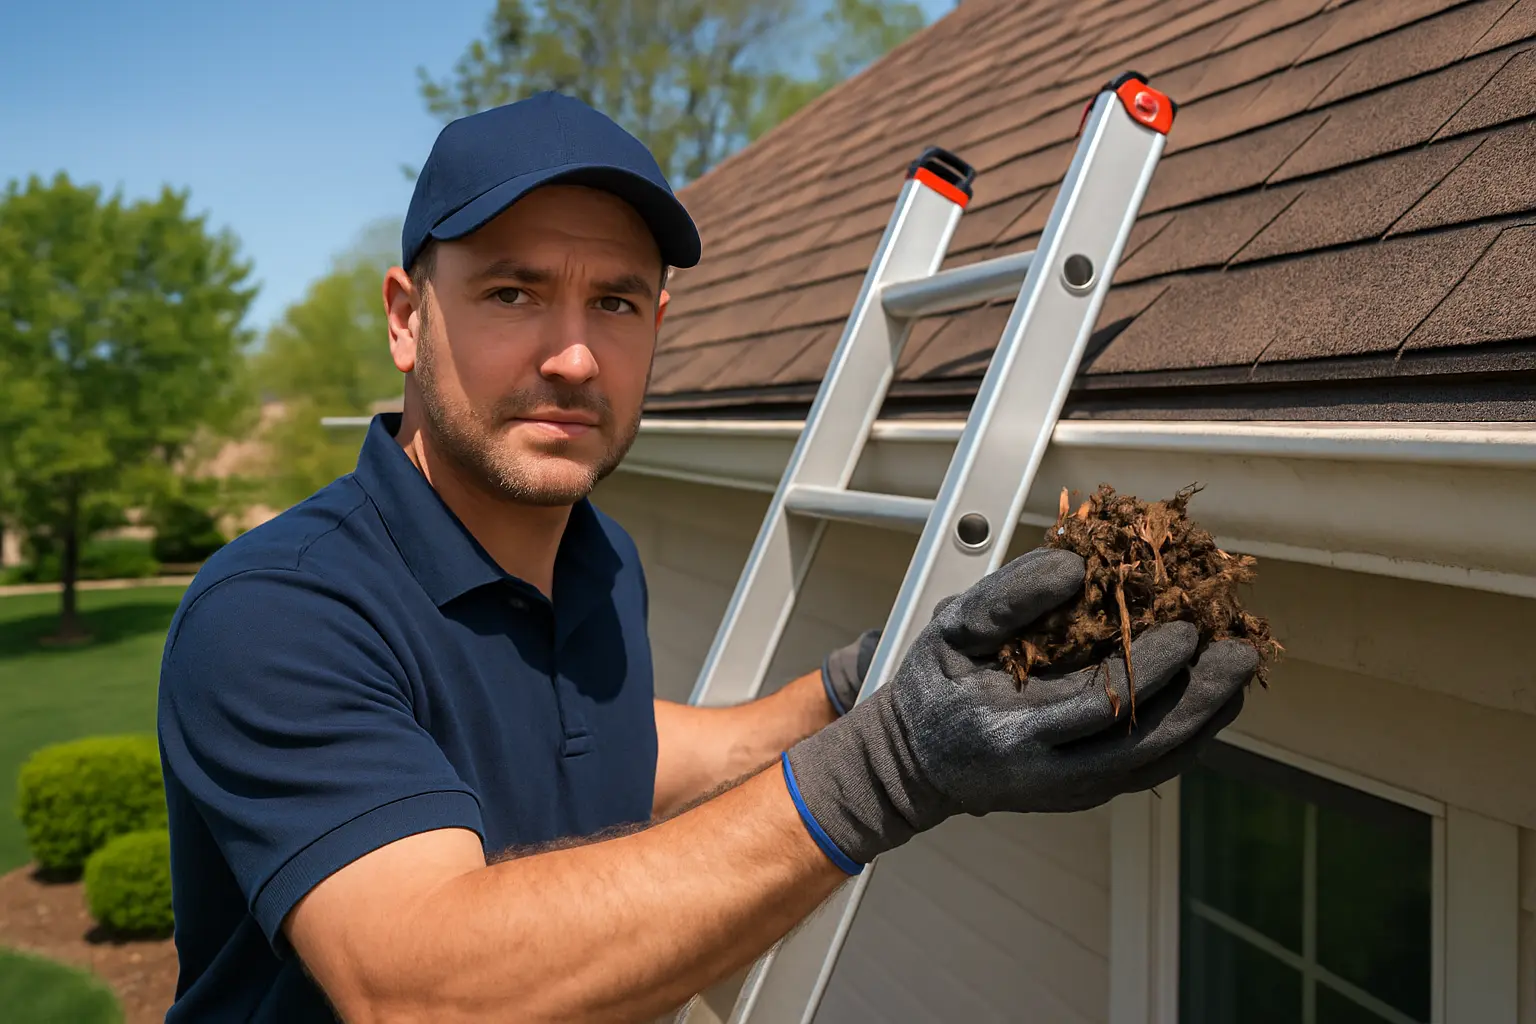
Detecting Flashing Problems Early
A proactive approach to roof care includes regular checks to spot early signs of failing flashing. Early detection saves both time and money. Here are some practical methods to identify potential issues:
- Visual Checks: Scan your roof for visible rust, cracks, or loose segments. These early signals indicate that the protective layer may be compromised.
- Indoor Clues: Water stains on ceilings or walls – particularly near vents or skylights – could mean that flashing has lost its effectiveness.
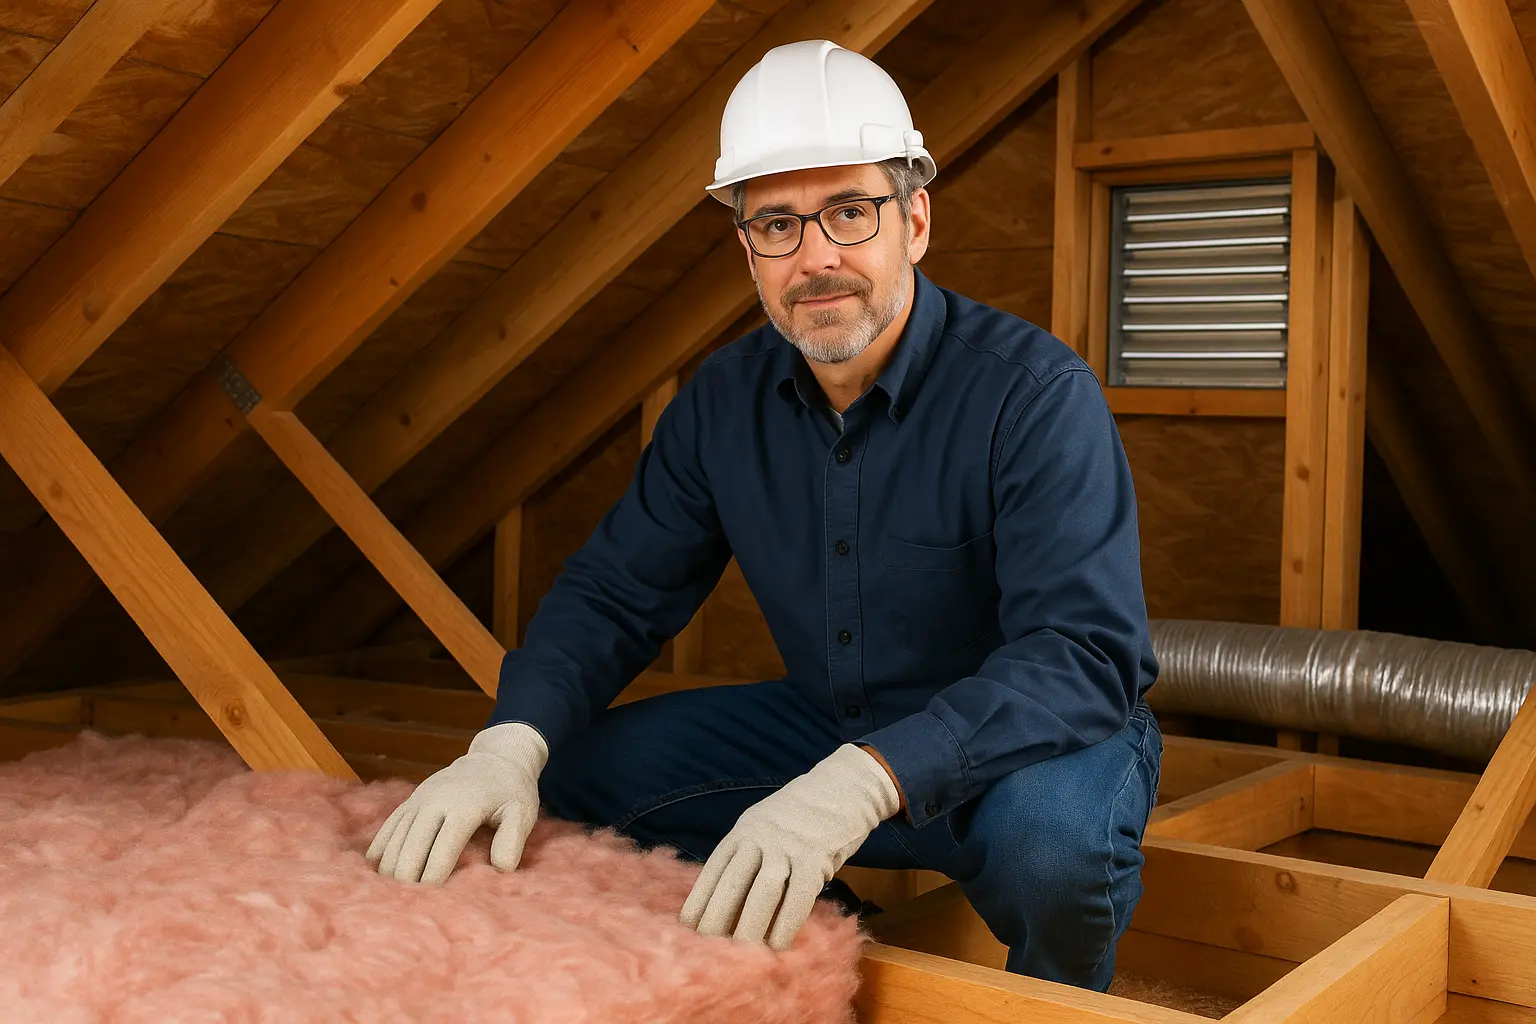
- Signs of Dampness: Inspect attics and interior spaces for lingering dampness. Consistent moisture in these areas can hint at slow leaks caused by old flashing.
- Real-Life Example: Imagine a homeowner in an area prone to hurricanes. A tiny rust spot on chimney flashing left unfixed eventually led to ceiling water damage after a storm. This scenario underlines the importance of regular checks and the need to keep your installation waterproof barrier in top condition.
It’s wise to maintain an annual review of your roof, ideally before the rainy season kicks in, to ensure that any potential hiccups with the flashing are quickly addressed.
Steps to Replace Roof Flashing and Maintain Your Installation Waterproof Barrier
Collecting the Right Tools
Before diving into the project of replacing roof flashing, make sure you have all the necessary tools. This preparation not only boosts your safety but also helps secure a quality finish. Here’s a basic checklist of what you’ll need:
- Ladder: A sturdy ladder is essential for safe access. Check that it rests on a firm, even surface.
- Protective Gloves: Since you’ll be handling metal with potentially sharp edges, gloves are required to reduce injury risk.
- Pry Bar: Use a pry bar to remove the old, deteriorated flashing without harming nearby shingles.
- Caulk Gun: This helps apply roofing caulk, sealing joints to complete the waterproof installation.
- Nails or Screws: Select appropriate fasteners to firmly secure the new flashing in place.
- New Flashing Material: Purchase durable, corrosion-resistant flashing material that suits your roof’s specific needs.
- Hammer or Drill: Depending on your chosen fasteners, have a hammer or drill ready to drive them in securely.
Before you begin, be sure that all tools operate correctly. Faulty equipment can lead to delays, poor results, or even accidents, undermining the benefits of a robust installation waterproof barrier.
Preparing the Roof Environment
Setting up a safe workspace is crucial when replacing roof flashing. Begin by making sure the area is clear of debris or any obstacles. This involves removing broken shingles, old nails, and any other loose elements that might get in the way.
- Clean It Up: A well-organized area lowers the risk of accidents and helps you focus on ensuring a perfect fit for your new flashing component.
- Dry Out: Work only on a dry roof. Moisture can impair the bonding process of the new flashing and increase the risk of slips.
- Gentle Removal: When extracting the old flashing, use your pry bar with caution. Protect adjoining shingles, and if needed, have someone hold the ladder steady for you.
- Deep Cleaning: Once the old material is off, clean the surface thoroughly to eliminate old caulk residue or debris that might interfere with the new installation.
Meticulous preparation lays the foundation for installing an efficient installation waterproof barrier that will forcefully protect your home for years ahead.
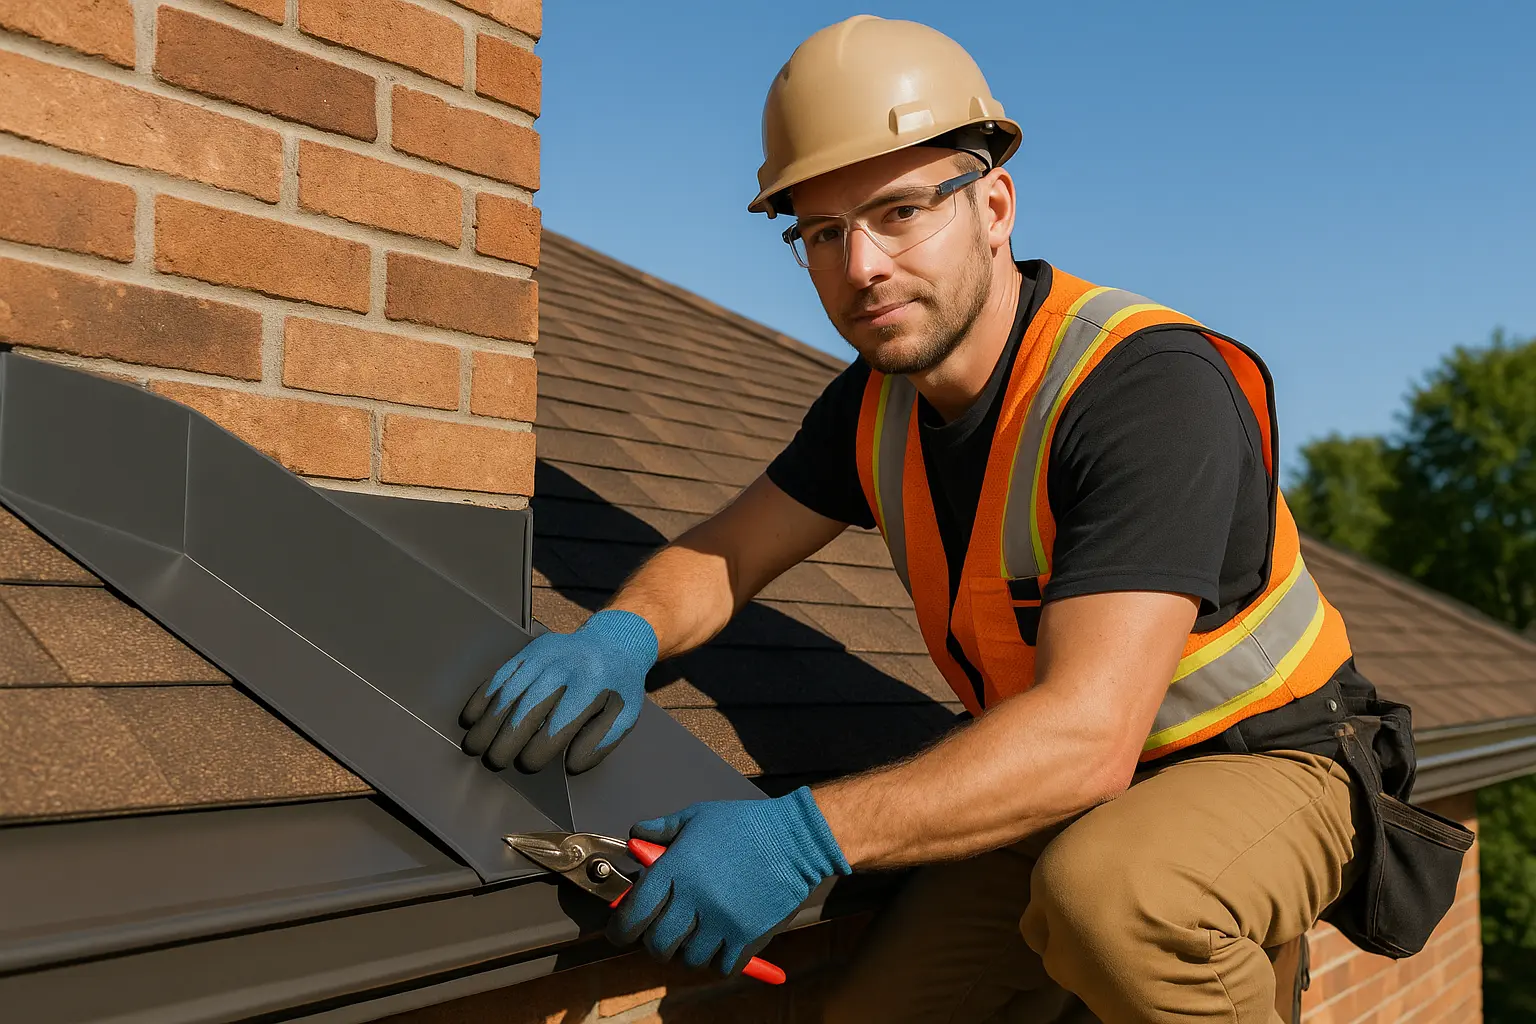
Installing the New Roof Flashing
With your workspace ready and your tools in hand, the next step is to install the new flashing. This phase calls for precision to recreate a strong waterproof barrier. Follow this detailed plan to secure the best results:
- Measure and Trim: Begin by accurately measuring the dimensions needed for the flashing. Using a metal cutter, cut the new material to match these dimensions. Precision here ensures no gaps compromise your installation waterproof barrier.
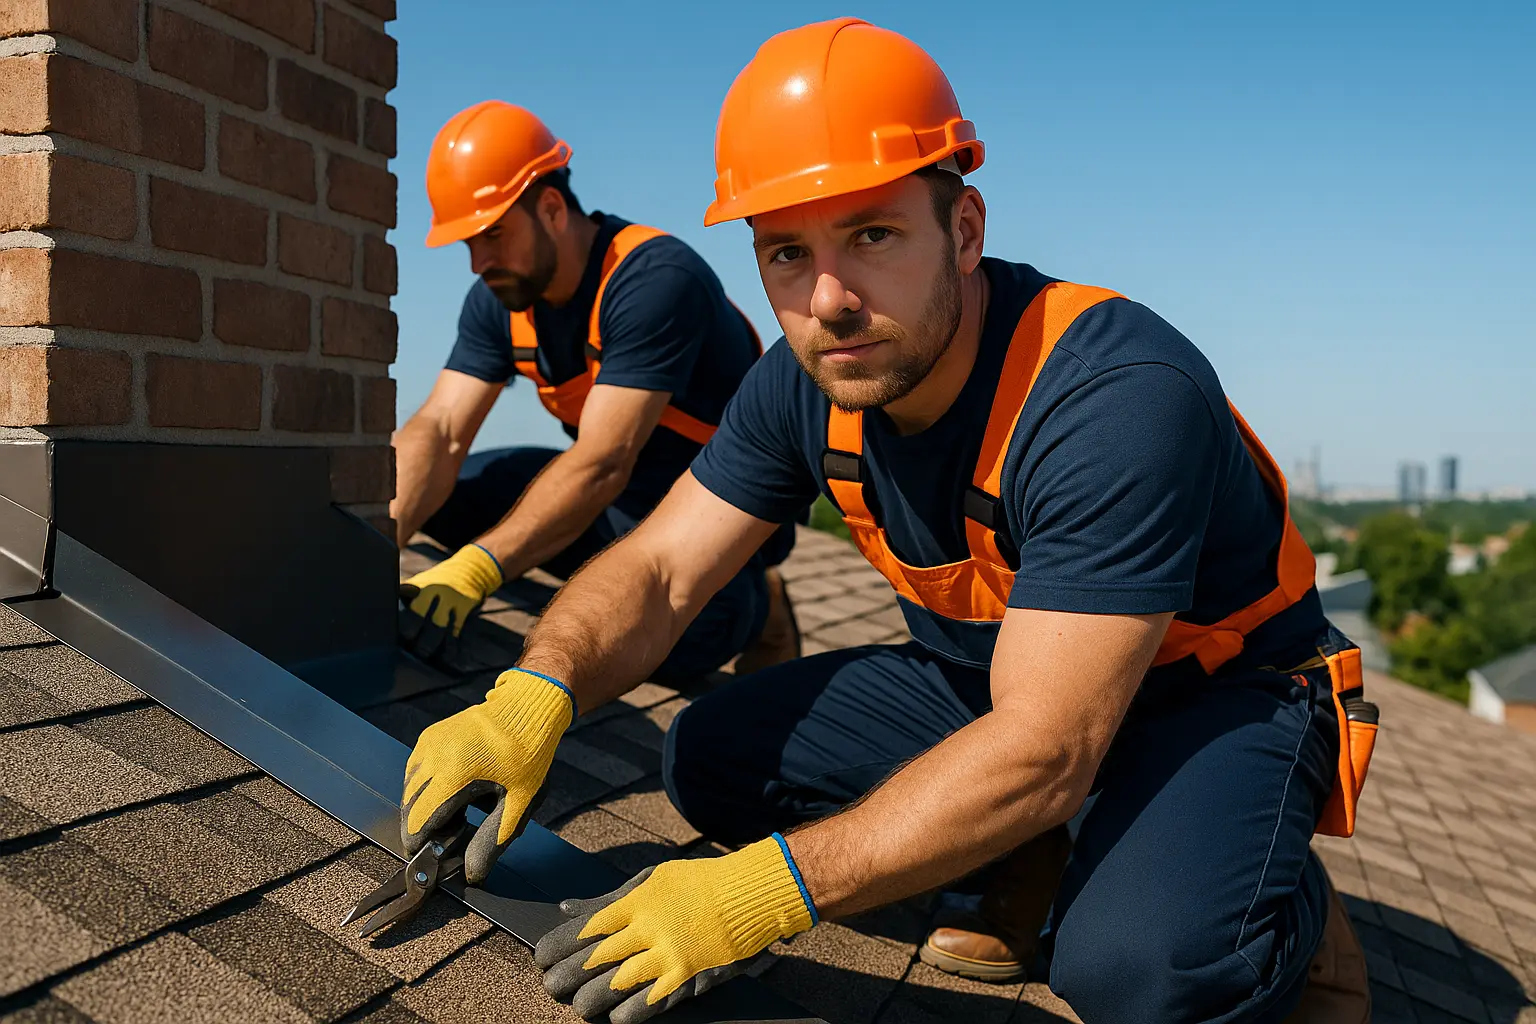
- Set in Place: Carefully position the flashing along the relevant section of the roof. Ensure that it overlaps well with existing roofing components – this overlapping helps channel water away efficiently.
- Secure It Down: Fasten the flashing using roofing nails or screws. Evenly spaced fasteners ensure that the new piece remains snugly in place, contributing to the overall integrity of your roof’s installation waterproof barrier.
- Seal the Edges: Apply a high-quality roofing caulk along all joints and edges. This extra step reinforces the waterproof quality, making sure no tiny gap can cause leaks.
- Double-Check Your Work: Finally, inspect the installation thoroughly to confirm that all overlaps and seals are secure. A detailed review will catch any minor errors before they become bigger issues, preserving your trusted installation waterproof barrier.
Following these steps carefully not only helps you achieve a reliable installation waterproof barrier but also builds confidence for future DIY repairs. Remember, taking time during installation ensures long-term performance of the new flashing, helping to protect your home from seasonal damage.
Maintenance Tips for a Long-Lasting Installation Waterproof Barrier
Emphasize Regular Inspections
They say a little care now saves you a lot later – and that’s true for roof maintenance. Regular inspections help you catch early signs of wear in your flashing before a small problem spirals into expensive repairs. Aim to check your roof:
- At Least Once a Year: An annual inspection, preferably in mild weather, can expose subtle signs like rust spots, cracked sealants, or misaligned flashing.
- Before and After Severe Weather: After storms, heavy rain, or snowfall, take extra time to inspect your roof. Extreme conditions might speed up damage, and prompt checks can help maintain your installation waterproof barrier.
- With Professional Help: While many homeowners can perform basic visual checks, sometimes it pays to have an expert use specialized tools like moisture meters for a thorough review.
Staying on top of regular maintenance means you’re not only protecting your roof’s structure but also ensuring that the installation waterproof barrier you’ve secured stays intact and effective.
Select Top-Quality Materials
Investing in high-quality flashing materials pays off in the long run. High-grade metals like copper or corrosion-resistant aluminum, although a bit more expensive initially, provide long-lasting protection:
- Durability: These materials are designed to perform under harsh conditions, reducing the frequency of repairs and helping maintain your ideal installation waterproof barrier.
- Performance: Superior flashing stops water in its tracks, significantly cutting down the chance of leaks that can lead to interior damage.
- Long-Term Savings: Spending more on materials up front often saves money later by extending the roof’s lifespan and keeping repair costs to a minimum.
- Case in Point: Homeowners who replace roof flashing with copper often note fewer corrosion issues and leak problems, demonstrating the strength of quality materials.
Choosing the right products for your roof is an investment in its overall health. A solid, well-maintained installation waterproof barrier will help your roof stand strong against ever-changing conditions.
When to Call in Professional Assistance
Though many roof flashing projects can be handled by skilled homeowners, certain situations make it wise to call in professional help. Consider reaching out to experts if:
- Dealing with Complex Roof Designs: Roofs with multiple layers, steep slopes, or unconventional angles can present hazards that require professional know-how to secure an effective installation waterproof barrier.
- High and Hard-to-Reach Roofs: If the roof is particularly elevated or challenging to access, experts can safely manage the replacement process while ensuring your home remains properly protected.
- Time Is Short: Busy schedules sometimes make it hard to supervise a detailed DIY project. Professionals can inspect, repair, and reinstall flashing swiftly, reinforcing that essential installation waterproof barrier without undue hassle.
- Warranty Requirements: Many roofing warranties demand professional installation. Certified contractors not only guarantee the quality of work, but they also help maintain the warranty, giving you extra peace of mind.
Even though a DIY approach can be gratifying and cost-effective, weighing the risks and benefits is essential. In situations where you’re uncertain about safety or the results of your work, investing in expert services might save you additional time and money, all while preserving your reliable installation waterproof barrier.
Conclusion
In a nutshell, roof flashing stands as an unsung champion in your roofing system. Though it might appear insignificant, its role in preventing water intrusion is crucial for your home’s structural integrity. Regular upkeep by means of detailed inspections, prompt replace roof flashing efforts, and the use of quality materials all contribute to a strong, lasting installation waterproof barrier.
Handling roof flashing replacement, whether as a DIY project or with expert support, not only defends your home against inclement weather but also extends the life of your entire roofing system. Knowing each step from gathering the right tools and preparing the area to installing and sealing every joint bolsters your confidence in building a truly resilient installation waterproof barrier.
Remember that neglecting roof maintenance can lead to water damage that undermines your property’s overall safety. By repairing or replacing flashing at the first hint of wear, you take a proactive stance that keeps major repairs at bay and preserves your home’s value and durability.
Ultimately, whether your property is a modest single-story home or a more elaborate multi-level design, maintaining an effective installation waterproof barrier is key. Regular inspections, timely repairs, and quality materials all work together to ensure that your roof continues providing reliable protection for many years.
Don’t let a minor oversight lead to costly repairs later – assess your roof’s flashing today and safeguard your home with a steadfast installation waterproof barrier. With proper care and attention, you protect your investment, enhance your home’s longevity, and enjoy the peace of mind that comes with a secure roof.