Mastering Attic Ventilation for Home Efficiency
Attic Ventilation Techniques to Boost Roof Efficiency
When it comes to preserving your home’s long-term health, nothing beats a well-ventilated roof. A focus on attic ventilation is vital not only to manage temperature swings but also to keep moisture levels in check. By ensuring your roof’s ventilation system works properly, you help your home stay cool during those hot summer days while protecting it from ice dam formation in winter. This balance helps reduce the load on your cooling and heating systems, making your home more energy-efficient and comfortable.
Regular airflow improvement can make a world of difference in your living spaces. The process of maintaining proper attic ventilation involves more than simply installing roof vents – it’s about ensuring a continuous cycle of fresh air throughout the attic. When you prioritize attic ventilation, the hot air inside your roof escapes naturally, and cooler air seamlessly flows in, keeping your entire home comfortable year round.
Moreover, focusing on attic ventilation plays a crucial role in combating mold growth and reducing the buildup of moisture. Homeowners who neglect this aspect can face issues like condensation damage or premature roof aging. By simply ensuring that air circulates freely, you minimize risks and extend the life of not just your roof, but your home’s structure as well.
In many cases, problems become evident when you notice signs such as higher temperatures in the attic or musty odors that hint at damp conditions. Early detection of these issues can signal that it might be time to replace roof vents or tune up your existing system. Keeping an eye on such details helps you nip potential problems in the bud before they lead to costly repairs.
Investing time in improving attic ventilation also pays off by protecting significant building components. By reducing the buildup of heat and moisture, your roof is less likely to suffer from the effects of constant thermal stress. Over time, better attic ventilation can help maintain the integrity of wooden beams and rafters, ensuring that the entire structure remains safe and sturdy.
One of the key strategies to guarantee efficient attic ventilation is to consider the overall design of your roof. In many situations, the right combination of vent types – such as ridge vents, soffit vents, and gable vents – can dramatically enhance how air flows through the attic. This integrated approach not only prevents damage but also reduces energy costs by lessening the burden on your HVAC system.
Essential Steps for Upgrading Your Roof Vents
Selecting the Ideal Ventilation Option
Before diving into a project to replace roof vents or improve your attic’s performance, start by choosing the best type of vent for your home. There are several popular options available, each with unique benefits. For instance:
- Ridge vents: These are installed along the roof’s crest. They provide a steady release of warm air and naturally blend with your roof’s design.
- Soffit vents: Placed under the eaves, these vents allow cool air to flow into the attic. They work best alongside ridge vents for a continuous air cycle.
- Gable vents: Often found on older homes, gable vents are positioned on the exterior walls near the roof peak and serve as an excellent secondary option.
- Turbine vents: Also referred to as whirlybirds, these use wind power to spin and draw hot air from the attic.
When deciding which vent best fits your home, consider local weather conditions and the overall structure of your roof. Homes in areas with high humidity or frequent heat waves may benefit from multiple types working together. In cooler regions, simpler designs might be more practical. Experts suggest that, if your current setup isn’t meeting your needs, it might be time to replace roof vents to enhance performance.
Preparing the Right Tools and Materials
Before starting any work on your roof, preparation is key. Make sure you have all the necessary tools and supplies handy to ensure smooth execution. Among the must-have items are:
- Utility knife: Perfect for cutting old shingles or removing aged sealants.
- Pry bar: Essential for lifting out old vents without damaging the surrounding areas.
- Roofing nails and hammer: These secure your new vent in place and hold it firmly against harsh weather.
- Sealant and roofing tar: These create a watertight barrier around your vent, keeping moisture out.
- Safety gear: Gloves, goggles, and a stable ladder are vital to protect you during installation.
Having a well-organized toolkit before you begin means fewer interruptions and a safer project. A slight misstep can lead to delays or even damage, so taking your time to ensure everything is prepared is an investment in your safety and project success.
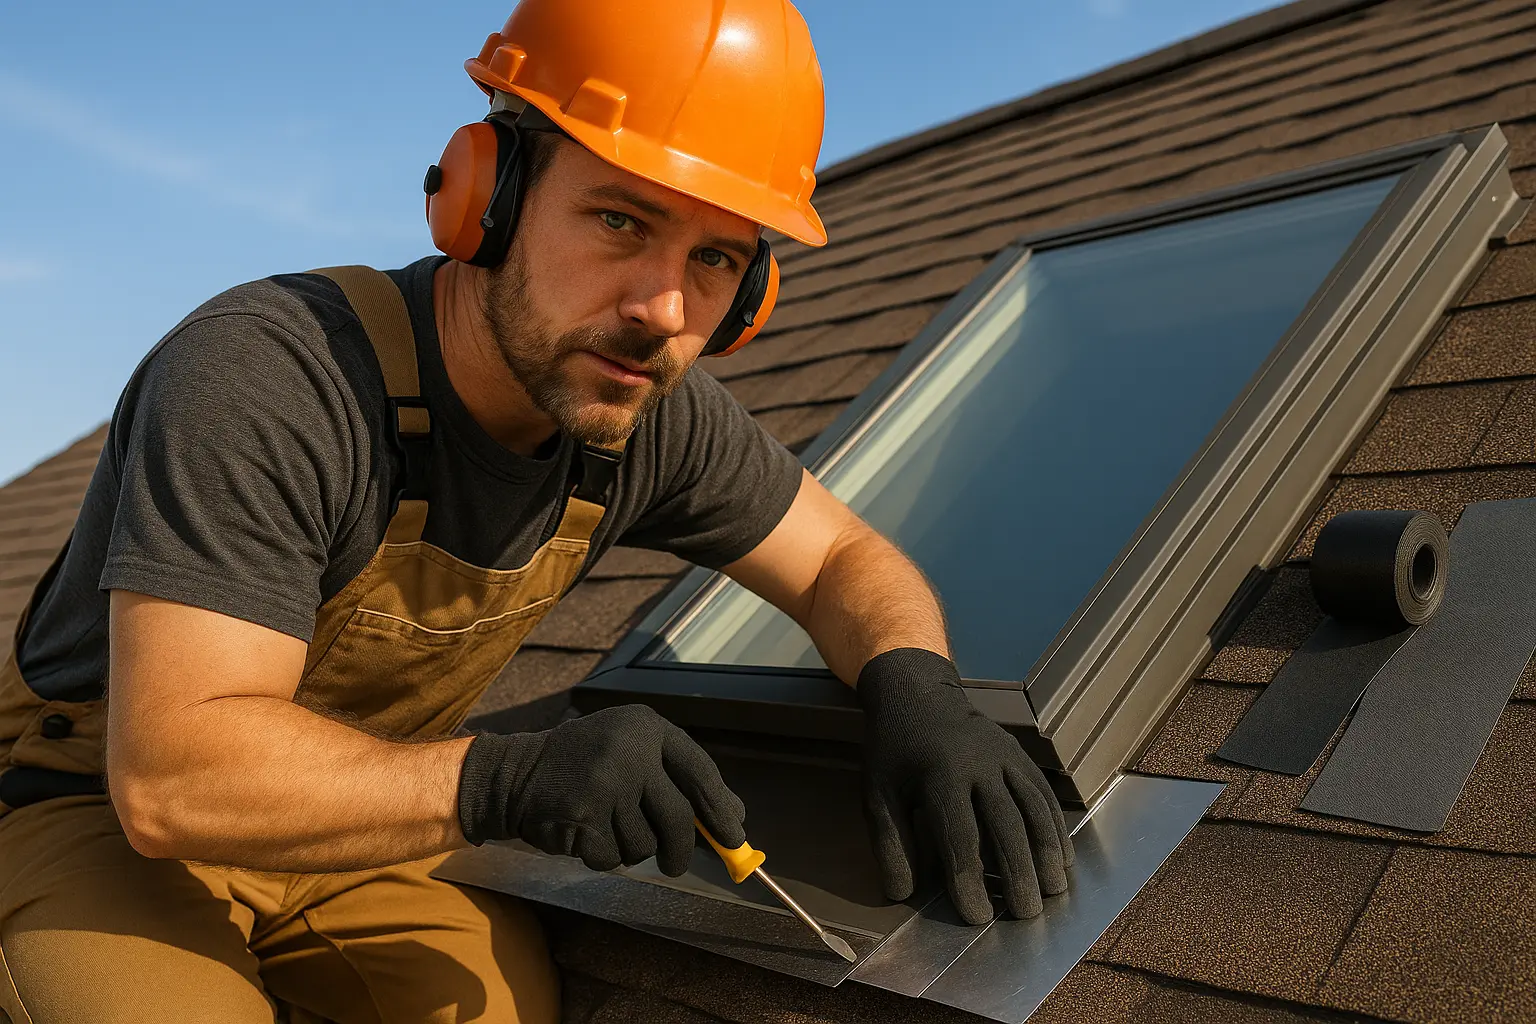
Step-by-Step Vent Replacement Process
The actual process of replacing roof vents should be tackled methodically. Below is a clear rundown to help you navigate each stage of the project:
- Step 1: Secure safe access to your roof. Always ensure your ladder is stable and that you have a firm footing before stepping up.
- Step 2: Gently remove the existing vent using your pry bar. Avoid harming adjacent shingles – these are key to protecting your home from the elements. Taking notes or pictures during removal might help when you install the new vent.
- Step 3: Clean the area thoroughly. Remove old sealant, roofing tar, and any debris. A smooth, clean surface is essential for the new vent to seal properly.
- Step 4: Place the new vent carefully, aligning it according to the manufacturer’s guidelines. Secure it with roofing nails, ensuring the vent is evenly fitted with no gaps.
- Step 5: Apply roofing sealant along the edges to create a weatherproof barrier. This step is crucial in keeping water out and assuring the longevity of your roof.
- Step 6: Inspect your work. Make sure every nail is secure and that the sealant is uniformly applied. A thorough inspection, especially after a rain, will help confirm that there are no leaks.
Pay attention to every detail during this process. If you choose to replace roof vents yourself, following these clear steps will help ensure a solid, long-lasting installation. Taking your time now saves you further headaches and maintenance costs later.
When to Seek Professional Assistance
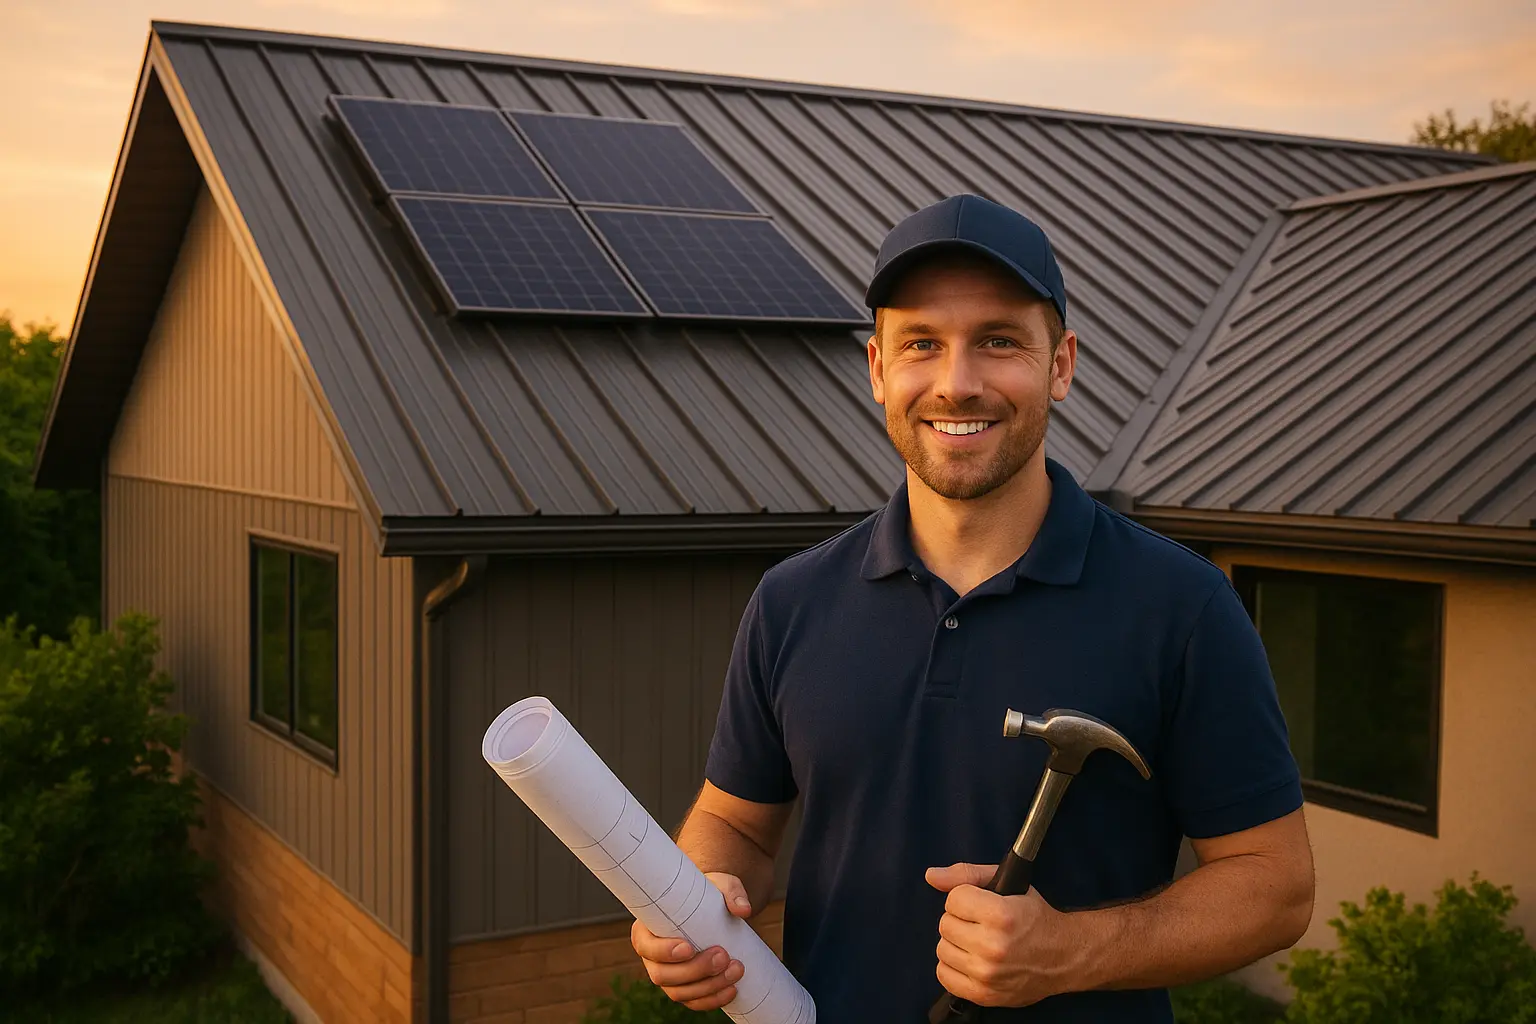
Deciding on Professional Roof Services
There are circumstances when the DIY route might not be the best choice. If your roof features complex angles, steep slopes, or if you simply don’t feel confident working at heights, it may be safer to hire a professional. Experts in roof work not only offer superior skills but also come equipped with the best safety gear and specialized tools.
Professional roofers have a trained eye to detect problems that might be hidden from a casual look. For example, subtle damages to decking or insulation can affect the performance of your new vent installation. By opting for experienced help, you ensure that issues are addressed promptly and correctly. This decision can also be wise if you plan to replace roof vents, as professionals have techniques that prevent additional damage.
While tackling a project on your own might seem like a good way to reduce costs, remember that mistakes can turn into costly repairs later on. Furthermore, many professionals offer guarantees and warranties on their work. This added layer of assurance means that if any installation problems occur due to material or labor errors, they will be remedied without extra expense.
Understanding the Financial Side
The cost of upgrading your roof ventilation system can vary widely. Although a DIY approach might initially seem less expensive, hiring a professional can result in long-term savings. Skilled contractors not only perform the job faster but also reduce the likelihood of additional repairs by ensuring every step is done correctly the first time.
When discussing prices with a contractor, make sure you understand exactly what is covered under the quote. Many professionals include warranties both on the labor and the materials used. Knowing that your project is protected against future mishaps provides significant peace of mind, especially in regions prone to severe weather conditions.
Guarantees and Long-Term Benefits
One of the biggest advantages of professional help is the warranty and guarantee that come with their work. Reputable roofing companies often back their installations with detailed guarantees that can span several years. This means that should any issues arise later—whether because of bad weather or unforeseen materials defects—the contractor will address them without additional costs to you.
Such assurances are invaluable when you focus on attic ventilation. Not only does a well-ventilated attic improve energy efficiency, but it also helps guard your home against decay and damp issues. A professional installation can ensure that every part of your roofing system works in harmony, protecting your structural investments well into the future.
Wrapping Up Your Roof Ventilation Upgrade
Investing in a complete attic ventilation overhaul is a smart way to boost the health and efficiency of your home. By improving attic ventilation, you keep your living areas cooler during hot spells and shield your roof from moisture damage in cold weather. This smart investment not only helps lower energy bills by reducing strain on your HVAC system, it also extends the life of vital roofing materials.
Whether you choose to roll up your sleeves and tackle the project yourself or to bring in professional experts, the benefits are clear. A properly maintained attic ventilation system fosters better airflow, promotes a healthier indoor environment, and ultimately safeguards your home’s structural integrity.
Remember, proper upkeep, including knowing when to replace roof vents, is key. Regular checks and timely repairs ensure that your attic ventilation remains in peak condition. Each step you take towards improved attic ventilation is a step toward a more energy-efficient, cost-effective, and safer home.
In conclusion, every homeowner should consider the critical role of attic ventilation. The right blend of vent types, regular maintenance, and, when necessary, professional guidance creates a roof that not only lasts longer but also supports a more comfortable living space. With this in mind, start planning your next project now—it could be as simple as upgrading your current vents or scheduling an evaluation from a trusted roofing company. Your future self will thank you for the cleaner air, reduced energy costs, and the added security that comes with a well-ventilated home.