Roof Patching Essentials: A Comprehensive Guide
Facing a roof leak is never easy. It can feel overwhelming when unexpected water damage creeps into your home. However, understanding the ins and outs of roof issues can lead to smart decisions that save you both time and money. In this guide, we’ll discuss how roof patching can help prevent further damage, cover the causes behind leaks, and outline a clear repair strategy. Whether you’re a seasoned DIY enthusiast or just getting started, knowing what to look for is key to avoiding larger repair bills later on.
Roof Patching Techniques and Considerations
One major factor that can make or break your roof repair success is the proper application of roof patching. Leaks usually point to problems with worn-out shingles, cracked flashing, or even clogged gutters. Each of these components plays a role in keeping water outside. When any part of the roof system fails, water finds its way inside and causes the kind of water damage that every homeowner dreads. Having a good understanding of the role that roof patching plays is essential to restoring your home’s integrity.
Over time, external elements weaken even the strongest roofs. High winds may loosen shingles while continuous exposure to rain and snow exacerbates cracks in the sealant. Poor installation can put your roof at risk too. Here, roof patching not only stops a leak in its tracks but also fortifies the vulnerable areas to resist future challenges. Whether you’re dealing with coastal salt corrosion or the effects of prolonged storms, a well-planned roof patching strategy becomes vital.
Identifying and Understanding Common Causes
When it comes to water damage and roof leaks, every case has its own backstory. Frequently, problems stem from missing or damaged shingles, deteriorating flashing, or clogged gutters. During severe weather, even small issues may quickly spiral into major concerns. Regular roof patching as part of home maintenance can address slight problems before they evolve into costly repairs.
Often, water does not seep in directly from the leak’s visible location. Instead, it may travel along hidden paths inside your home. Look for signs such as water stains, damp spots, or even areas of mold developing on your ceiling or walls. These clues can lead you to the source of the leak. In your attic, use a good light source to discover any gaps where light is peeking through – a sure sign that there might be a breach that needs roof patching attention.
The Right Tools and Materials for Effective Roof Patching
Successful roof repairs rely on the proper tools and quality materials paired with thorough roof patching techniques. Preparing your workspace ahead of time minimizes risk and smooths out the repair process. When you have the right supplies on hand, you can confidently tackle leaks and prevent additional water damage.
Essential Tools for Roof Patching
Before you start working on a roof, gather every tool you will need. You might want a hammer, roofing nails, a pry bar, a utility knife, and a caulking gun. Each tool plays its part in the roof patching process. For example, a sturdy pry bar helps remove damaged shingles carefully without disturbing the surrounding materials. A reliable utility knife will let you cut through old roofing paper and sealant with control and precision. Using these tools correctly not only supports roof patching but also protects you from accidental mishaps during the repair.
Materials to Have on Hand
Nothing beats the peace of mind that comes with being well-stocked for repairs. Replacement shingles, roofing cement, and waterproof roofing paper are all essential for roof patching efforts. Stocking up on these supplies ensures that when a leak occurs, you have everything necessary to counter it quickly. Opt for materials that match both the color and durability of your original roof. High-quality products come at a premium, but they typically perform better over time, reducing the frequency of further repairs and the overall risk of water damage.
Safety Equipment for Roof Repairs
Whenever you step onto your roof, safety should come first. Roof patching can be risky if proper safety gear is not used. Always wear slip-resistant shoes and ensure that your ladder is secure and placed on a level surface. Using a safety harness is wise if you need to work on steep surfaces. Gloves not only protect your hands from sharp materials but also provide better grip during tasks. If you are not comfortable with heights, having a buddy assist you can make the process smoother and safer. Keeping these precautions in mind ensures that your roof patching project is both efficient and injury-free.
Step-by-Step Roof Repair with Roof Patching
Now that you’re equipped with knowledge and the right materials, it’s time to dive into the repair process. Follow this step-by-step guide that carefully describes how to carry out roof patching and complete a reliable roof repair. This methodical approach will help you address the leak systematically from start to finish.
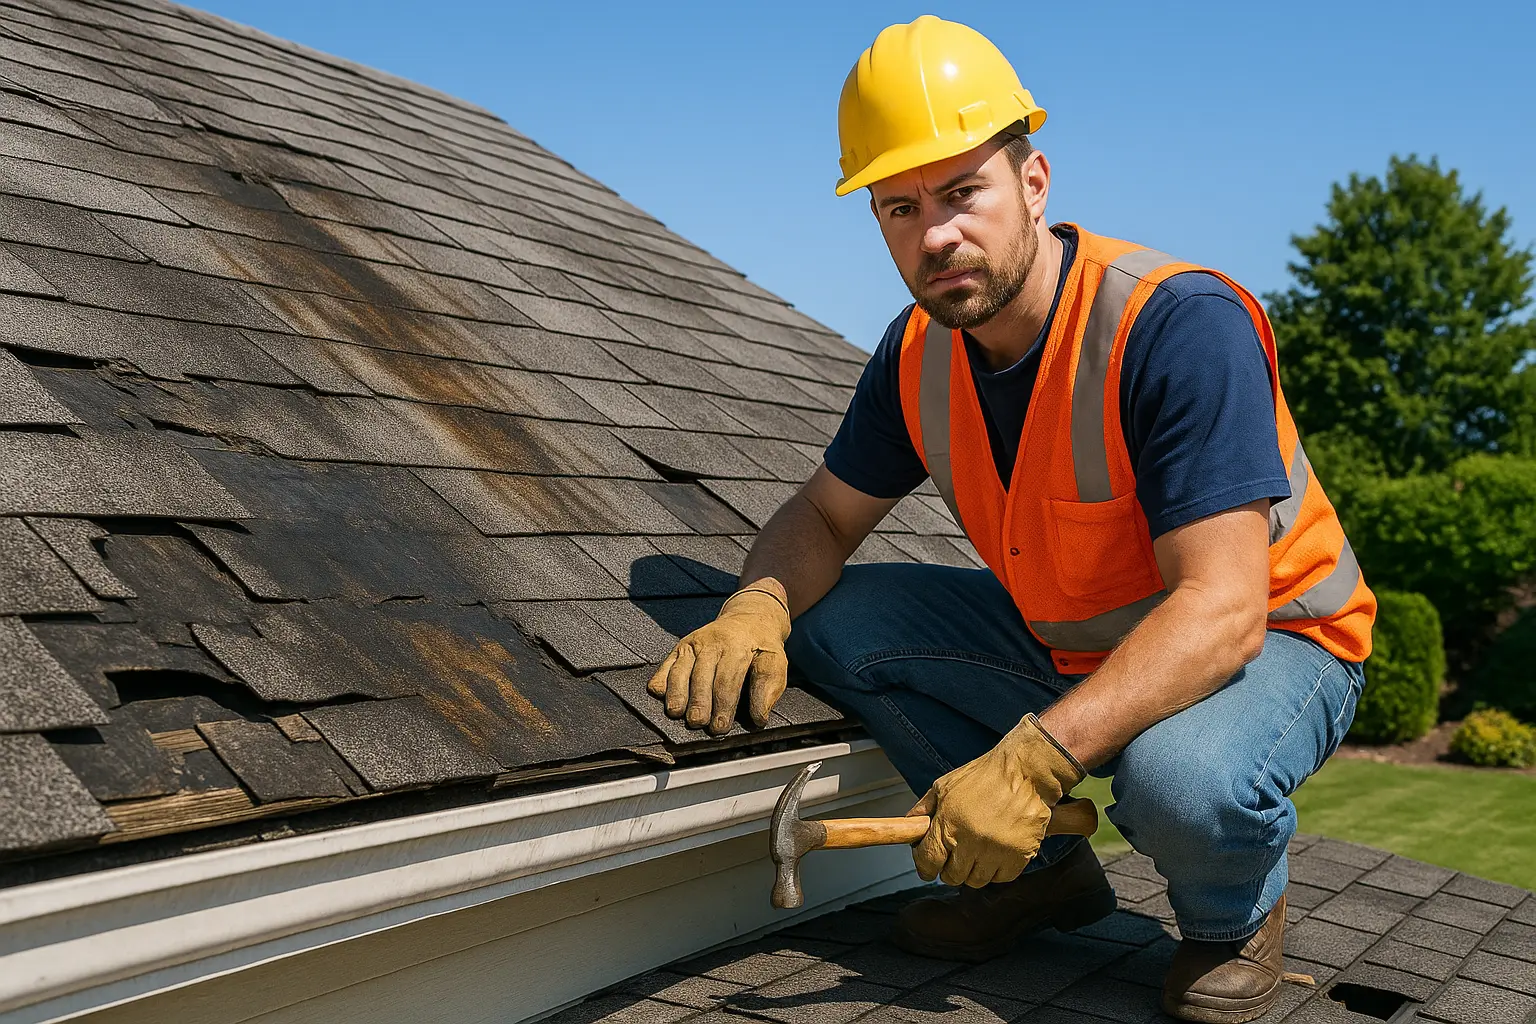
Step 1: Inspecting Your Roof
Begin your roof repair journey by doing a thorough inspection. Stand on solid ground and observe your roof with a pair of binoculars or a long-range lens. Look for missing or misaligned shingles, broken flashing, or any sign that debris has begun to weaken the waterproof seal. For many, the first indication of trouble is a small water stain or discoloration on the ceiling. Document these observations, as they can point you directly to where roof patching is most needed. A careful initial analysis often saves you time and helps prevent further water damage.
Step 2: Removing Damaged Shingles for Roof Patching
Once you have singled out the weak spot, your next move is to remove the damaged shingles. Use a pry bar to gradually lift the edges of the compromised area. Pay attention to ensure that no additional shingles suffer damage in the process. This removal step is crucial in roof patching, as it clears the way for a smooth and lasting repair. Sometimes more than one shingle might need replacing, so take your time and work carefully to minimize stress on the adjacent areas of your roof.
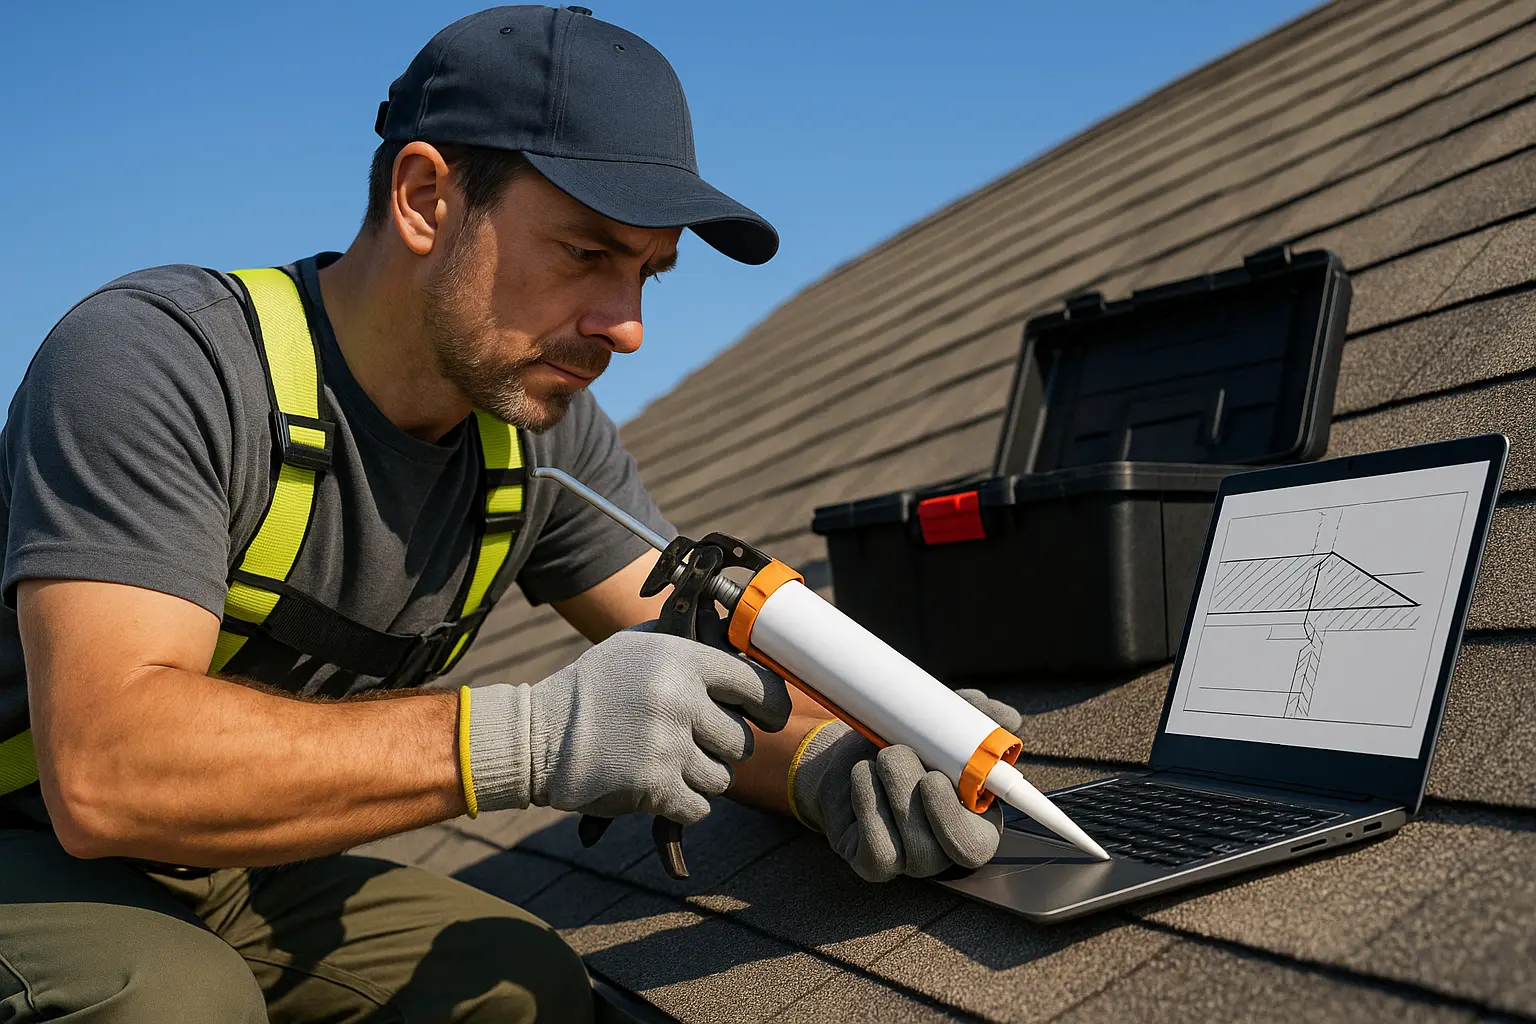
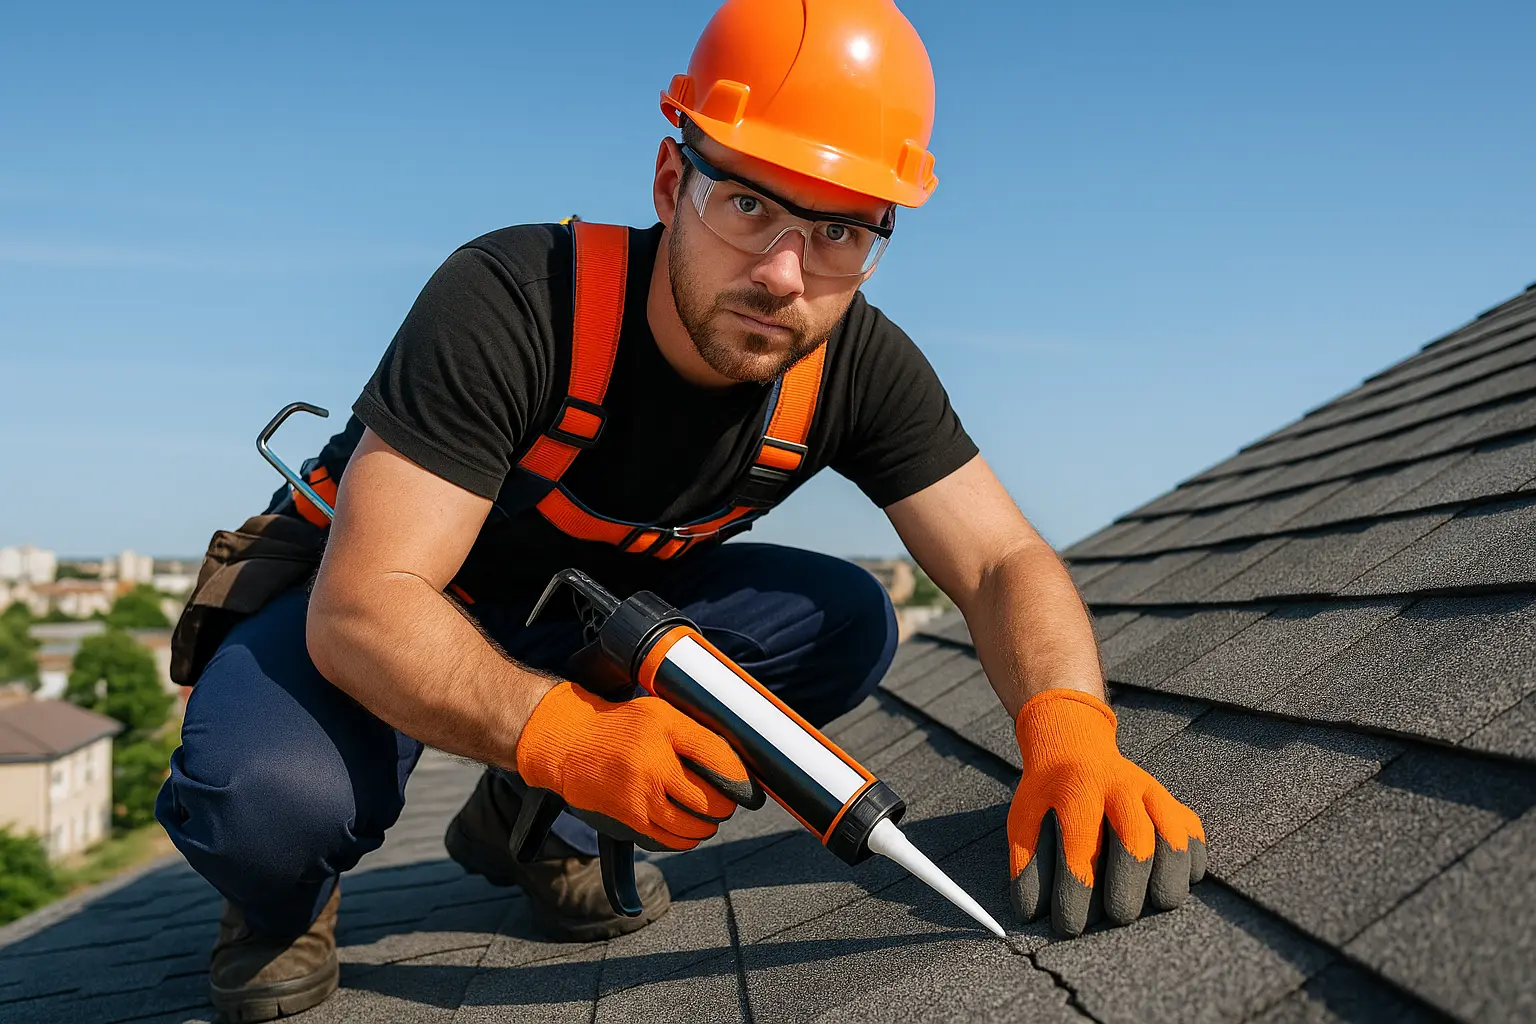
Step 3: Repairing the Leak with Proper Sealant
After clearing away the broken shingles, begin the actual repair work by applying roofing cement generously in the affected area. Using a putty knife, smooth out the cement, ensuring that every crevice is sealed. This step in roof patching is absolutely vital; even a small gap can lead to further water damage. Extra layers of cement might be necessary in areas where the leak seems persistent. This added barrier reinforces your repair and minimizes the chances of future water seepage. Make sure the sealant has time to set properly before moving on to the next step.
Step 4: Installing New Shingles
With the sealant properly set, carefully slide new shingles into place. The goal here is to restore the roof to its original state while integrating roof patching improvements. Align the new material snugly with the existing shingles, then secure them firmly using roofing nails. Taking extra care at this stage ensures that the roofing system remains uniform. If needed, double-check that the replacement shingles align perfectly to block any pathways that water might exploit in the future, thereby reducing the risk of further water damage.
Step 5: Reinforcing the Repair
The final step in your roof repair routine focuses on reinforcing the areas you’ve just repaired. This involves applying another layer of roofing cement along the edges of the new shingles and on any exposed nail heads. Ensuring that every seam is well-sealed is a critical component of roof patching, as it provides a long-lasting barrier against the elements. Let the cement cure completely before facing any heavy weather or additional work on your roof patching project itself.
Preventing Future Roof Issues Through Consistent Maintenance
While a well-executed roof patching job can resolve immediate concerns, the key to a long-lasting roof lies in preventive maintenance. Regular inspections and honest evaluations of your roof play a massive part in avoiding repeat repairs. Make it a habit to check your roof at least twice a year, or immediately after major weather events, as this can catch small issues before they become serious.
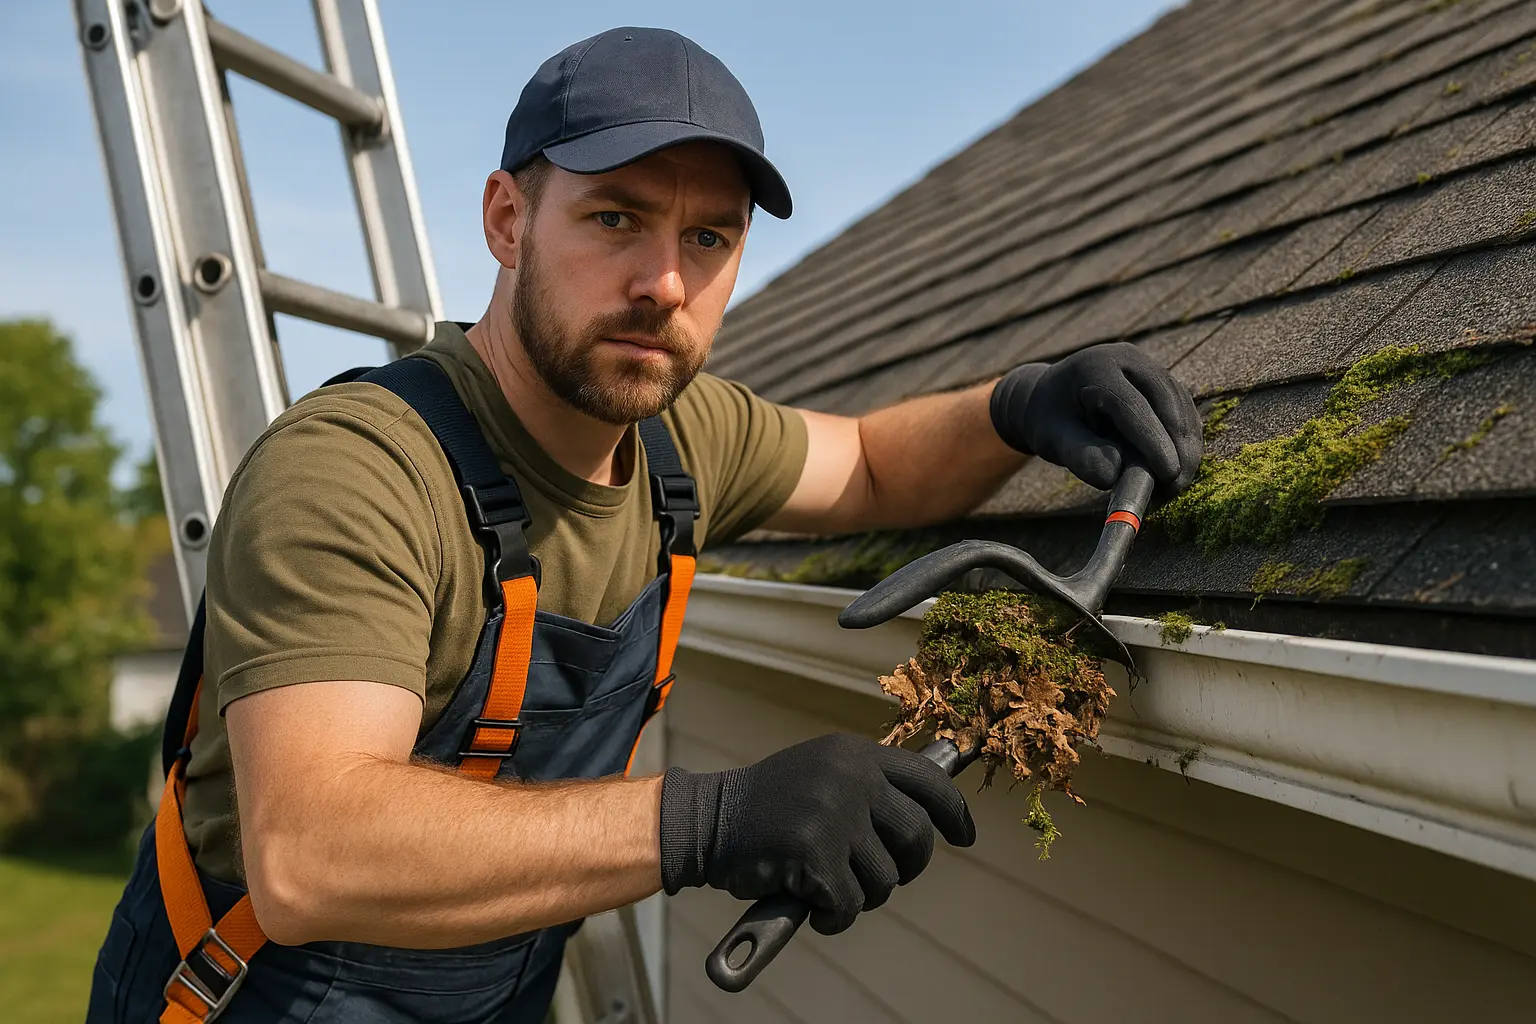
Routine Roof Inspections and Cleaning
Preventing leaks is far more effective than waiting for water damage to occur. Schedule regular checks on your roof, and whenever possible, inspect the attic for any signs of moisture accumulation. Remove debris from gutters and avoid letting leaves block downspouts. Small particles and clogged pathways often lead to water backing up and seeping into vulnerable areas. By performing routine roof patching as part of your maintenance, you’re not just fixing existing problems; you’re actively preventing new ones.
Investing in High-Quality Materials
Although cost is always a factor, opting for top-quality materials can prove to be a prudent decision in the long run. Premium shingles, durable roofing cement, and reliable sealants stand up better to harsh weather and regular wear-and-tear. With these high-grade products, your roof patching efforts have a better chance of lasting longer and protecting your home against recurrent damage. In the face of harsh environments, quality materials are your first line of defense against the cycle of repairs.
When to Seek Professional Help
While many homeowners take on roof repairs with confidence, certain situations call for professional expertise. If you notice widespread damage, or if the problem seems too extensive, it may be best to consult a roofing professional. Experts bring a level of knowledge and advanced tools that help in diagnosing subtle issues that might otherwise be overlooked. In essence, pairing your own roof patching efforts with occasional professional inspections offers a balanced way to maintain a safe and secure roof system.
Final Thoughts on Roof Repairs and Maintenance
Tackling roof leaks might seem like a daunting endeavor, but a systematic approach combined with roof patching can go a long way in protecting your home from water damage. By understanding the common causes—such as worn flashing or aging shingles—and taking decisive action through careful inspection and repair, you lay a strong foundation for a resilient roof. Your roof not only defends against storms and heavy rains but also preserves the value and safety of your property.
Remember, successful roof patching involves a mix of proper planning, the right tools, and continuous maintenance. From identifying the initial signs of trouble to replacing damaged materials and securing the repair with effective sealant, every step plays a part in preventing future leaks. Engaging in regular roof maintenance also means less unexpected downtime and avoidance of more extensive repairs down the line.
The process of roof patching is an investment in your home’s longevity. With every effort you make to repair or maintain your roof, you are taking a step toward ensuring a safe living space that can stand up to the elements. Whether you choose to handle the repairs yourself or call on a professional when the job grows too challenging, the end goal remains the same: a secure, well-maintained roof that keeps water damage at bay and protects your home for many years to come.
Taking proactive measures today can spare you significant headaches in the future. Embrace each opportunity to perform thorough roof patching, keep your materials in pristine condition, and don’t hesitate to seek expert advice when required. A little bit of diligence now goes a long way, guaranteeing that every rain, storm, or unexpected downpour only adds to your home’s enduring resilience.
By integrating careful roof patching into your overall maintenance routine, you not only repair the current issues but also create a robust barrier to ward off future water damage. Stay vigilant, remain prepared, and let every repair work contribute to a stronger, more secure roof that stands ready to protect you against life’s unpredictable weather challenges.